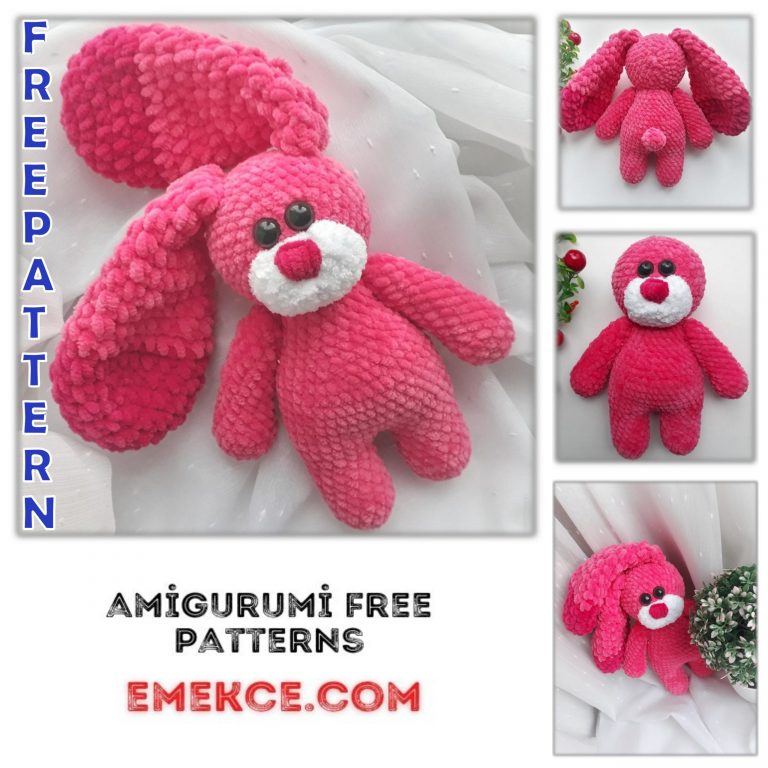
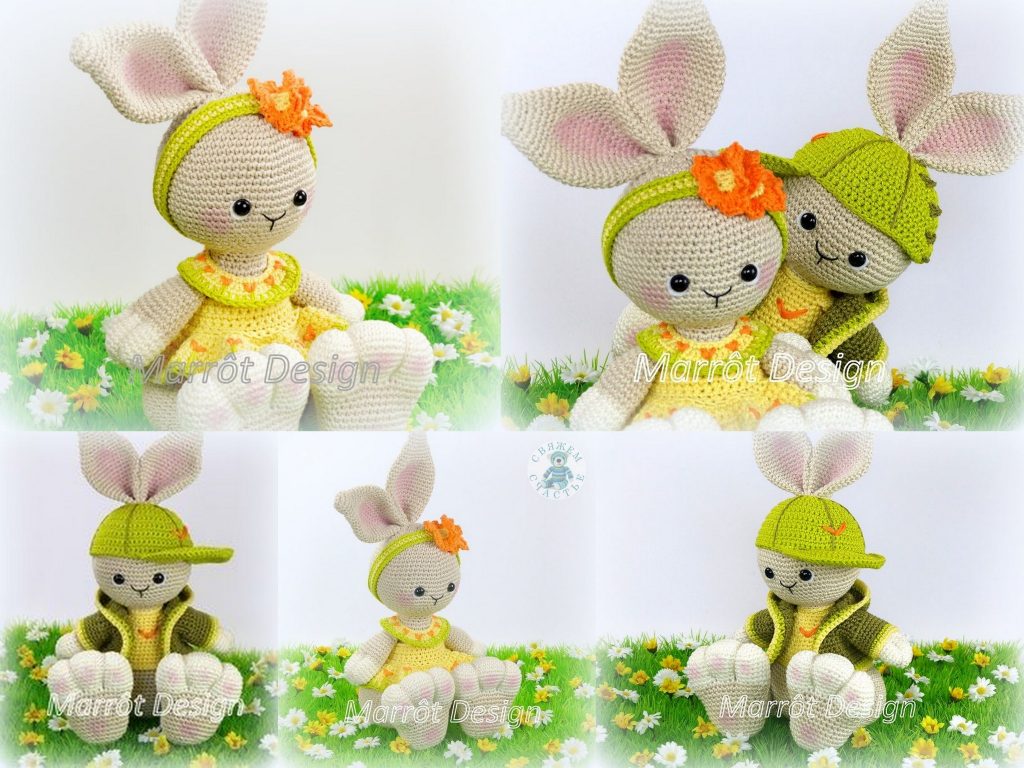
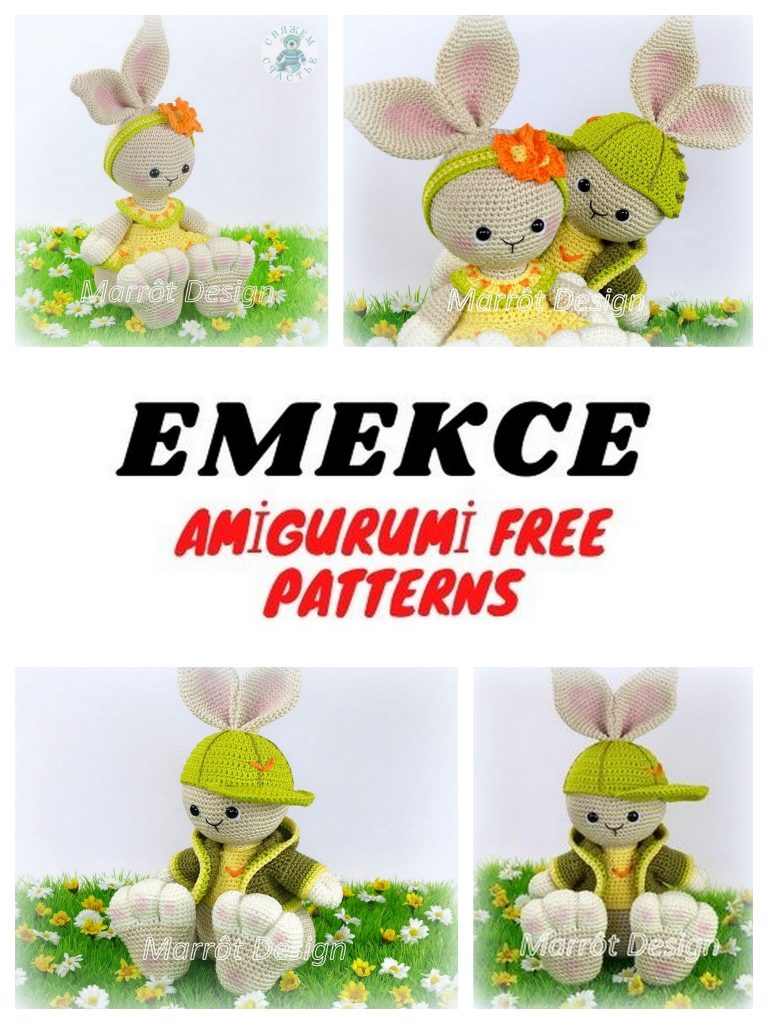
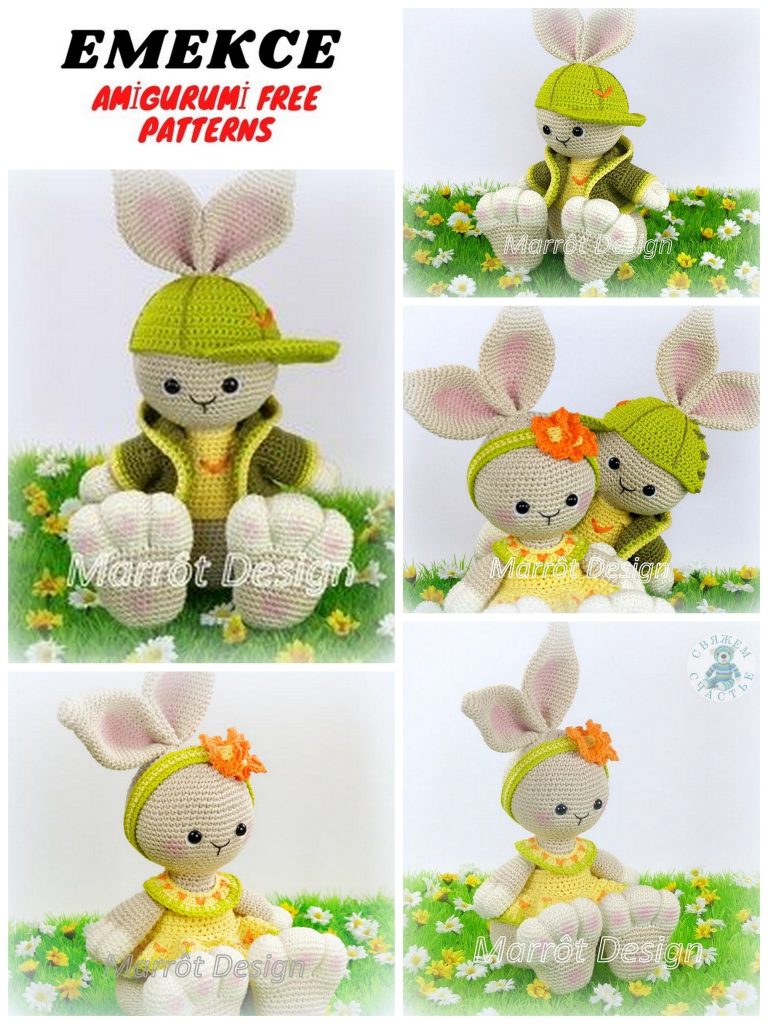
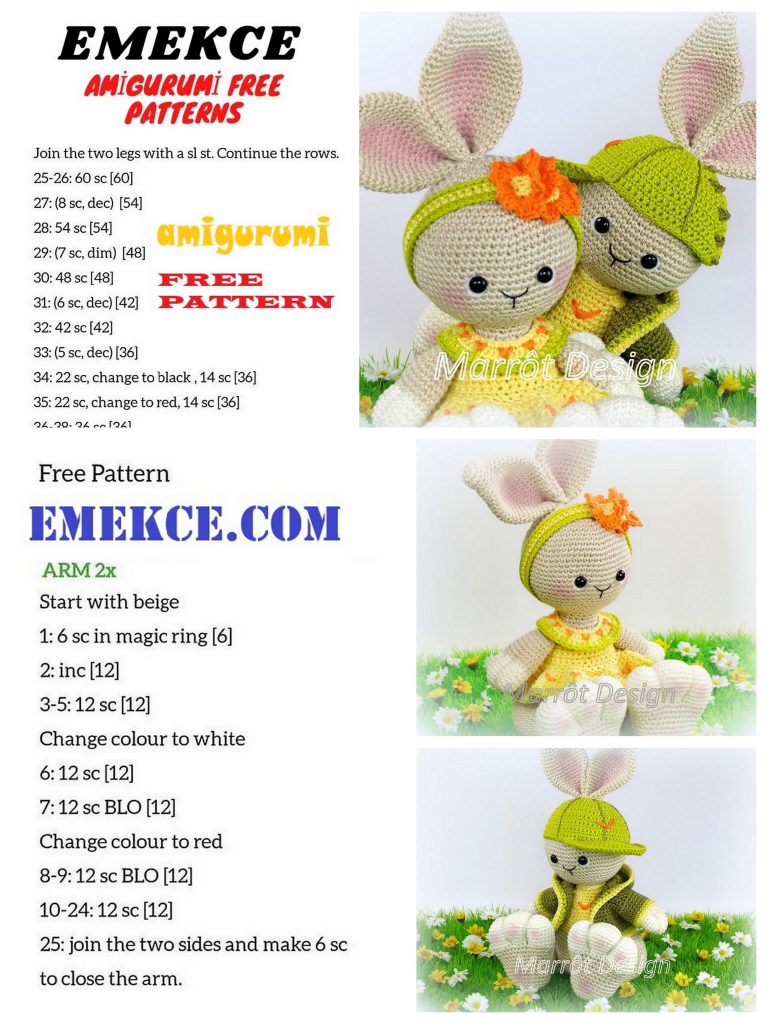
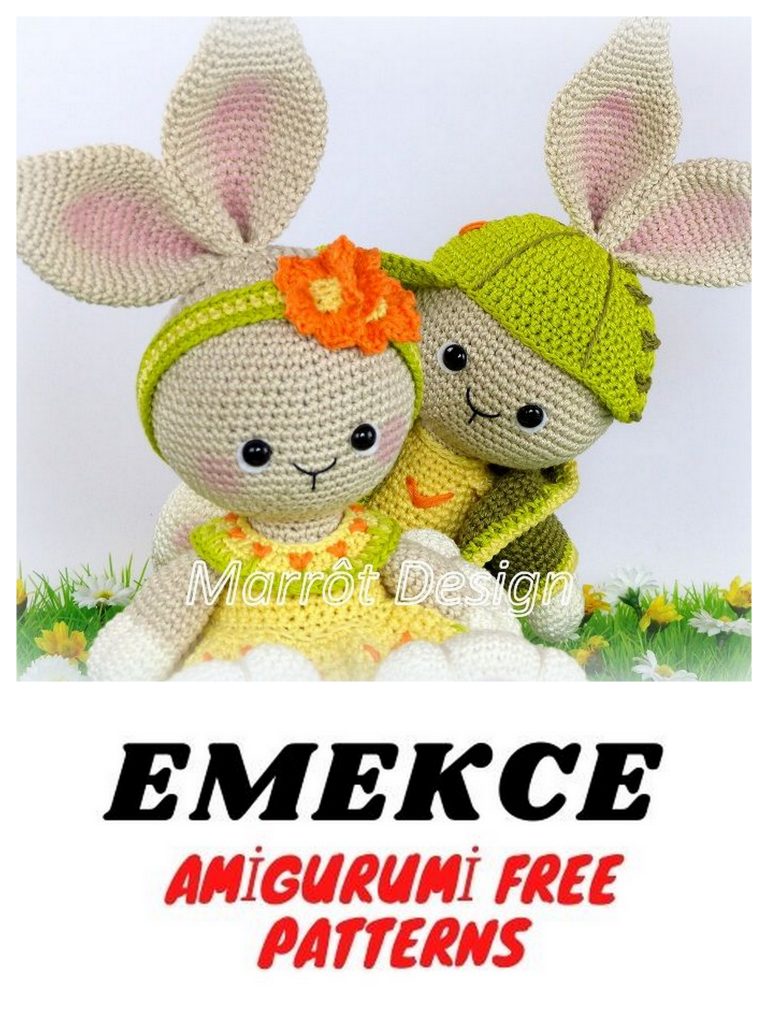
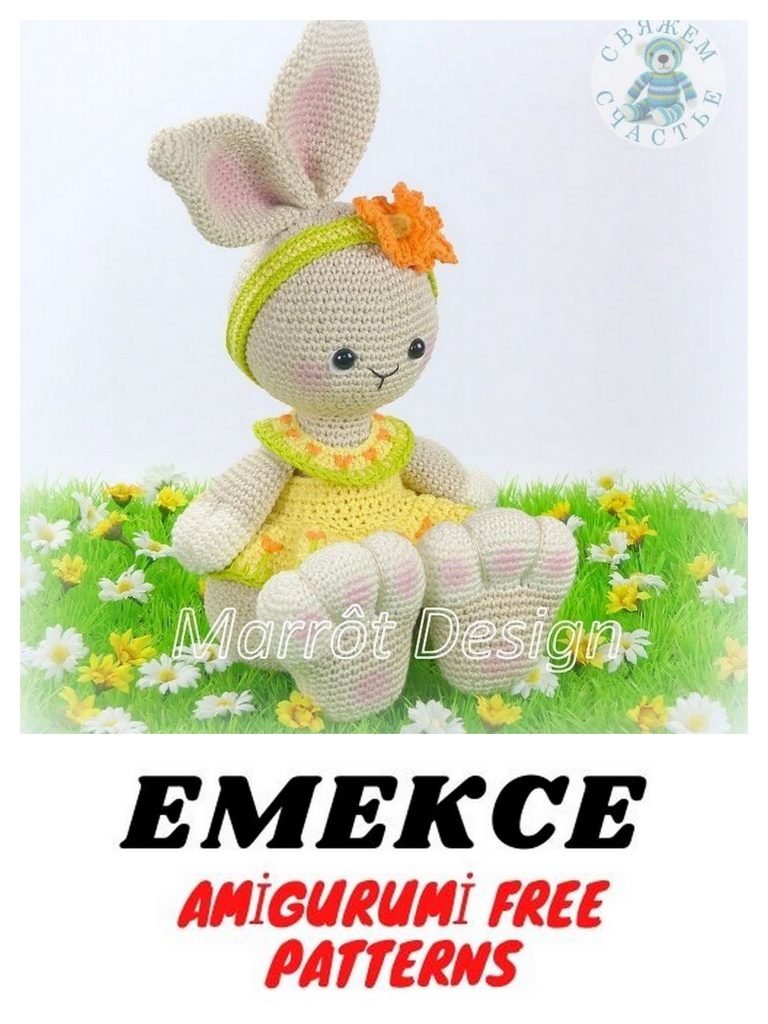
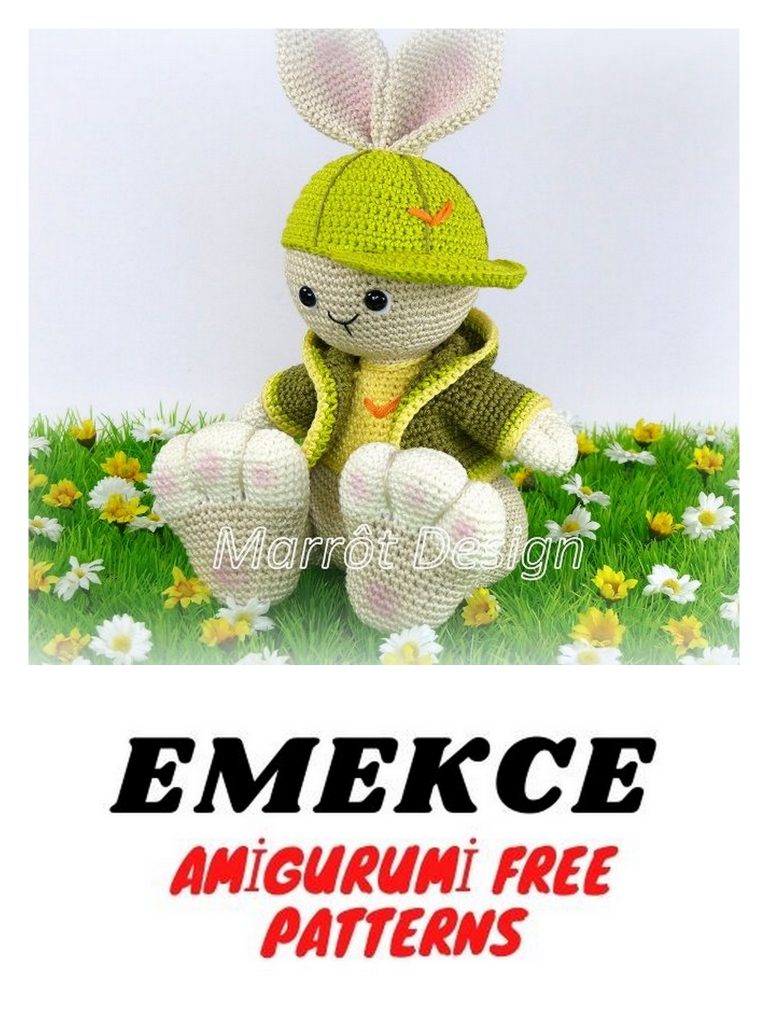
Bunny with Amigurumi Hat Free Crochet Pattern
Step into the world of adorable amigurumi with our delightful Bunny with Amigurumi Hat Free Crochet Pattern. This whimsical crochet pattern lets you create a charming bunny with its very own bunny amigurumi hat that will warm your heart and your crochet hook. Whether you’re an experienced crocheter or just starting out, our easy-to-follow instructions will guide you through every stitch. Get ready to crochet your way to creating a cute, cuddly bunny that’s perfect for gifting or keeping as your own fuzzy friend.
Materials:
2.5mm hook
Eyes 10 mm
Yarn under your hook
Filler
Stitching needle
Abbreviations
sl-st – slip-stitch
ch – chain
sc – single crochet
hdc- half double crochet
inc – increase
dec – decrease
Preparing eyes
Cut the whites of the eyes from felt, insert the eyes,
as shown in the picture.
Head
1 row: 6 sc into magic ring
2 row: 6 increases (12)
3 row: (1 sc, increase) x 6 times (18)
Translation of TOYS from WASHED
4 row: (2 sc, increase) x 6 times (24)
5 row: (3 sc, increase) x 6 times (30)
6 row: (4 sc, increase) x 6 times (36)
7 row: (5 sc, increase) x 6 times (42)
8 row: 42 sc
9 row: (6 sc, increase) x 6 times (48)
10 row: 48 sc
11 row: (7 sc, increase) x 6 times (54)
12 row: 54 sc
13 row: (8 sc, increase) x 6 times (60)
14-15 row: 60 sc
16 row: (9 sc, increase) x 6 times (66)
17-22 row: 66 sc
Between the 19th and 20th rows we insert the eyes, between
There are 9 loops.
23 row: (9 sc, decrease) x 6 times (60)
24 row: (8 sc, decrease) x 6 times (54)
25 row: (7 sc, decrease) x 6 times (48)
26 row: (6 sc, decrease) x 6 times (42)
27 row: (5 sc, decrease) x 6 times (36)
28 row: (4 sc, decrease) x 6 times (30)
29 row: (3 sc, decrease) x 6 times (24)
30 row: (2 sc, decrease) x 6 times (18)
31-32 row: 18 sc
Do not forget to stuff
Do not cut the thread, we will continue to knit the body
Translation of TOYS from WASHED
Change thread color to shirt color
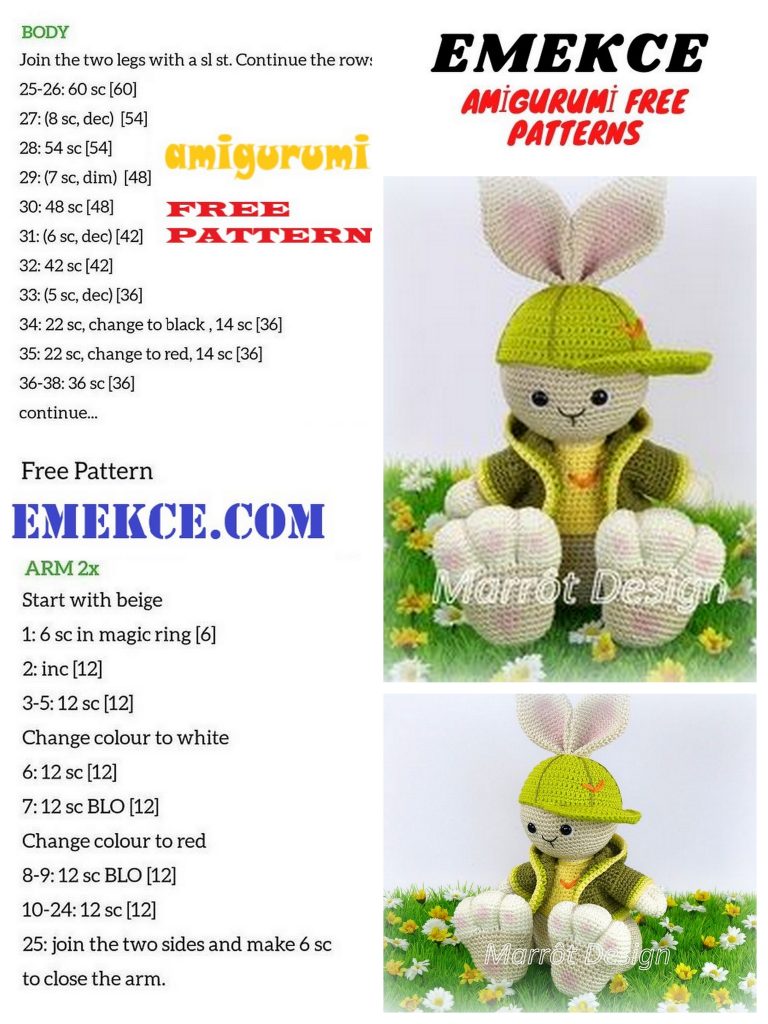
33 row: (2 sc, increase) x 6 times (24) for the rear
p / loop
34-35 row: 24 sc
36 row: (3 sc, increase) x 6 times (30)
37-38 row: 30 sc
39 row: (4 sc, increase) x 6 times (36)
40-41 row: 36 sc
42 row: (5 sc, increase) x 6 times (42)
43-44 row: 42 sc
45 row: (6 sc, increase) x 6 times (48)
46 row: 48 sc
Change the color of the thread on the main and knit for the back
p / loop
47 row: 48 sc
48 row: (7 sc, increase) x 6 times (54)
49-50 row: 54 sc
51 row: (8 sc, increase) x 6 times (60)
52-58 row: 60 sc
59 row: (8 sc, decrease) x 6 times (54)
60 row: (7 sc, decrease) x 6 times (48)
61 row: (6 sc, decrease) x 6 times (42)
62 row: (5 sc, decrease) x 6 times (36)
63 row: (4 sc, decrease) x 6 times (30)
64 row: (3 sc, decrease) x 6 times (24)
65 row: (2 sc, decrease) x 6 times (18)
66 row: (1 sc, decrease) x 6 times (12)
67 row: 6 decreases (6)
Pull the loops, cut the thread and fasten.
Attach the thread to p / loops 33 and 47 of the row and
knit sl-st (we keep the head to ourselves)
Lower paws – foot (2 pieces)
We start with white yarn
1 row: a chain of 12 air loops
then in a circle: 1 sc into the second air loop
from the hook, 9 sc, 3 sc in one loop (continue
on the other side of the chain), 9 sc, increase (24)
2 row: increase, 9 sc, three consecutive increases, 9 sc,
two increases in a row (30)
3 row: 1 sc, increase, 9 sc, (1 sc, increase)
repeat 3 times, 9 sc, (1 sc, increase)
repeat 2 times (36)
4 row: 2 sc, increase, 9 sc, (2 sc, increase)
repeat 3 times, 9 sc, (2 sc, increase) repeat
2 times (42)
5-10 row: 42 sc into magic ring each row
Change the thread to the main color
11 row: (12 sc, decrease) x 3 times (39)
12 row: (11 sc, decrease) x 3 times (36)
13 row: (10 sc, decrease) x 3 times (33)
14 row: (9 sc, decrease) x 3 times (30)
15-20 row: 30 sc into magic ring each row
21 row: (3 sc, decrease) x 6 times (24)
22 row: 24 sc
23 row: (2 sc, decrease) x 6 times (18)
24 row: (1 sc, decrease) x 6 times (12)
25 row: 6 decreases (6)
Cut and fasten the thread. Embroider fingers
toned (see picture)
Hip (2 parts)
Take the thread of the main color
1 row: 6 sc into magic ring
2 row: 6 increases (12)
3 row: (1 sc, increase) x 6 times (18)
4 row: (2 sc, increase) x 6 times (24)
5 row: (3 sc, increase) x 6 times (30)
6 row: (4 sc, increase) x 6 times (36)
7 row: (5 sc, increase) x 6 times (42)
8-13 row: 42 sc
14 row: (5 sc, decrease) x 6 times (36)
15-16 row: 36 sc
17 row: (4 sc, decrease) x 6 times (30)
18-19 row: 30 sc
20 row: (3 sc, decrease) x 6 times (24)
21-22 row: 24 sc
23 row: (2 sc, decrease) x 6 times (18)
24-27 row: 18 sc
Leave the thread for sewing.
Fill as shown.
Sew to the foot, sew to the body.
Ears (2 parts)
1 row: 6 sc into magic ring
2 row: 6 increases (12)
3-5 row: 12 sc
6 row: (1 sc, increase) x 6 times (18)
7-9 row: 18 sc
10 row: (2 sc, increase) x 6 times (24)
Translation of TOYS from WASHED
11 row: 24 sc
12 row: (3 sc, increase) x 6 times (30)
13-20 row: 30 sc
21 row: (3 sc, decrease) x 6 times (24)
22-26: 24 sc
Fold in half, do not fill, knit
12 sc on both sides. Leave a thread for
sewing on. Sew on the inside
ears, sew.
Front legs (2 parts)
Fill not tightly, but 1 cm before graduation
we do not fill knitting at all. We knit a white thread
colors
1 row: 6 sc into magic ring
2 row: 6 increases (12)
3 row: (1 sc, increase) x 6 times (18)
4 row: (2 sc, increase) x 6 times (24)
5-9 row: 24 sc
Change the thread color to the main one.
10-11 row: 24 sc
12 row: (6 sc, decrease) x 3 times (21)
13-14 row: 21 sc
15 row: (5 sc, decrease) x 3 times (18)
16-17 row: 18 sc
18 row: (4 sc, decrease) x 3 times (15)
Change thread color to shirt color thread
19-20 row: 15 sc
Fold the foot in half and knit 7
sc on both sides.
We make finger tighteners.
Leave the thread for sewing.
For the tail, make a pompom with a diameter of 6 cm and
sew between 55 and 56 rows.
Blouse
We collect a chain of 52 air loops, 1
lifting air loop
At the end of each row do not forget to do 1 ch
lifting.
1 row: 52 sc, lifting loop
Change the thread color
2 row: 52 sc
Change the thread color on the main
3-8 row: 52 sc
We knit 10 rows of 10 sc
6 loops skipped
Next 10 rows of 20 sc
Again skip 6 loops
And again 10 rows of 10 sc
Translation of TOYS from WASHED
We connect along the shoulder line 5 loops on the back and
shelf, on both sides, leaving 5 loops for
goal.
Knit a sleeve
At the bottom of the sleeve, type around 27 sc and knit along
circle 5 rows.
Change the color of the thread and knit 6 row as well 27 sc
Again, change the color of the thread and knit the same 7 row
Knit a hood
We type 24 sc (5 on the shelf + 2 sc on the seam + 10 on
backrest + 2 sc at the seam + 5 on the shelf)
We knit 19 rows.
We connect the hood with 12 loops
We knit along the edge first in one color, then
to others.
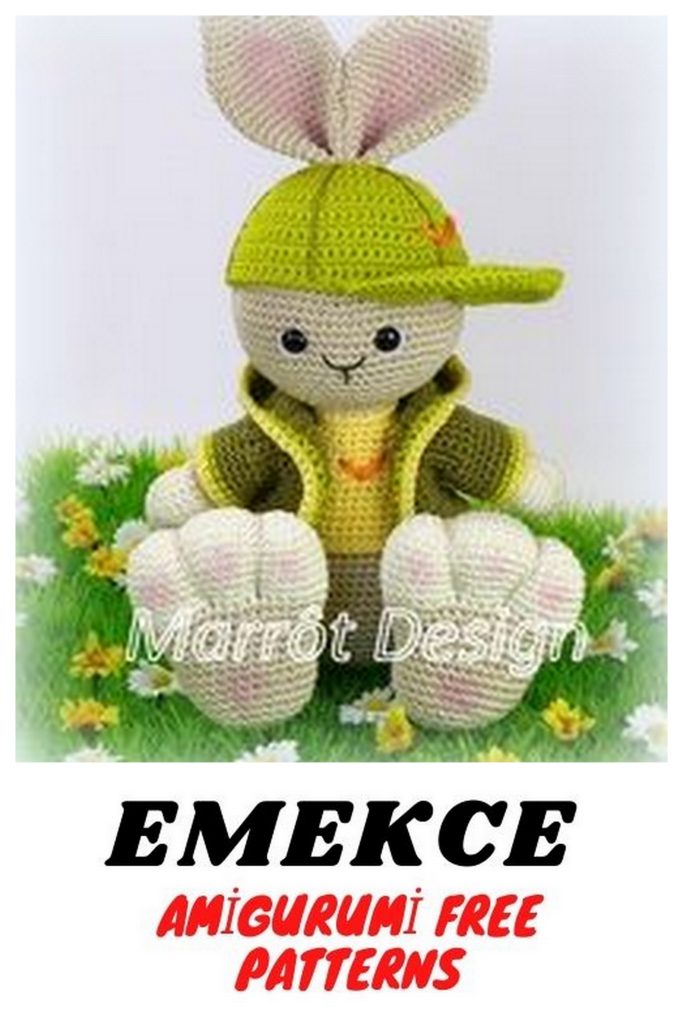
Cap
We will knit in rotary rows, do not forget
make a lifting loop
1 row: we knit a chain of 18 ch
2 row: starting from the second loop we knit 18 sc
3 row: (2 sc, increase) x 6 times (24)
4 row: (3 sc, increase) x 6 times (30)
5 row: (4 sc, increase) x 6 times (36)
6 row: (5 sc, increase) x 6 times (42)
7 row: (6 sc, increase) x 6 times (48)
8 row: 48 sc
9 row: (7 sc, increase) x 6 times (54)
10-12 row: 54 sc
13 row: (8 sc, increase) x 6 times (60)
14-17 row: 60 sc
Visor
We knit in rotary rows, do not forget about
lifting loop
1 row: 6 sc into magic ring, 1 runway
2 row: 6 increases (12)
3 row: (1 sc, increase) x 6 times (18)
4 row: 18 sc
5 row: (2 sc, increase) x 6 times (24)
Translation of TOYS from WASHED
6 row: 24 sc
7 row: (3 sc, increase) x 6 times (30)
8 row: 30 sc
9 row: (4 sc, increase) x 6 times (36)
10 row: we knit 36 sc, do not rotate, but
continue to knit 20 sc on the inside edge
visor.
Sew the visor in the middle of the cap.
Sew the cap right on the head.
Then embroider stitches.
BUNNY READY!