How to Clean Refrigerator Coils
Keeping your refrigerator coils clean is an essential but often overlooked part of home maintenance. Dirty coils force your refrigerator to work harder, increasing energy consumption and potentially shortening the appliance’s lifespan. Fortunately, cleaning refrigerator coils is a straightforward task that you can do yourself with minimal tools. In this article, we’ll walk you through why it’s important to clean your coils and provide a detailed, easy-to-follow guide.
Why Should You Clean Refrigerator Coils?
Refrigerator coils are responsible for releasing the heat absorbed from inside your fridge. When these coils get covered in dust and debris, their efficiency drops, causing the refrigerator to run longer and use more energy. This not only drives up your electricity bill but also puts unnecessary strain on the compressor, leading to costly repairs or a shorter appliance lifespan.
Regular cleaning of refrigerator coils can improve energy efficiency by up to 30%, reduce wear and tear, and keep your food fresh by ensuring your fridge maintains the proper temperature.
When to Clean Your Refrigerator Coils
How often you should clean the coils depends on your environment. If you have pets or a dusty home, it’s a good idea to clean every three months. Otherwise, aim for cleaning twice a year.
Signs your fridge coils might need cleaning include:
- Refrigerator running constantly or for longer periods
- Unusual heat near the base or back of the fridge
- Higher than normal electric bills
- Fridge not cooling properly
Safety Precautions Before You Start
Before cleaning your refrigerator coils, take these safety steps:
- Unplug the refrigerator to avoid electrical shock.
- Wear gloves to prevent cuts and protect your hands from dirt.
- Use a dust mask if you’re sensitive to dust and allergens.
- Clear the area around the fridge to give yourself enough working space.
What You Will Need to Clean Refrigerator Coils
Gather these tools and materials before you begin:
- Vacuum cleaner with a brush attachment
- Coil cleaning brush (a long, narrow brush designed for coils)
- Soft cloth or rag
- Bucket with warm, soapy water
- Flashlight (optional, for better visibility)
Step-by-Step Instructions on Cleaning Refrigerator Coils
Step 1: Unplug the Refrigerator
Always start by unplugging the appliance. This step is crucial for your safety and prevents damage to the refrigerator while cleaning.
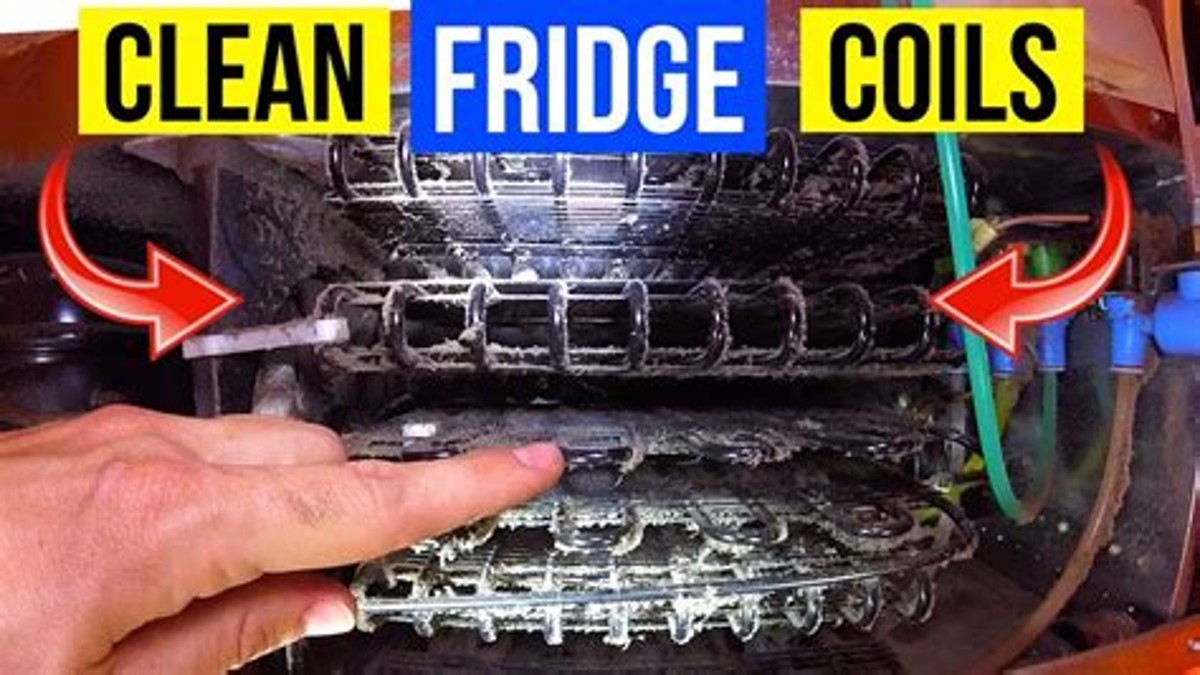
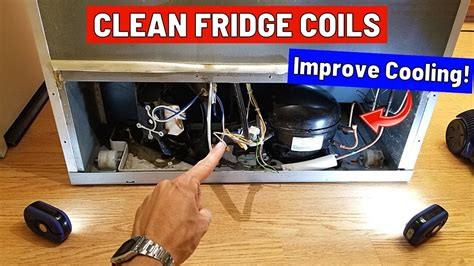
Step 2: Locate the Coils
Depending on your refrigerator model, coils may be located either at the back of the fridge or underneath it behind a grille or panel.
- Back coils: Usually exposed and easier to access. Simply pull the fridge away from the wall.
- Underneath coils: You’ll need to remove the grille or kickplate to access them. Use a screwdriver if necessary.
Step 3: Vacuum Dust and Debris
Using the brush attachment, vacuum the coils and surrounding areas carefully. This removes the loose dirt and dust. Take your time, especially if the coils haven’t been cleaned for a while.
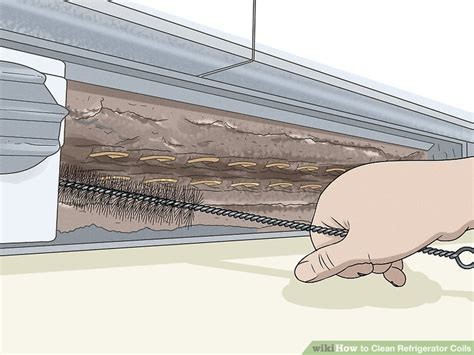
Step 4: Use a Coil Cleaning Brush
For stubborn dirt, use a coil cleaning brush to gently dislodge grime between the fins of the coils. Insert the brush in between the coils, sweeping away debris.
Step 5: Wipe Down the Area
Dampen a soft cloth in warm, soapy water and wipe the coils and surrounding surfaces to pick up any remaining dust particles. Make sure the coils are dry before plugging the refrigerator back in.
Step 6: Reassemble and Plug In
If you removed a grille or panel, reattach it securely. Slide your refrigerator back into place, plug it in, and ensure it’s running smoothly.
Tips to Maintain Clean Refrigerator Coils
- Regularly vacuum around the refrigerator to minimize dust buildup.
- Keep pets away from the appliance to reduce hair accumulation.
- Consider scheduling coil cleaning twice a year to keep your fridge efficient.
- Check coils periodically to ensure they remain free of debris.
Common Mistakes to Avoid When Cleaning Refrigerator Coils
- Not unplugging the refrigerator: Risk of electrical shock or appliance damage.
- Using a wire brush: Can damage the coils’ delicate fins. Always use a soft-bristled coil brush.
- Forgetting to dry the coils: Moisture can cause corrosion or short circuits.
- Ignoring the space around the coils: Dust accumulates not only on coils but also around them.
When to Call a Professional
While cleaning refrigerator coils is a simple DIY task, there are scenarios where professional help is advisable:
- If your fridge is unusually old or not functioning even after cleaning.
- If coils are severely corroded or damaged.
- If you notice refrigerant leaks or mechanical issues during cleaning.
Professional technicians can perform a thorough inspection and necessary repairs to keep your refrigerator running efficiently.
Conclusion
Cleaning your refrigerator coils is a straightforward task that yields significant benefits. By improving efficiency, reducing energy costs, and prolonging the life of your appliance, coil maintenance is well worth the investment of time. Armed with the right tools and a little patience, you can keep your refrigerator running smoothly for years to come.