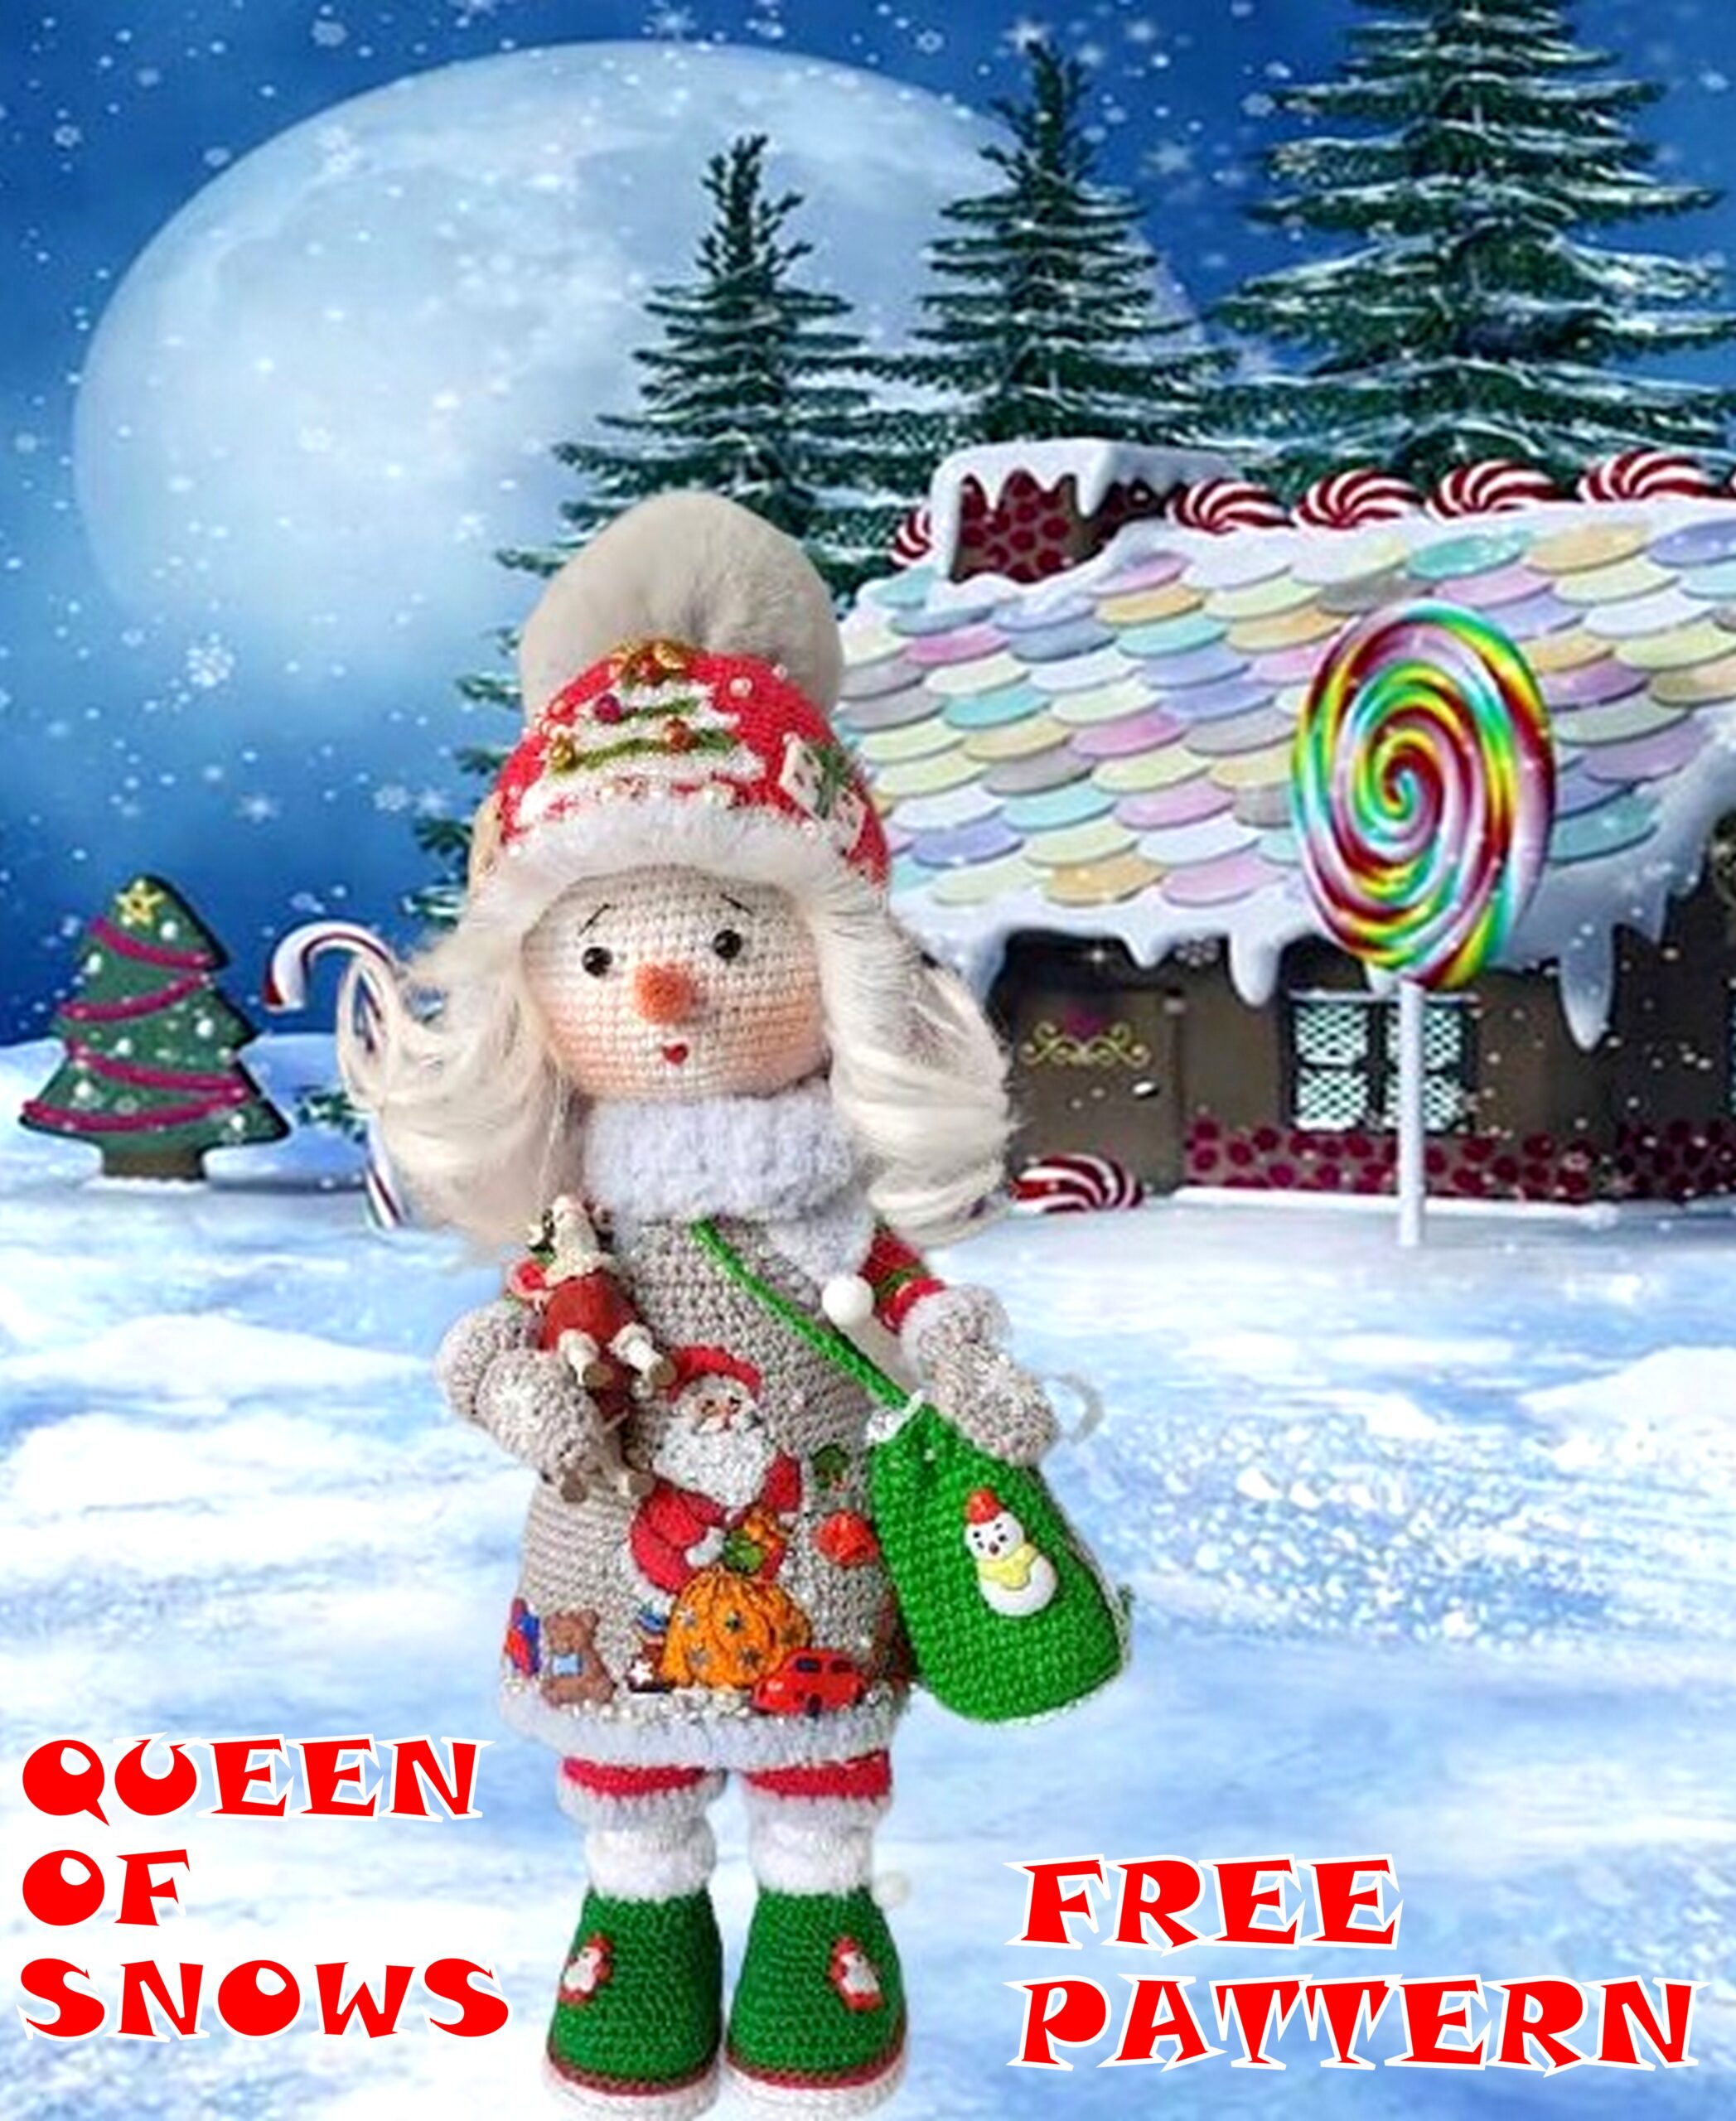
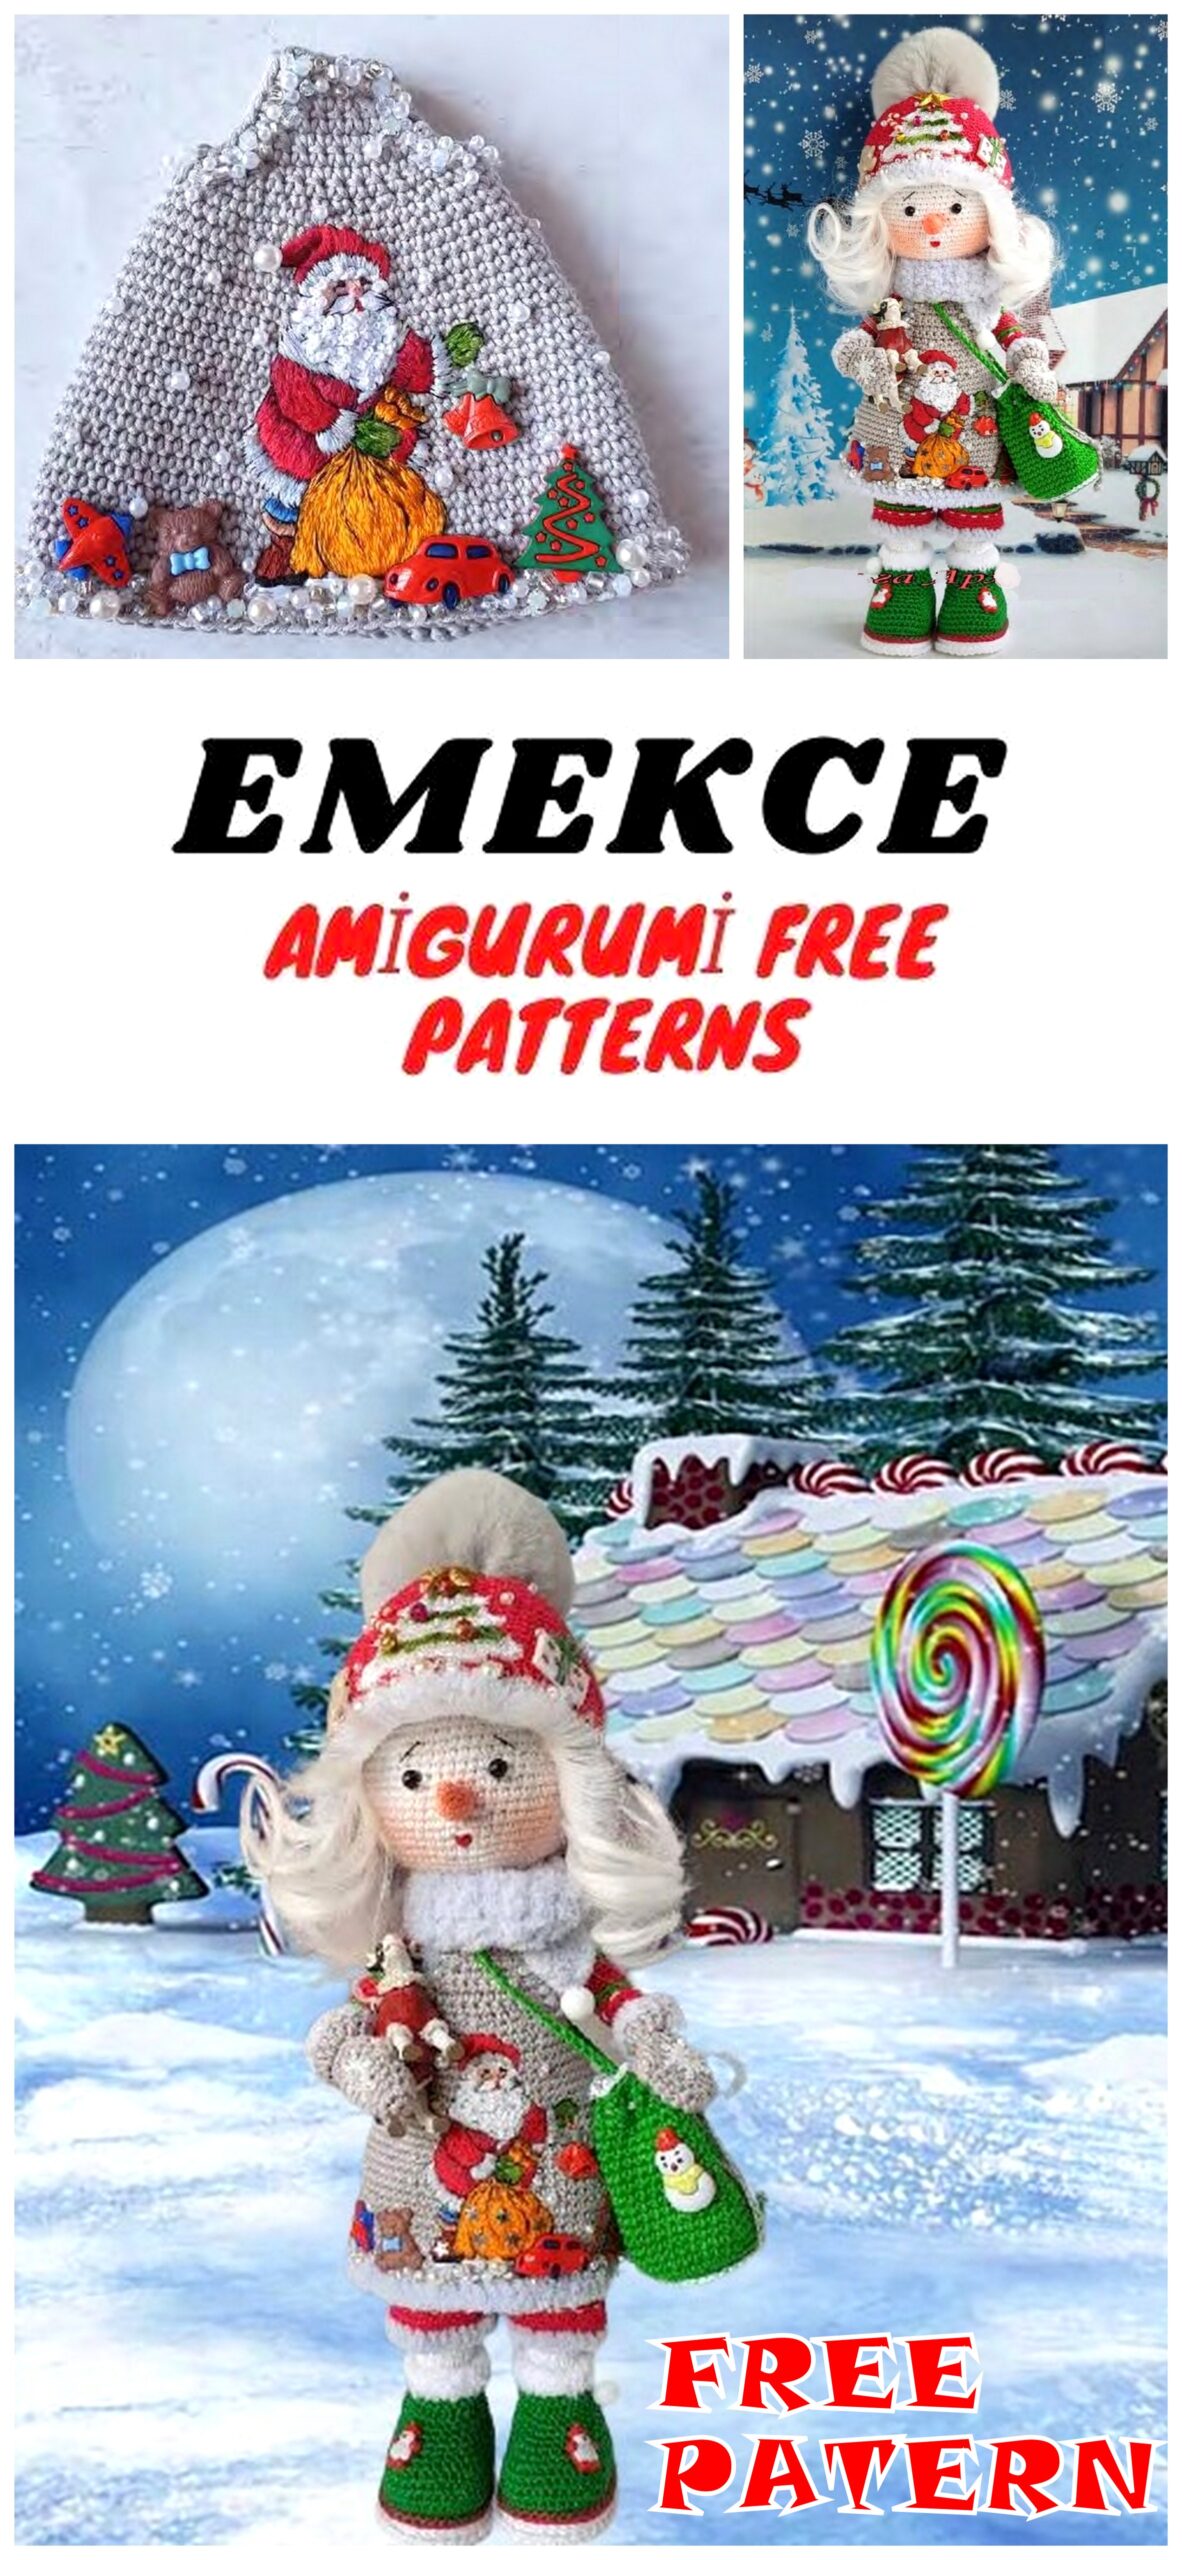
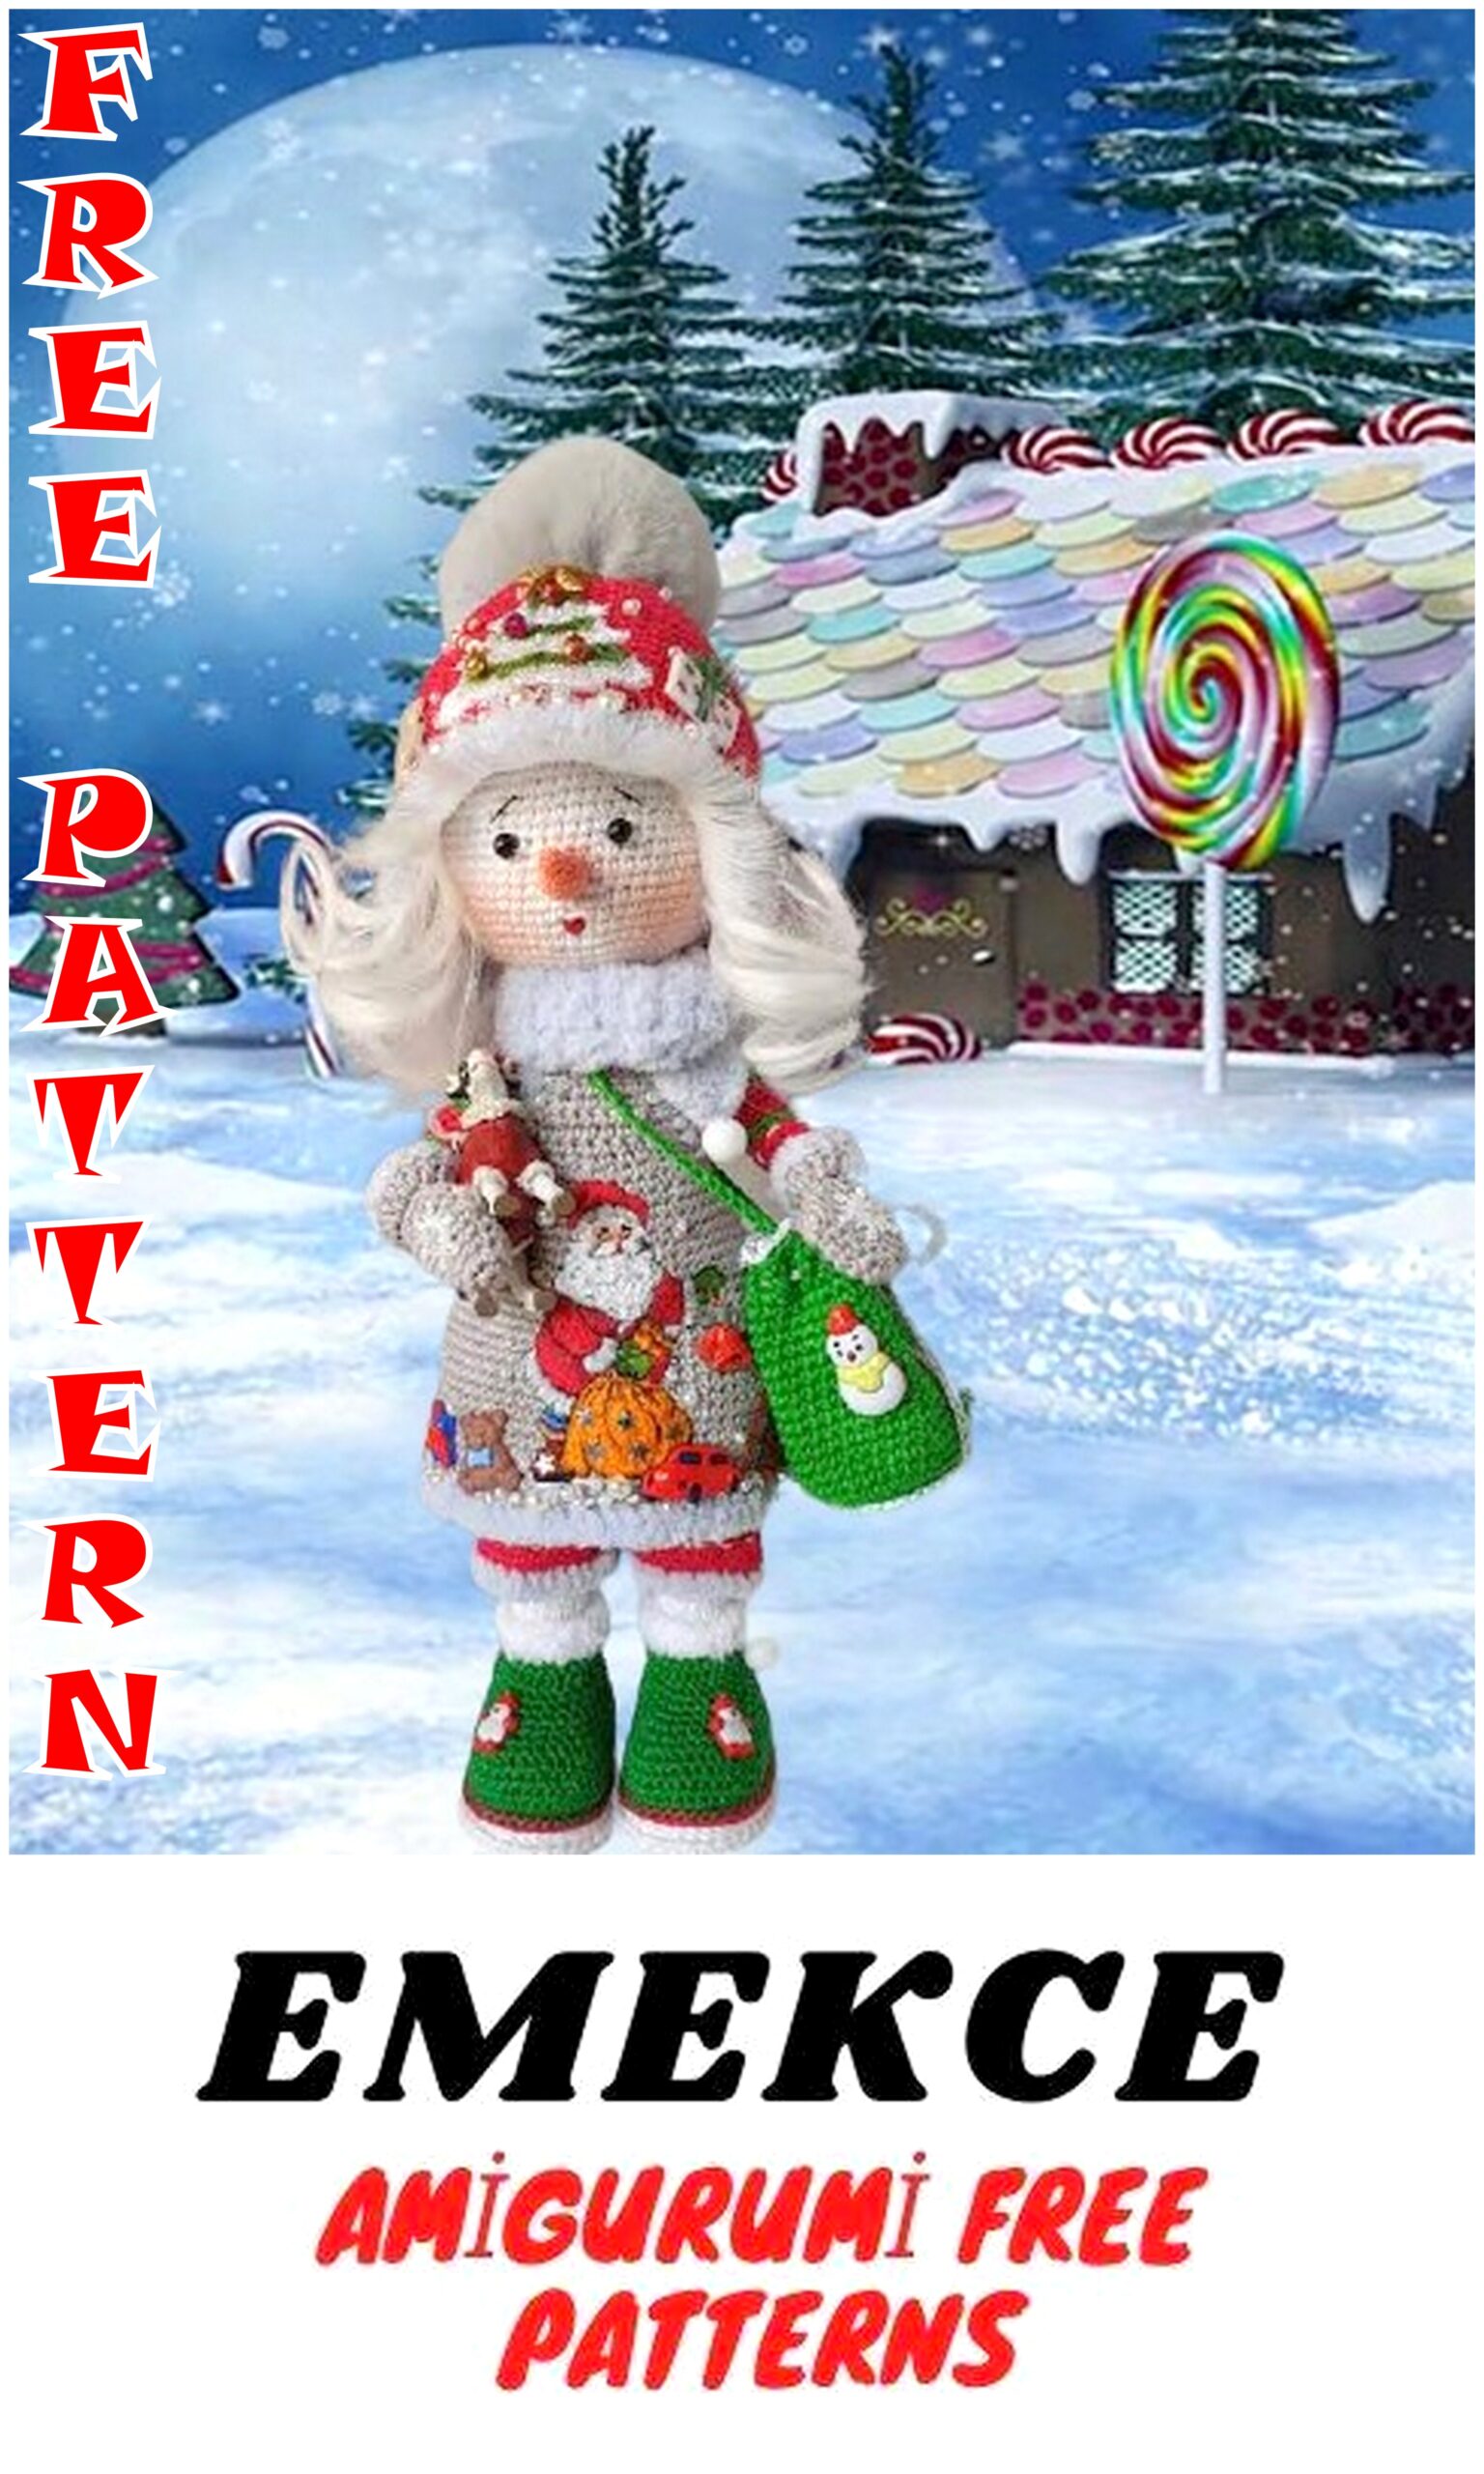
Queen of Snow Amigurumi Free Crochet Pattern
As Christmas approaches, the most beautiful amigurumi christmas patterns are on this site. In this article, we shared the amigurumi queen of snow pattern for you.
MATERIALS
Yarn:
-Vita SHARM 50g / 106m
4179- gray 1m, (tunic)
4192 – red berry 2m, (body, pants and hat)
4151-white 2m (body)
Lily of the valley (Troitskaya) 50g / 115m
0726- green 1m (boots)
Alize SOFTY 50g / 115m
416-light blue gray-1m
Alpina RENE- 50g / 105m
156- herbal 1m (handbag)
Vita PELIKAN -50 / 330m 4003 (nose)
MULINET DMC:
Red-321, 815, 816, 1m each
Nude 353
Yellow 922, 977 by 1m
Melange blue white 4010
Green melange (herringbone)
White and black
Additional materials:
1) Hooks (original by Clover):
No.; 1; 1.75; 2; 2.25
2) Thick cardboard on the insoles
3) Granulate 2-3mm
4) Small bags 4 * 8-2pcs
5) Filler (holofiber)
6) Wire braided 4mm: 2 x 32 cm and 2 x 25cm.
7) Hot gun
8) Adhesive plaster
9) -Glue – gel moment
10) Tress: white curl 15cm – you need 40cm tress.
Bangs – 2 pieces of 10cm
11) -Buttons with New Year’s theme.
12) – 2 black beads 6mm for the eyes. One red mouth bead.
White beads of various shapes and colors (pearl, transparent, matte, etc.) in size from 2 to 5mm.
4 large white beads for a scarf and shoes.
4 colored beads 5-6mm to decorate the Christmas tree.
Pompom 8cm – I have a natural one, can be made from yarn
Abbrevations:
Sc – single crochet
Dc – double crochet
Hdc – half double crochet
Sl-st – slip stitch
Inc – increase
Dec – decrease
Ch – chain
* number – repeat the specified number of times
Bump – from one loop, knit 3dc under one vertex
The number in brackets at the end of each row of the description shows how many loops should be in this row.

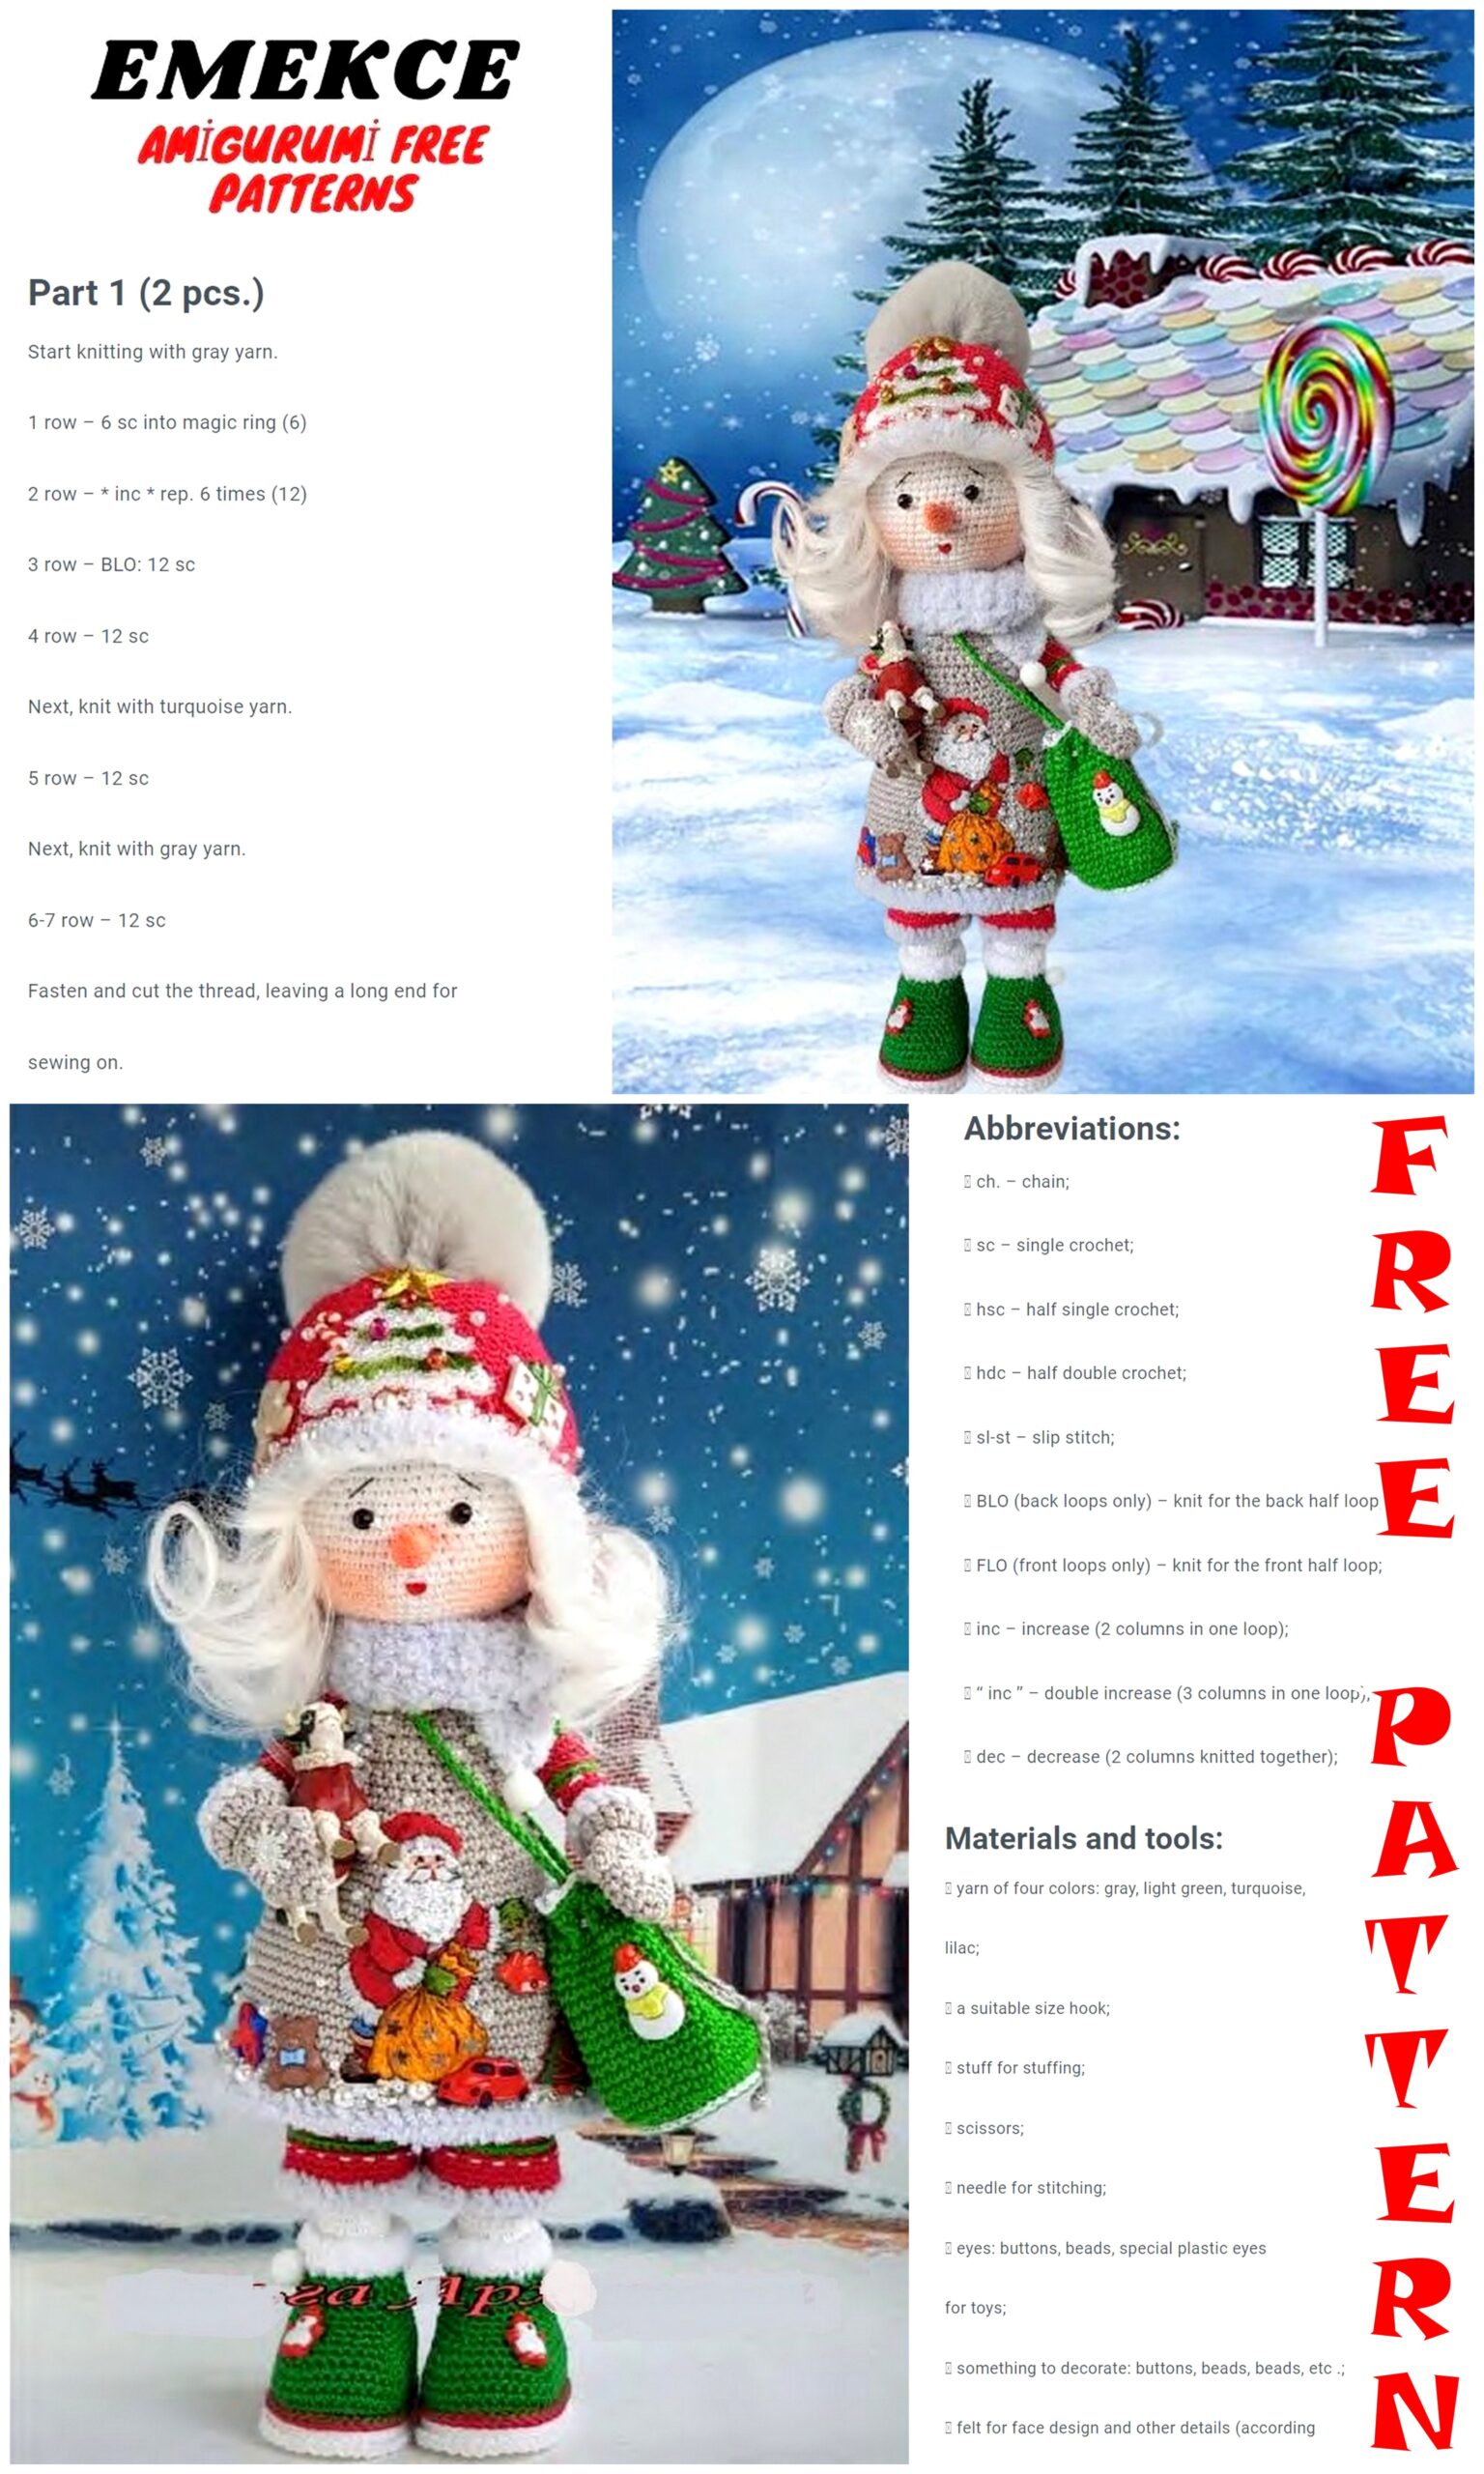
Legs
Yarn:
Vita SHARM white4151
Hook 1.75
Knit very tightly so that no filler is visible after padding.
Tie 11 ch. And we begin to knit from the second loop from the hook:
1) -2sc one loop, 8sc, 3sc one loop, 8sc, 1sl-st. (22)
2) -2inc, 8sc, 3inc, 8sc, 1sl-st. (27)
3) – (1inc, 1sc) * 2, 8sc, (1inc, 1sc) * 3.8sc, 1sl-st. (32)
4) – (1inc, 2sc) * 2, 8sc, (1inc, 2sc) * 3, 8sc, 1sl-st. (37)
5) – (1inc, 3sc) * 2, 8sc, (1inc, 3sc) * 3, 8sc, 1sl-st (42)
Cut out two thick cardboard insoles.
6) – For the back wall of the 42sc hinge
7-9) – for both sides of the loop 42sc (42)
Top of the foot
10) – 20sc, 2dec, 6sc, 2dec, 8sc, (38)
11) – 19sc, 2dec, 4sc, 2dec, 7sc. (34)
12) – 18sc, 2dec, 2sc, 2dec, 6sc. (thirty)
13) – 17sc, 4dec, 5sc (26)
Insert the insole.
14) 12sc, 7dec + 1p displacement (19).
Add the filler to the nose and insert the granulate bag.
Try not to add filler to the sides, so that the leg does not increase in width. Only in the nose and heel. We put a marker.
15) – 12sc, 6hdc, 1sc. (19)
16) -17sc, 1ub. (eighteen)
17) -11sc, 1dec, 5sc +6 n offset left.
18-21) – 17sc.
Then we do all the increments strictly in the center at the back.
22) – 1inc, 16sc. (eighteen)
23-25) – 18sc.
26) – 1inc, 17sc (19)
27-29) – 19sc.
30) – 1inc, 18sc (20)
31-34) -20sc
35) – 1inc, 19sc (21)
36-37) -21sc
38) – 1inc, 20sc (22)
39-43) -22sc
We stuff the leg very tightly.
Cut the thread.
Similarly, we knit the second leg.
Shoes.
-Vita SHARM 50g / 106m (sole)
4151 – white 1, Lily of the valley (Trinity) green 1 Soft white (or soft 416)
Hooks 2, 2.25.
SOLE:
Vita SHARM 50g / 106m white, hook 2.25
Knit 11 ch and knit from the 2nd loop from the hook:
1) – 2sc in one loop, 8sc, 3sc in one loop, 8sc, 1sl-st (22).
2) – 2inc, 8sc, 3inc, 8sc, 1sl-st (27).
3) – (1inc, 1sc) * 2, 8sc, (1inc, 1sc) * 3, 8sc, 1sl-st (32).
4) – (1inc, 2sc) * 2, 8sc, (1inc, 2sc) * 3, 8sc, 1sl-st (37).
5) – (1inc, 3sc) * 2, 8sc, (1inc, 3sc) * 3, 8sc, 1sl-st, (42).
Tie two pieces together and cut out two insoles.
Fold the two soles with the wrong side facing each other.
Sew both soles with each other sl-st.
We insert the hook between the posts, piercing both soles. Grab yarn and pull this loop to the upper sole, knit sl-st.
So knit in a circle 42sl-st.
Tie another sole in the same way.
The top of the shoe. Lily of the Valley 0726
Hook 2
Change the thread to Lily of the Valley 0726 and start knitting from the middle of the heel.
1) -catching the far wall of the loop 42sc
2) – behind the far wall of the loop 42sc
3-5) -for both walls of the loop 42sc
Tie the sole at this point.
Hook 2.25
Attach SHARM 4151 to the center of the heel at the bottom Grabbing the lowest stitch, begin tying the right side: (1sl-st, 1ch) to the end of the row. Fasten and hide the thread.
Attach SHARM red under the half-loop to the middle of the heel and move to the left to knit 42sl-st.
Cut the threads and hide them inside the shoes.
We continue to knit the top of the shoe cr1.75
6) -7hdc, 6sc, 2dec, 7sc, 2dec, 7sc, 7hdc (38)
7) – 12sc, 2dec, 5sc, 2dec, 13sc (34)
8) – 8hdc, 3sc, 2dec, 3sc, 2dec, 4sc, 8hdc (30)
Insert the insole and put it on the leg.
Then we continue to knit directly on the leg.
9) – 30sc
10) -7hdc, 2sc, 1dec, 5sc, 1dec, 4sc, 8hdc (28)
11) – 28sc
12) – 28hdc
13) – 8sc, 12hdc, 8sc (28)
14-15) – white softty 28sc
Pants:
Vita SHARM 4192 Hook 2.
We start knitting from the legs. Leave a long thread.
Tie 30ch (not tight), close in a ring.
1-2) – red thread – 30sc
3) – green thread behind the far wall of the loop 30sc
4-6) – a red thread behind the far st. loops 30sc
7) – green thread behind the far wall of the loop 30sc
8) – white thread behind the far wall of the loop 30sc
9-10) -red thread for the far st. loops 30sc
11-12) – red thread for both sides of the loop 30 sc
Tie a long thread around the bottom of the leg 30sc.
Fasten and cut the thread.
Embroider the track with white thread.
Tie sc at the bottom of the leg Soft 416 (30)
Tie the second leg.
Connect the legs.
1-6) – 60 sc
7) – (15sc, 1dec, 26sc, 1dec, 15sc (58)
8) – 58sc
Prepare wire 2 pieces of 32 cm. At one end, make a loop of 3-3.5 cm, fix with adhesive tape.
Loop down into the leg, insert the wire all the way into the insole.
We stuff the legs very tightly.
Put on the loose legs on the legs.
Connect the legs with a jumper from 2 ch, cr2.
1) – 22sc on one leg, 2sc on the jumper, 22sc on the second leg, 2sc on the jumper (48) sc
2-10) – 48sc
11) – (10sc, 1dec) * 4 (44)
12) – (9sc, 1dec) * 4 (40)
13) – 40sc
14) – (8sc, 1dec) * 4 (36)
15) – (7sc, 1dec) * 4 (32)
16) – (14sc, 1dec) * 2 (30)
Add filler.
Change the white SHARM to red
17-30) – 30sc
Raise the pants and tie them on the body.
9) – 27sc, 1dec, 27sc, 1dec (56)
10-13) – 56sc
13) – (12sc, 1dec) * 4 (52)
14) – (11sc, 1dec) * 4, (48)
15) -48sc, if you haven’t tied to the waist, you need to add more rows.
16) – all sl-sts behind the far wall of the loop
PENS.
Mittens SHAM 4179 gray. Cr1.75
1) -6sc into magic ring
2) -all inc (12)
3) – 12sc
4) – (2sc, 1inc) * 4 (16)
5) – 16sc
6) – 7sc, finger-tied from 3 unfinished dc tied in one loop together under one tip., 8sc (16).
7) -3sc, 1inc, 7sc, 1inc, 4sc (18)
8) -18sc
9) – (1sc, 1dec) * 5, 1dec, 1sc (12)
10) – 5sc, 2dec, 4sc (10)
11) – behind the front wall of the loop (1dc, 1incdc) * 5 (15)
12) -soft gray 15sc Connect red to the inner half-loop
SHARM
1) – 10sc
2-6) – 10sc
7) – 1inc, 9sc (11)
8) – green behind the far wall of the loop 11sc
9) – red behind the far wall of the loop 11sc
10) -red for the far wall of the loop 11sc
11) -red for both sides of the loop 1inc, 10sc (12)
Embroider the white line under the red half-loop
12) – green behind the far wall of the loop 12sc
13) – white behind the far wall of the loop 12sc
14) -red for the far wall of the loop 12sc
15) – red behind the far wall of the loop 12sc
16-19) – for both walls of the loop 12sc
Tie the second handle in the same way.
We knit the handles.
1) – Ahead between the handles 10sc. Behind 8sc.
We tie the handles from the sides at 6sc to the back wall of the handle loop and the body to both sides of the loop.
2) -10sc- in front, 6sc for the front wall of the handle, 8sc- for the back, 6sc for the front wall of the handle.
3) – (3sc, 1dec) * 6 (24)
Change the hook to 1.75
4) -In this row on the back we make a color change to white (2sc, 1dec) * 6 (18)
NECK
cr. 1.75
1-6) – 18sc
TUNIC. SHARM
4179 gray, cr. 2.25
Tie 70ch (do not tighten), short.
1-10) -70sc
11) – (33sc, 1dec) * 2 (68)
12) – 68sc
13) – 15sc, 1dec, 32sc, 1dec, 17sc (66)
14) – 66sc + 1 offset loop
15) – (31sc, 1dec) * 2 (64)
16) – 64sc
17) – (14sc, 1dec) * 4 (60)
18) – 60sc
19) – (13sc, 1dec) * 4 (56)
20) – 56sc
21) -6sc, 1dec, (12sc, 1dec) * 3, 6sc (52)
22) -52sc
23) – (11sc, 1dec) * 4 (48)
24) -48sc + 1 offset loop
25) – 5sc, 1dec, (10sc, 1dec) * 3.5sc (44)
26) – 44sc (marker in the middle of the back)
BREAST
27) – (1sc, 1dec) * 3, 4sc (armhole), (1sc, 1dec) * 6 (breast) – rotate.
Then we knit the breast.
We knit all rotary rows with a lifting loop
1) – 12sc, turn
2) – 1dec, 8sc, 1dec (10)
3) -10sc
4) – 1dec, 6sc, 1dec (8)
5) – 8sc
6) – 1dec, 4sc, 1dec (6)
7) – 6sc.
Cut the thread.
We continue to knit 27 row. We attach the thread to the last loop in the 27th row and knit the second armhole and yoke along the back.
27) – 4sc (armhole), (1sc, 1dec) * 3, 6sc Rotate with ch
1) -12sc
2) -1dec, 8sc, 1dec (10)
3) – 10sc
4) – 1dec, 6sc, 1dec (8)
5) -8sc
6) – 1dec, 4sc, 1dec (6)
7) – 6sc. Cut the thread Like this from the side.
Preparing the template.
Cut and sew the template to the tunic with a fine basting stitch and a fine needle.
Cover the template with a small chain stitch in one thread, in the color of the main embroidery.
I didn’t sew the present, I’ll make it an invoice. But if you wish, you can leave it and embroider it. The next step is to embroider the thread guides to help guide the stitches in the right direction.
Let’s start with the hat. I increased the details of the drawing and drew guides with a red pencil, so you should embroider them on the hat.
We begin to embroider in two threads floss 321.
Sew straight stitches parallel to the thread guide.
Sew the fold of the cap in two rows of stitches. Top row # 321 – in two threads, bottom row # 816 – in one thread.
We proceed to the fur coat.
Embroider the thread guides, they can be clearly seen in the enlarged picture.
Let’s start with two strands of sleeve # 816.
Embroider with split stitches, paths.
Stitch pitch 0.5cm. With this color, embroider the top of the sleeve and the bust under the collar. Then embroider with color # 321. The sleeve is finished.
There is a small space left on the breast, near the sleeve, we embroider it in floss # 815 in one thread.
And embroider the first row of stitches under the sleeve in the same color, but in two threads and sew the guide threads in the same color. Continue embroidering fur coat No. 816, starting under the first sleeve on the second half of the first row. And in the same color we embroider under the collar and the beginning of the second sleeve.
We finish embroidering the fur coat and sleeve Moulineaux # 321. The stitches are long and short.
Embroider tightly without gaps in two strands
FACE.
Color #; 353
We will embroider in one thread, but so that the embroidery looks neat and the thread does not fall between the posts, embroider a lining, horizontal layer of stitches. In the enlarged picture, I showed them by drawing with a simple pencil.
After this row, sew the thread guides along these stitches.
And we begin to embroider with straight stitches, injecting a needle into the white chain stitch of the cap rim and splitting it.
The upper half of the stitch remains intact, while the lower half goes under the embroidery. We fix the stitches above the mustache without touching them.
MUSTACHE.
We embroider the mustache in one thread. The tambour seam goes under the embroidery. Sew in paths, the figure shows the direction of the stitches.
PADDER ON HAT.
In blue pencil, the illustration shows the direction of the stitches. To embroider in two threads floss melange white-blue No. 4010
COAT COLLAR.
In blue pencil, the illustration shows the direction of the stitches.
Embroider in two strands of floss.
MITTENS.
To embroider in two threads a floss in any tone, I took a green melange.
The green pencil shows the direction of the stitches.
Embroider in two rows of stitches.
Embroider cuffs and hem along the hem of the fur coat in two floss threads. In blue pencil, the illustration shows the direction of the stitches.
It is better to start embroidering the cuffs from the center, moving first in one direction, then in the other.
The tambour stitch remains under the embroidery.
With short stitches of black floss in one thread, trim the edges of the cuffs, hem, cap and collar.
WE EMBROIDER A BAG.
I took a floss in two shades of yellow. There are patches drawn on the template, but I did not make them, then I will decorate with fittings, since it is very difficult to cover such a large space without flaws with satin stitch. Therefore, all the irregularities can then be covered with stars, beads and sequins.
The yellow pencil shows the direction of the stitches in the illustration.
We embroider the guides in one thread.
We embroider the upper part in one stitch.
The bottom is light, the top is dark, in one thread of floss.
We embroider the bag with paths (as the sleeve was embroidered) in two threads of a floss. Stitches 5-6mm.
Sew the paths very close to each other, staggering the stitches.
Stick to the guide threads, repeat all the kinks of the bag, it is not empty.
Duplicate all guides with a dark color.
After embroidery, sheathe the bag with black floss in one thread, with a split seam and also select the gathers at the top of the bag.
We embroider the beard and hair around the face with French knots, in two threads of floss.
The knots should be of different sizes. The size depends on the number of revolutions. Maximum 4 turns, minimum 2 turns, this is mainly towards the end of the beard and around the face.
Embroider the nose and mouth with pink and red floss in two threads.
BOOT.
The leg is slightly visible.
I embroidered t. Blue in two strands, straight stitches. The brown pencil shows the direction of the stitches.
Embroider in two strands of floss. Straight stitches on the cuff and lapel.
After embroidery, tie the tunic along the bottom and along the armholes.
Charm gray, cr. 2.25.
We start from the middle of the back.
1) – 2sc, 3sc in one loop (this is a corner), 6sc on the side, 4sc in the armhole, 6sc on the side of the front, 3sc in one loop (corner), 4sc in the throat, 3sc in one loop (corner), 6sc in the other on the side of the front, 4sc on the armhole, 6sc on the side of the back, 3sc in one loop (corner), 2sc on the neckline.
Fasten and cut the thread.
We start decorating with beads. The size is different from 2 to 5mm, no more. Any configuration can be used, matte, pearl, transparent. On both sides of the embroidery, I glued buttons with a New Year theme.
Embroider a loop for a hanging toy in two threads of a floss. Split or chain stitch.
LINING.
Gray-blue Softy 416, room 2.25
We start tying the hem of the tunic from the middle of the back.
Then the armholes.
And finished with a strapping on the neck.
We start strapping the neck from the middle of the back.
4sc for the back, 2ch for the handle, 8sc for the front, 2ch for the handle, 4sc for the other half of the back.
Cut and fasten the thread.
Put on the tunic on the body, carefully thread the handles into the armholes.
HEAD.
Charm is white. CR 1.75.
We start from the middle of the back.
1) – (2inc, 1sc) * 6 (30)
2) – (4sc, 1inc) * 6 (36)
3) – (5sc, 1inc) * 6 (42)
4) – 3sc, 1inc, (6sc, 1inc) * 5, 3sc (48)
5) – (7sc, 1inc) * 6 (54)
6) – 4sc, 1inc, (8sc, 1inc) * 5, 4sc (60)
7) – (9sc, 1inc) * 6 (66)
8) – 66sc
9) – in this row we knit a 6mm red bead for the mouth.
Determine the center and tie it to it, cut the thread, leaving it about 50-60cm long.
On this piece of thread we put on a red bead. Pull the bead closer to the loops, knit 1ch over it, skip 1 loop under the bead and continue knitting into the next loop.
All connections of the cut thread must be done from the back of the head so that the joints of the threads are not visible on the face.
At this stage, we insert the wire into the handles.
Prepare two 24cm pieces of wire, make a loop at one end and fix with adhesive tape.
With a loop down, insert the wire into the handles.
Align all four ends and secure with adhesive tape.
Fill the handles slightly, except for the palms, add a little more filler to the hangers, form the handles.
We continue to knit the head.
10-14) – 66sc
15) – we knit eyes.
The distance between the beads is 6sc.
Tie to the first bead, leave a long thread and cut off, thread both beads onto it at once. First we pull one bead, knit 1ch over it, skip 1 loop under the bead and continue to knit 6sc in the next loop, pull up the second bead, knit 1ch over it, skip 1 loop under the bead and continue knitting into the next loop. Do not forget to connect the threads at the back of the head.
16) – 66sc, ch over the bead we knit behind the far wall of the loop.
17-22) – 66sc
23) – (9sc, 1dec) * 6 (60)
24) – (8sc, 1dec) * 6 (54)
25) – 54sc
26) – (7sc, 1dec) * 6 (48)
27) – (6sc, 1dec) * 6 (42)
28) – (5sc, 1dec) * 6 (36)
Gradually stuff our head.
29) – (4sc, 1dec) * 6 (30)
30) – (3sc, 1dec) * 6 (24)
31) – (2sc, 1dec) * 6 (18)
32) – (1sc, 1dec) * 6 (12)
Leave the hole open.
CARROT.
Pelican 4003, cr1.
Leave a long thread for sewing.
Link 12ch – close.
1-2) – 12sc
3) – 10sc, 1dec (11)
4) – 4sc, 1dec, 5sc (10)
5) – 1dec, 3sc, 1dec, 3sc (8)
7) – 6sc, 1dec (7)
8) -5sc, 1dec (6)
9) – 1dec, 4sc (5)
10) – 1dec, 3sc (4)
11) – pull off all the loops.
Tie the left thread around the bottom, fill it slightly and sew in place of the spout.
EYE CAP.
Charm red berry,
cr2.25
Tie 4ch and from the second loop from the hook we knit in pivoting rows with ch.
1) -3sc
2) -1inc, 1sc, 1inc (5)
3) -1inc, 3sc, 1inc (7)
4) – 7sc
5) – 1inc, 5sc, 1inc (9)
6) – 9sc
Tie two pieces together.
We connect the details:
24ch (on the forehead), 9sc (ear), 18ch (back of the head), we close the circle with 9sc along the second ear. (60)
1-16) – 60sc
17) – (8sc, 1dec) * 6 (54)
18) – 54sc
19) – (7sc, 1dec) * 6 (48)
20) – 48sc
21) – 3sc, 1dec, (6sc, 1dec) * 5, 3sc (42)
22) – (5sc, 1dec) * 6 (36)
WE EMBROIDER A FIRSTONE.
Prepare templates In front of the hat we outline the center, folding it in half, ears to each other.
Sew the template so that this center line is in the center of the Christmas tree, sew the template with a chain stitch in one floss.
The pattern shows the direction of the stitches in green pencil. They need to be embroidered on the cap.
EMBROIDERY.
We embroider with green floss in two threads and in two rows of stitches. The upper row is darker, the lower one is lighter. I embroidered with melange thread.
We embroider with white floss in two strands in one row of stitches. The pattern shows the direction of the stitches in red pencil.
On the borders of green and white, stitch with beads # 11. I sewed each bead a short distance.
Embroider the trunk with straight stitches.
We tie the bottom of the hat, Charm Red Berry, cr 2.25
We start the strapping from the middle of the back of the hat. Carefully count the number of ear bars so that they are the same.
I got it like this: –
9sc, 6sc on the side of the ear, 2sc in one loop (corner), 1sc (bottom), 2sc in one loop (corner), 6sc on the other side of the ear, 24sc (in front), 6sc on the side of the ear, 2sc in one loop (corner ), 1sc (bottom), 2sc in one loop (corner), 6sc on the other side, 9sc.
Fasten and cut the thread.
WE DECORATE THE HAT.
On the edge of the cap, repeat the bead pattern, as on a tunic.
Glue buttons, decorate the Christmas tree and sew on beads all over the hat. I used two sizes of pearl beads 2 and 3mm.
We tie a hat.
23) – 2sc, 1dec, (4sc, 1dec) * 5, 2sc (30)
24) – all decreases (15)
Pull off the hole.
Tie the bottom of the hat sc with gray-blue Softy. Sew on a pom-pom.
WE FIX THE TRACKS.
Cut off 30-40cm from the main weft and roll into a tube. When folding, I fixed it with hot glue.
Bangs – two pieces of 10 cm each.
Glue to the crown, in two rows In the left hole in the head, insert a bunch of long wefts and pull off
hole to prevent hairs from falling out.
Distribute hair evenly over the head, put on a hat and fix it on the head.
BAG.
The charm is green. Cr. 2 and 2.25
Donets. Cr.2
1) – 8sc into magic ring
2) – all increments (16)
3) – (1sc, 1inc) * 8 (24)
4) – (2sc, 1inc) * 8 (32)
Tie two parts, connect sc, but knit the top part behind the far wall of the loop.
5) – 32sc
Change the hook to 2.25
6) – (3sc, 1inc) * 8 (40)
We tie the bottom.
We attach a white thread (Pekhorka children’s cotton or Lyra, or divide the Sharma thread) to the upper bottom and tie sl-st, cr2.
7-20) – 40sc
21) 40dc
22) -40sc
23) – tie (2sl-st, 1ch) around the outer loop of the loop.
Pass a rope between dc.
Stick a button on the side.
Attach the rope on one side, fasten with a knot, put on the snowman and fasten the other end of the rope on the other side, pull it up to the desired length and fasten with a knot.
We knit a scarf.
Softy, cr 2.25
We collect 6ch and from the third loop we begin to knit 4dc in rotary rows of 30cm. We knit very loosely.