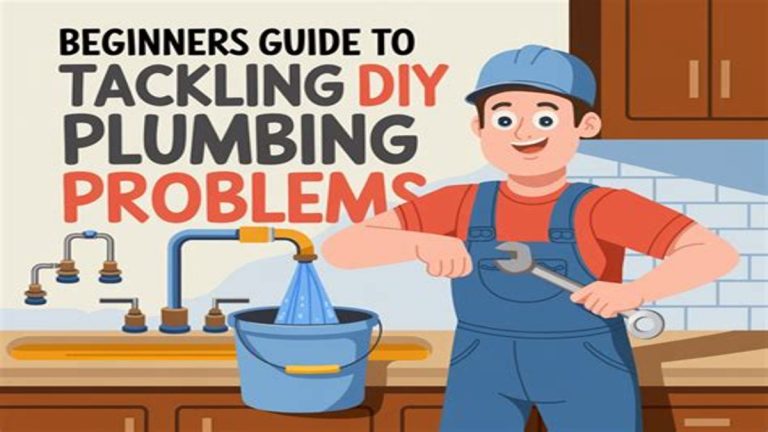
Improving Your Home’s Plumbing System With Simple DIY Repairs
Improving Your Home’s Plumbing System With Simple DIY Repairs
Maintaining a well-functioning plumbing system is crucial for any home. Issues like leaks, drips, or slow drains can cause inconvenience and even result in costly repairs if not addressed promptly. Fortunately, many common plumbing problems can be fixed with simple DIY repairs, saving you money and preventing damage to your home.
In this post, we will explore practical and easy-to-follow DIY tips to improve your home’s plumbing system. From fixing leaky faucets to clearing clogged drains, these repairs can be done with basic tools and minimal experience.
Common Plumbing Issues You Can Fix Yourself
Before calling a professional plumber, it’s helpful to understand some common problems that you can tackle on your own. Here are a few frequent plumbing issues and the simple steps you can take to resolve them:
- Leaky Faucets: A dripping faucet not only wastes water but can also increase your utility bill. Most leaks are caused by worn-out washers or seals that are easy to replace.
- Clogged Drains: Hair, soap scum, and other debris can clog drains, leading to slow drainage or backups. Using a plunger, drain snake, or natural cleaning methods can often clear blockages effectively.
- Running Toilets: A toilet that continuously runs after flushing usually has a faulty flapper or fill valve. Adjusting or replacing these parts can stop unnecessary water waste.
- Low Water Pressure: Sediment buildup in aerators or pipes can reduce water pressure. Cleaning or replacing faucet aerators and showerheads can help improve the flow.
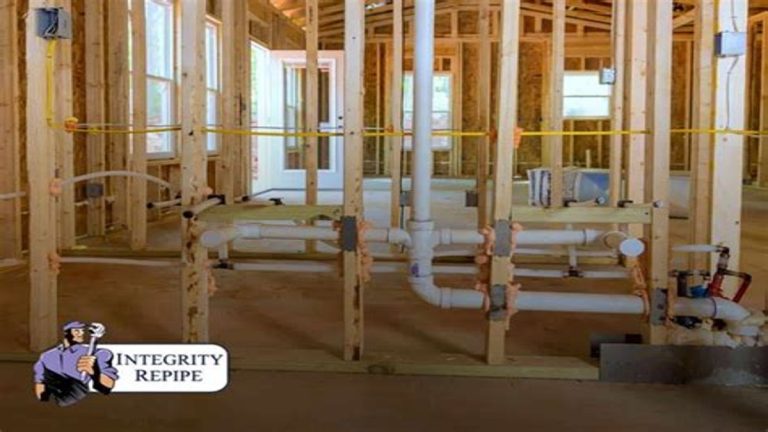
- Minor Pipe Leaks: Small leaks caused by loose fittings or minor cracks can sometimes be temporarily fixed with plumbing tape or clamps until full repairs can be made.
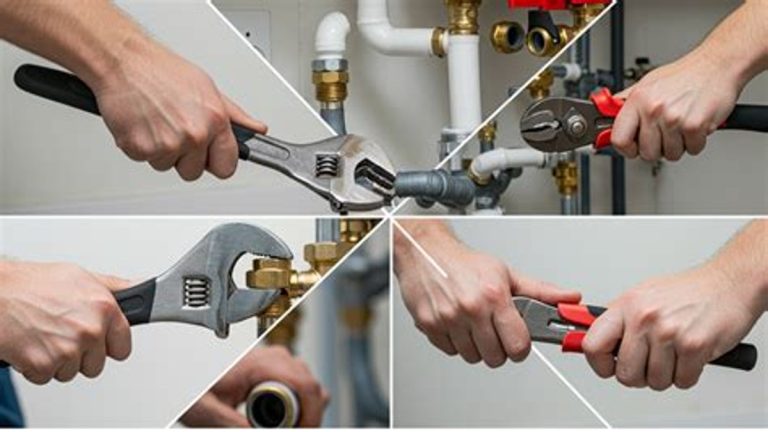
Tools You’ll Need for Basic Plumbing Repairs
Before beginning any DIY plumbing project, it’s a good idea to gather the necessary tools. Having the right equipment on hand makes the repair process smoother and safer. Here is a basic toolkit for plumbing repairs:
- Adjustable wrench
- Pipe wrench
- Slip-joint pliers
- Plumber’s tape (Teflon tape)
- Plunger
- Drain snake or auger
- Bucket
- Replacement washers, O-rings, or seals
- Screwdriver set
- Utility knife
- Rubber gloves
Step-by-Step DIY Repairs to Improve Your Plumbing
1. Fixing a Leaky Faucet
A dripping faucet is usually caused by worn-out or damaged internal components like washers or cartridges. Here’s how to fix it:
- Turn off the water supply to the faucet.
- Remove the faucet handle using a screwdriver, exposing the inner parts.
- Take out the cartridge or valve stem and inspect the washers and seals.
- Replace any worn or damaged washers with new ones from a hardware store.
- Reassemble the faucet, turn the water back on, and check for leaks.
2. Clearing a Clogged Drain
Clogged drains are a common annoyance but often easy to fix without harsh chemicals. Follow these steps for a clogged sink or tub drain:
- Start with a plunger to dislodge the blockage—make sure to create a good seal around the drain.
- If plunging fails, use a drain snake to break up or pull out debris.
- For minor clogs, a mixture of baking soda and vinegar followed by hot water can help dissolve buildup.
- Clean out the drain stopper or trap if accessible, as hair and gunk frequently get trapped there.
3. Repairing a Running Toilet
Continuous running toilets waste a lot of water but are easy to fix:
- Remove the tank lid and identify the flapper at the bottom.
- Check if the flapper seals properly; if not, clean it or replace it with a new one.
- Inspect the chain linked to the flush handle—adjust the length so it allows the flapper to close fully.
- Examine the fill valve for leaks or wear—replace the fill valve if necessary.
4. Improving Water Pressure
If your faucets or showerheads have weak water flow, cleaning them could help:
- Remove the aerator or showerhead and soak it in vinegar overnight to dissolve mineral deposits.
- Use a small brush to clear away any debris before reinstalling.
- If sediment has built up inside pipes, flushing the plumbing system can be done by opening all taps and letting water run for a few minutes.
5. Temporarily Stopping Minor Pipe Leaks
For minor leaks around a pipe joint or small crack, you can apply a temporary fix until a plumber can do a permanent repair:
- Turn off the water supply to prevent further flooding.
- Wrap the leaking section tightly with plumber’s tape or a rubber patch secured with hose clamps.
- Place a bucket underneath to catch any drips until you get professional help.
Tips for Safe and Effective DIY Plumbing
- Always turn off the water supply before starting any plumbing repair to prevent flooding and water damage.
- Wear gloves and protective eyewear when handling plumbing parts or chemicals.
- Be gentle when working with older pipes to avoid causing more damage.
- Keep a bucket and towels nearby to quickly manage any water spills.
- When in doubt, do not hesitate to call a professional plumber, especially for complex issues or major leaks.
Conclusion
Improving your home’s plumbing system with simple DIY repairs is entirely achievable with some basic tools and knowledge. Addressing common issues like leaky faucets, clogged drains, and running toilets early can save you money, conserve water, and prevent bigger problems down the road. By following the tips and steps outlined above, you can confidently maintain your plumbing system and enjoy a more efficient and hassle-free home.