Crisscross Crochet Hat
Crisscross Crochet Hat
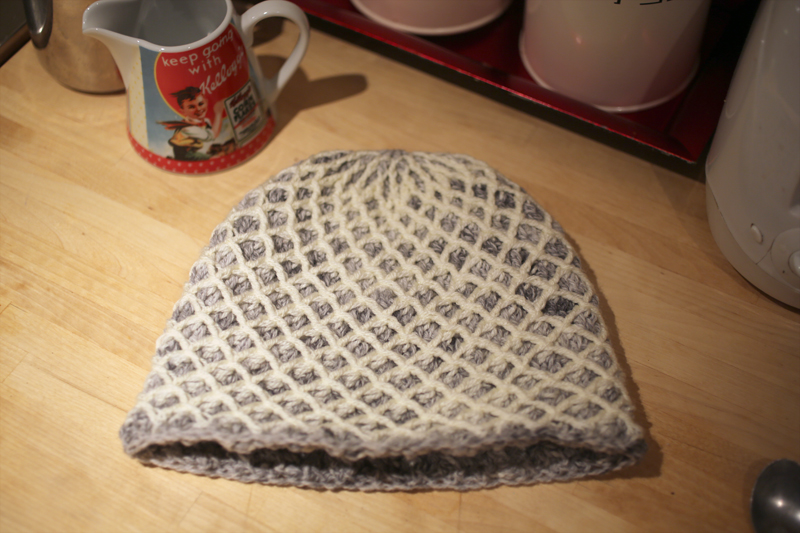
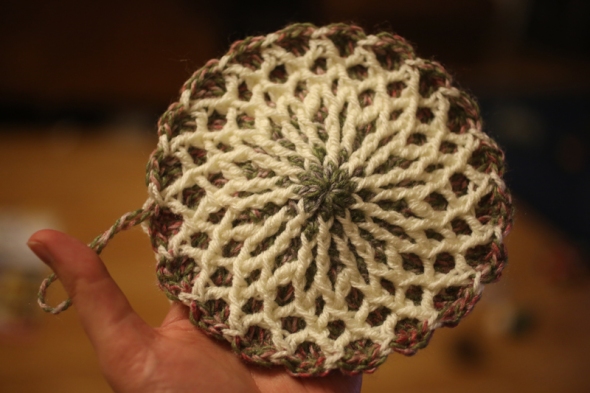
You can make this hat either in a beanie style, or as a roll bottom bowler. The weather is still grey and gloomy, and mr. weather man has promised frost so it’s a perfect time to get hooking!
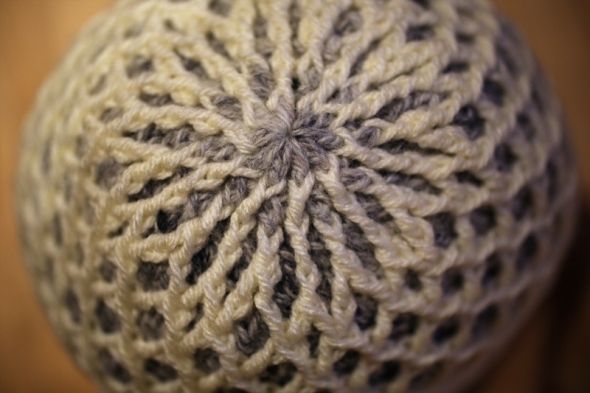
Experiment with colour choices, or use just 1 colour if you’re struggling with working in 2. It looks great either way.

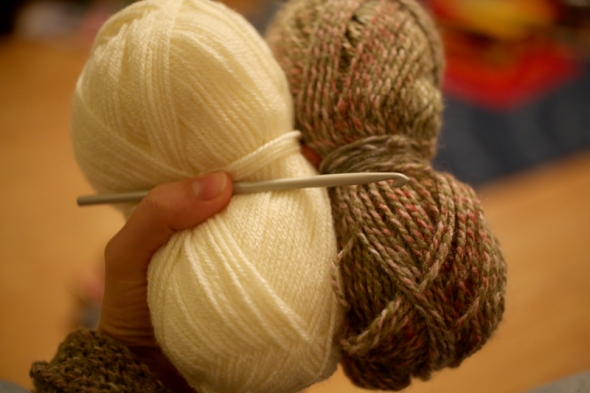 Materials
Double crochet yarn in 2 colours
5mm crochet hook
yarn needle
scissors
Pattern
Written in UK crochet terms
Abbreviations
ccc change to crisscross colour
bgc change to background colour
yoh yarn over hook
st stitch
ch chain stitch
slst slip stitch
fpdc front post double crochet
bpdc back post double crochet
tr treble crochet
fptr front post treble crochet
tr dec treble decrease as follows. Work treble until 2 loops remain just before finishing st, yoh and work another tr to the same point into next st. you’ll have 3 loops on your hook. Yoh and pull through all 3 loops.
rnd round
spst split stitch, see below
How to work the split stitch on round 5 only:
You should have introduced your cc colour at end of previous st.
Yoh, insert hook underneath fptr from previous round to right of current st, yoh, pull back through work so you have 3 loops on hook. Yoh, pull through 2 loops. You’ll have 2 loops on hook. Yoh, miss 1 st from previous rnd, insert hook underneath post of next st. Yoh, pull through work, you’ll have 4 loops. Yoh, pull through 2 loops. Using bg colour, Yoh, pull through remaining 3 loops.
How to work the split stitch on every other round:
You should have introduced your cc colour at end of previous st.
Yoh, insert hook underneath entire top of spst from previous round to right of current st, yoh, pull back through work so you have 3 loops on hook. Yoh, pull through 2 loops. You’ll have 2 loops on hook. Yoh, insert hook underneath entire top of spst from previous round to left of current stitch. Yoh, pull through work, you’ll have 4 loops. Yoh, pull through 2 loops. Using bg colour, Yoh, pull through remaining 3 loops.
How to change colour:
Always introduce the new colour in the last stage of the stitch before you want the new colour to appear. Do this working the previous stitch normally until final yoh. yoh with new colour and pulling that colour through.
Note about colour changes:
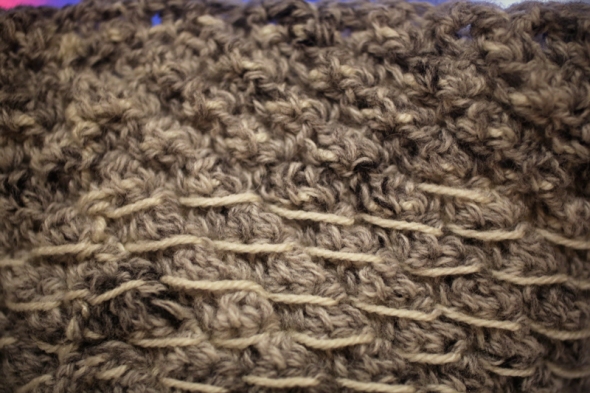
I recommend that you run your cc colour behind the bg colour from rnd 6 onwards to avoid long ‘running stiches’ viewable on the reverse side. To do this, when working a tr with the bg colour, yoh, insert hook through work, run cc colour across hook from right to left, don’t pull too tight. Yoh, pull underneath cc colour and through work, ignore cc colour from here and work the tr as normal.
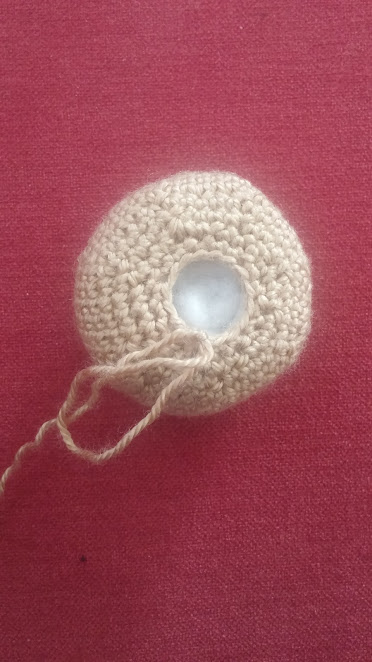
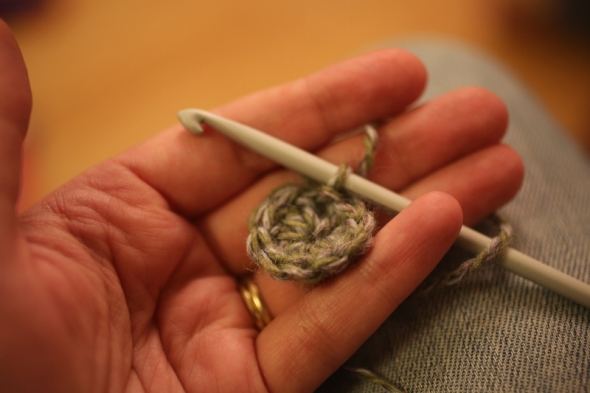
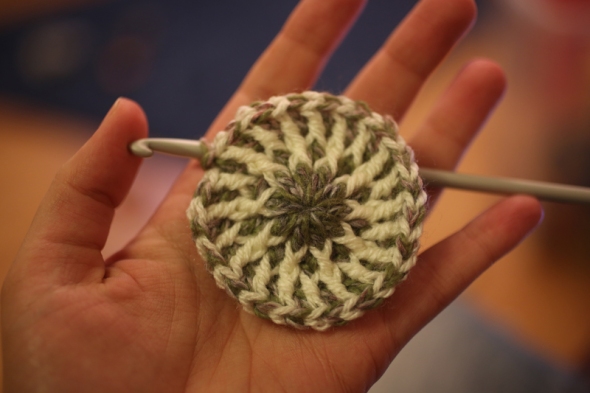
rnd1 magic circle, in bgc, 3ch (this counts as 1st tr), 9tr into magic circle.
or
ch5, slst. 3ch (this counts as 1st tr), 9tr into centre of loop.
slst to finish rnd.
rnd2 3ch, ccc fptr round chs from previous rnd.
(bgc 1tr, ccc fptr in same st) to end.
bgc slst to finish round into 3rd ch from previous round. (20 st)
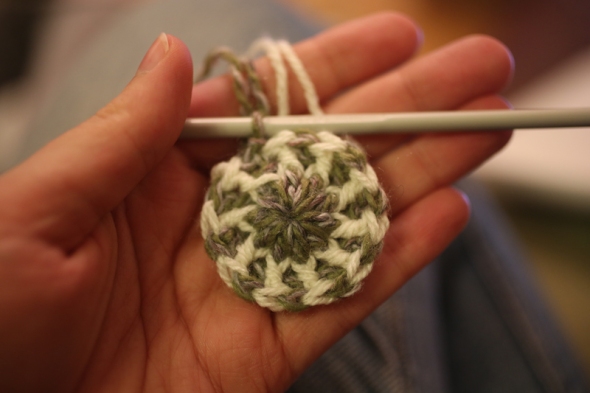
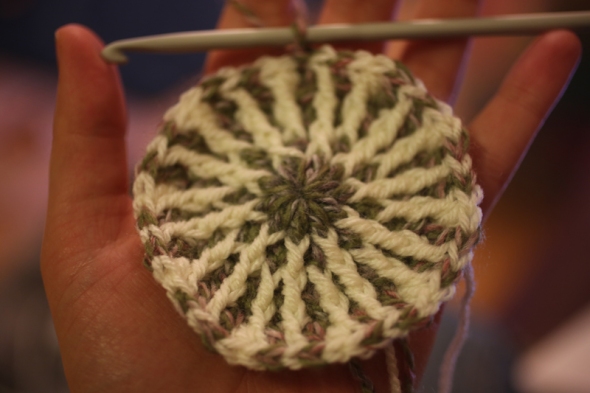
rnd3 3ch, ccc fptr round chs from previous rnd.
(bgc 1tr, ccc fptr in same st) to end.
bgc slst to finish round into 3rd ch from previous round. (40 st)
rnd4 3ch, ccc 1tr, fptr into same st, bgc 1tr, ccc fptr,
(bgc 1tr, ccc 1tr, fptr into same st, bgc 1tr, ccc fptr) to end.
bgc slst to finish round into 3rd ch from previous round. (50 st)
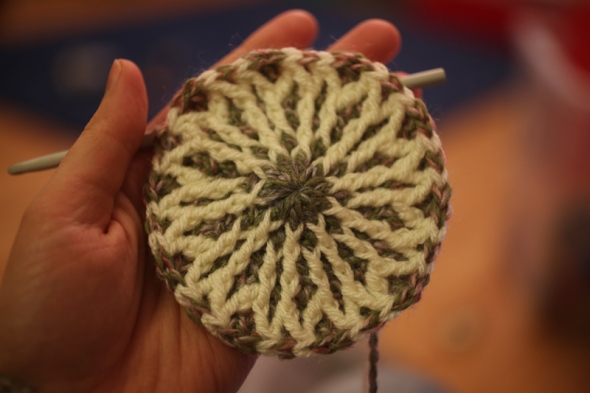
rnd5 3ch, ccc spst, bgc 2tr, ccc spst,
(bgc 1tr, ccc spst, bgc 2tr, ccc spst) to end.
bgc slst to finish round into 3rd ch from previous round. (50 st)
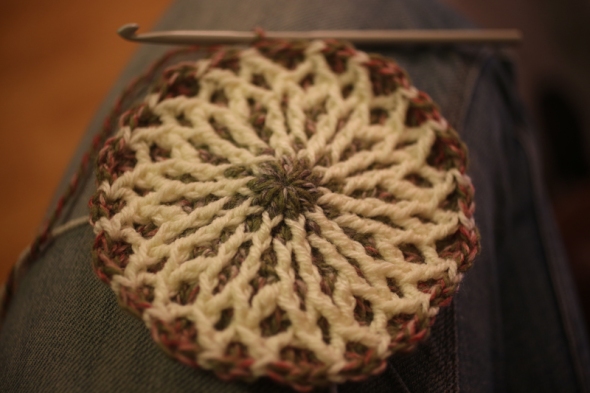
rnd6 3ch, (ccc spst, bgc 1tr in top of same st of left spoke of spst just completed, 1tr, ccc spst, bgc 1tr in st behind spst just completed, 1tr in same st as left spoke of spst, 1tr) 9 times.
ccc spst, bgc 1tr in top of same st of left spoke of spst just completed, 1tr, ccc spst, bgc 1tr in st behind spst just completed, 1tr in same st as left spoke of spst,
slst to finish round into 3rd ch from previous round. (70 st)
rnd7 3ch, 1tr in top of spst from previous rnd, 1tr, ccc spst, (bgc 1tr in st behind spst just completed, 1tr in top of spst from previous rnd, tr dec, ccc spst, bgc 1tr in st behind spst just completed, 1tr in top of spst from previous rnd, tr , ccc spst)
slst to finish round into 3rd ch from previous round. (80 st)
rnd8 ch3, 1tr, (ccc spst, bgc 1tr in st behind spst just completed, 1tr in top of spst from previous rnd, tr dec) 19 times.
ccc spst, bgc tr dec into st behind spst just created and top of spst from previous rnd.
slst to finish round into 3rd ch from previous round. (80 st)
rnd9 ch3, (ccc spst, bgc 1tr in st behind spst just completed, 1tr in top of spst from previous rnd, tr dec) 19 times.
bgc 1tr in st behind spst just completed, tr dec starting in top of spst from previous rnd.
slst to finish round into 3rd ch from previous round. (80 st)
rnd10 ch3, 1tr in top of spst from previous rnd, tr dec, (ccc spst, bgc 1tr in st behind spst just completed, 1tr in top of spst from previous rnd, tr dec)
ccc spst
slst to finish round into 3rd ch from previous round. (80 st)
repeat rnds 8, 9 and 10 until hat is the desired length. My hats were 20 rounds in total, you may like to do more or less depending on your head size.
To finish.
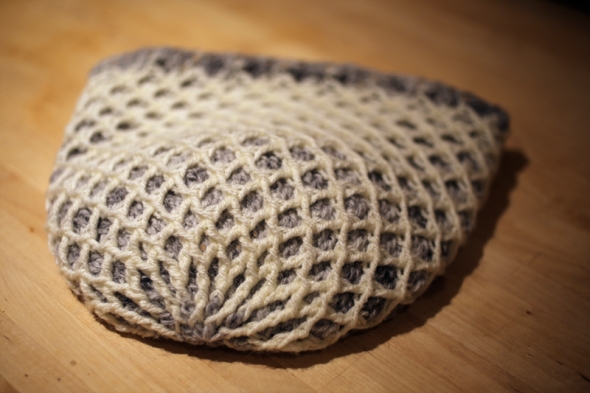
For roll bottom ‘bowler’ style:
the stitch naturally rolls up, there is no need to add a ‘finishing’ row.
For straight bottomed ‘beanie’ style:
bgc, alternate between fpdc and bpdc in every bg stitch from previous round. slst to finish rnd. (60 st)

With my best selfie face on, I took these with my ipad so you can see how the two styles look. I also wanted to show you what the hat looks like in a plain colour.
Perhaps I need to work on my pout. Either that or get someone to model for me next time. Volunteers?!