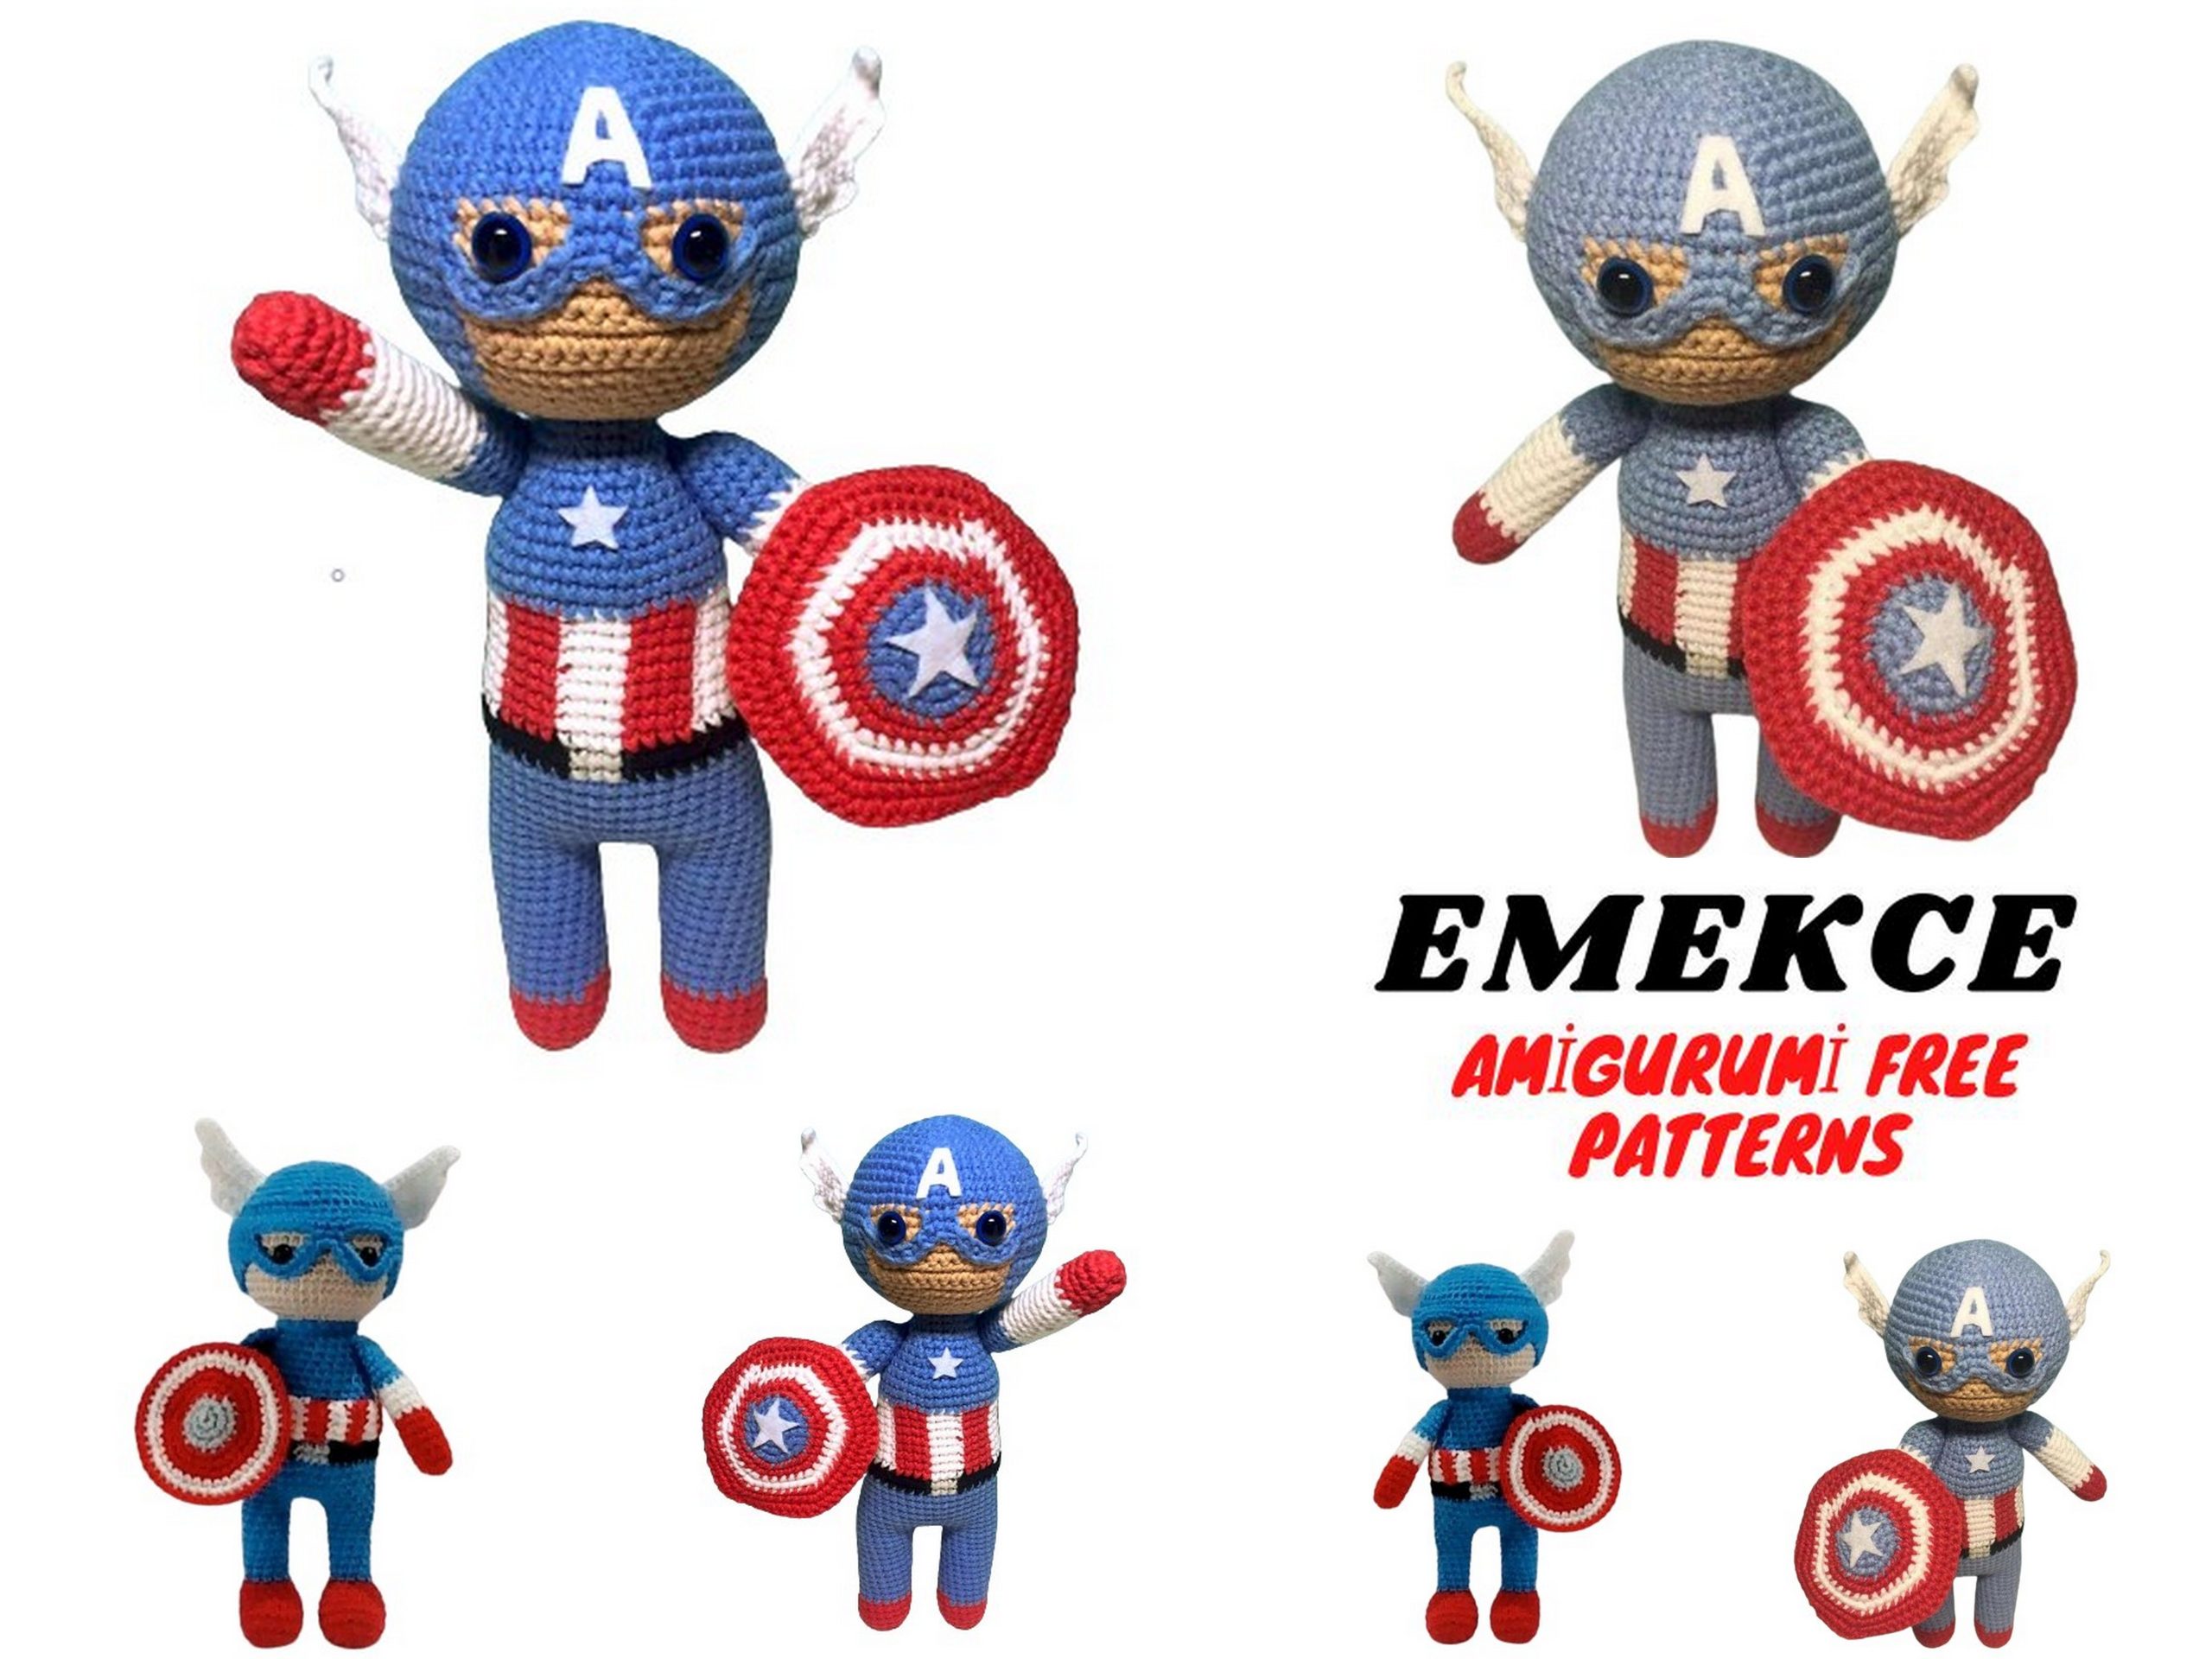
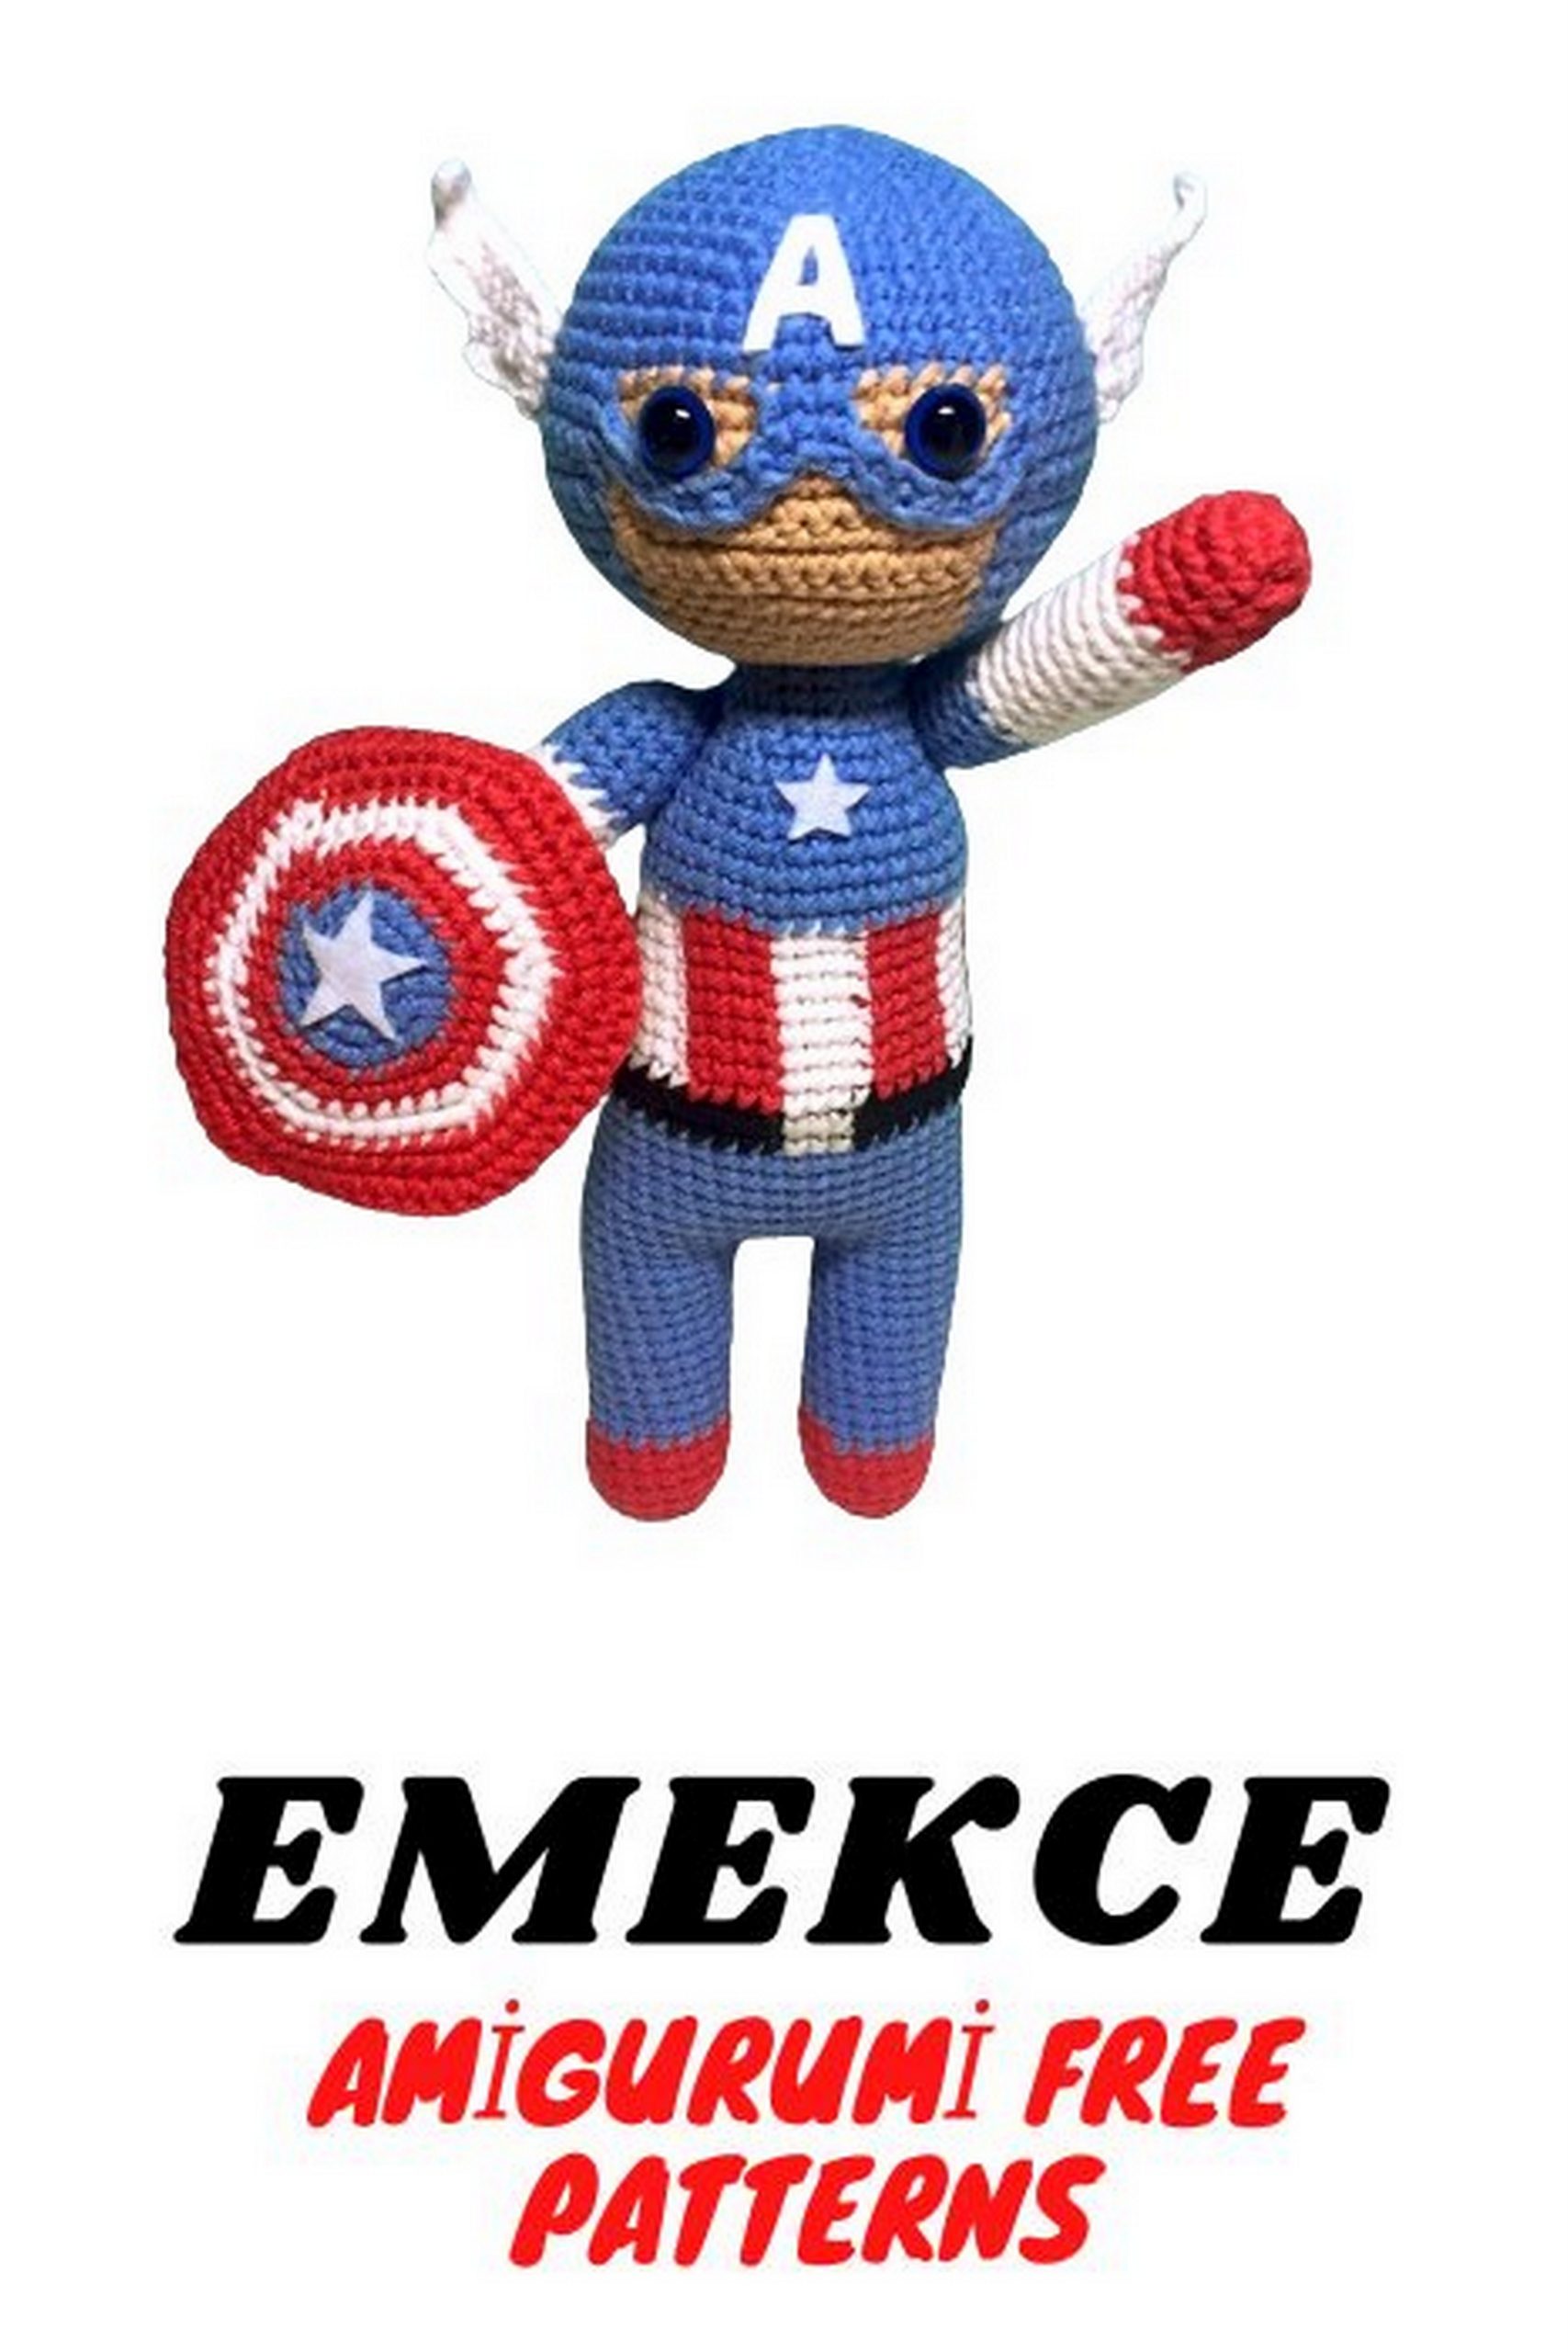
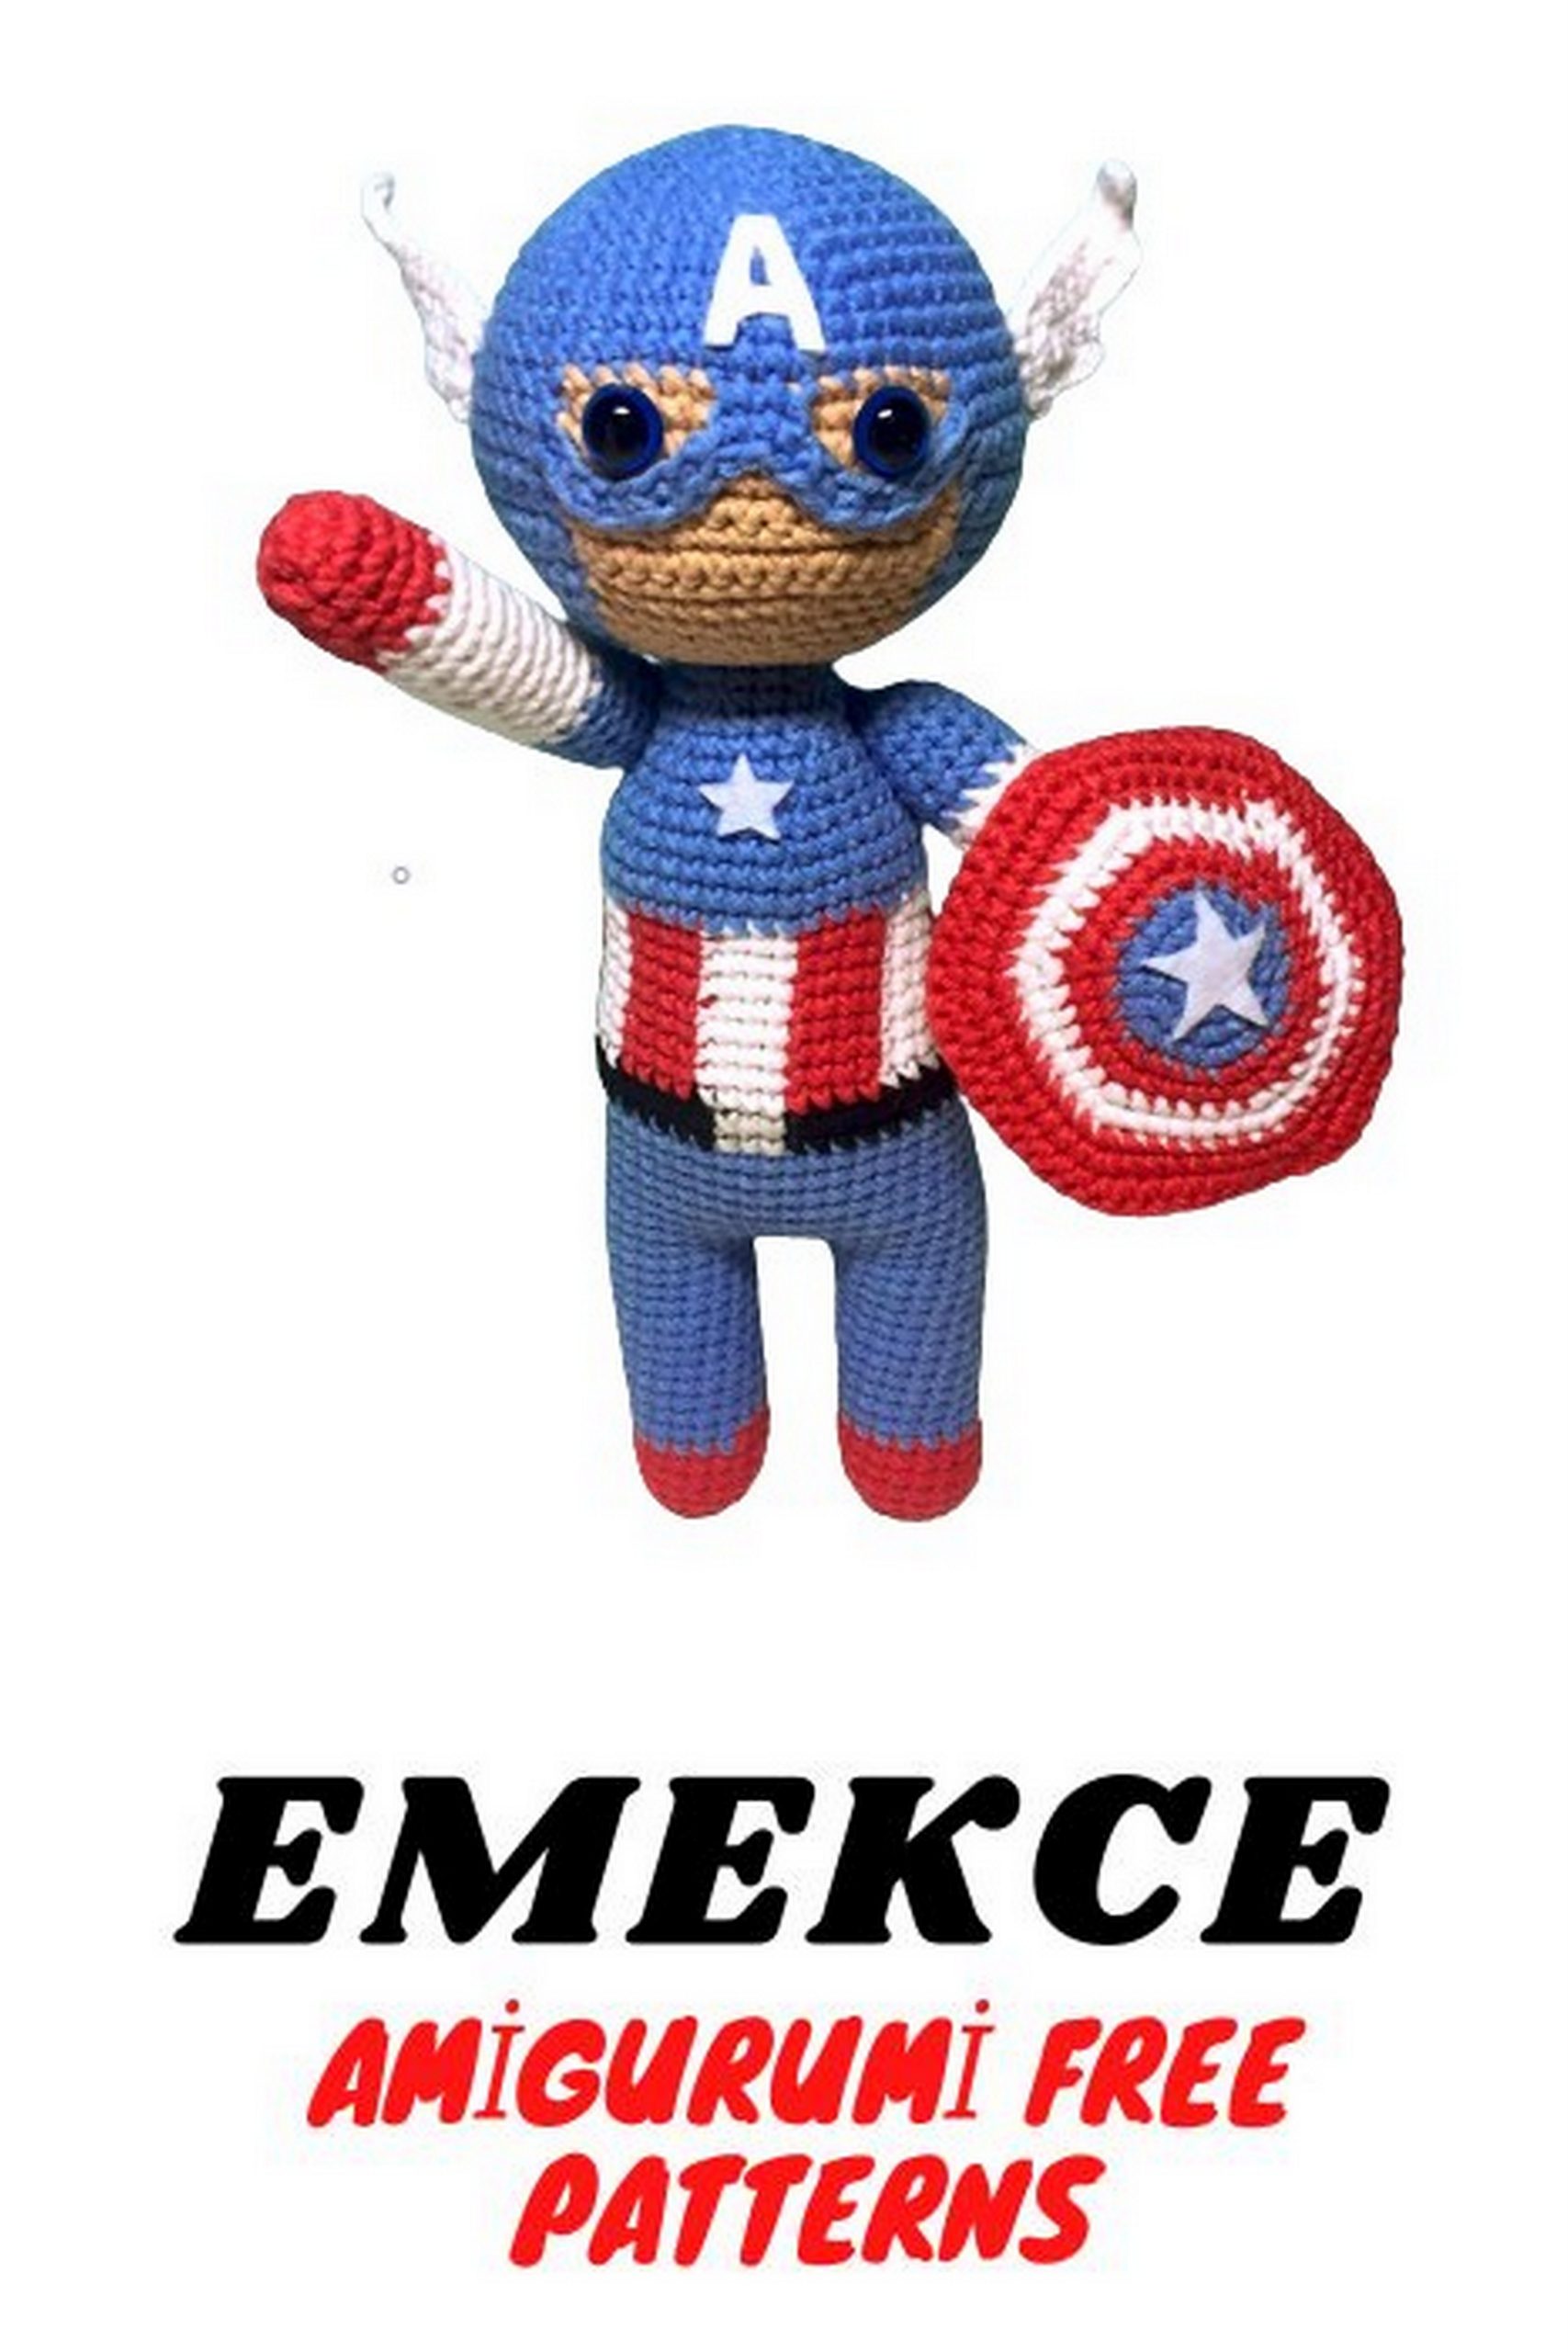
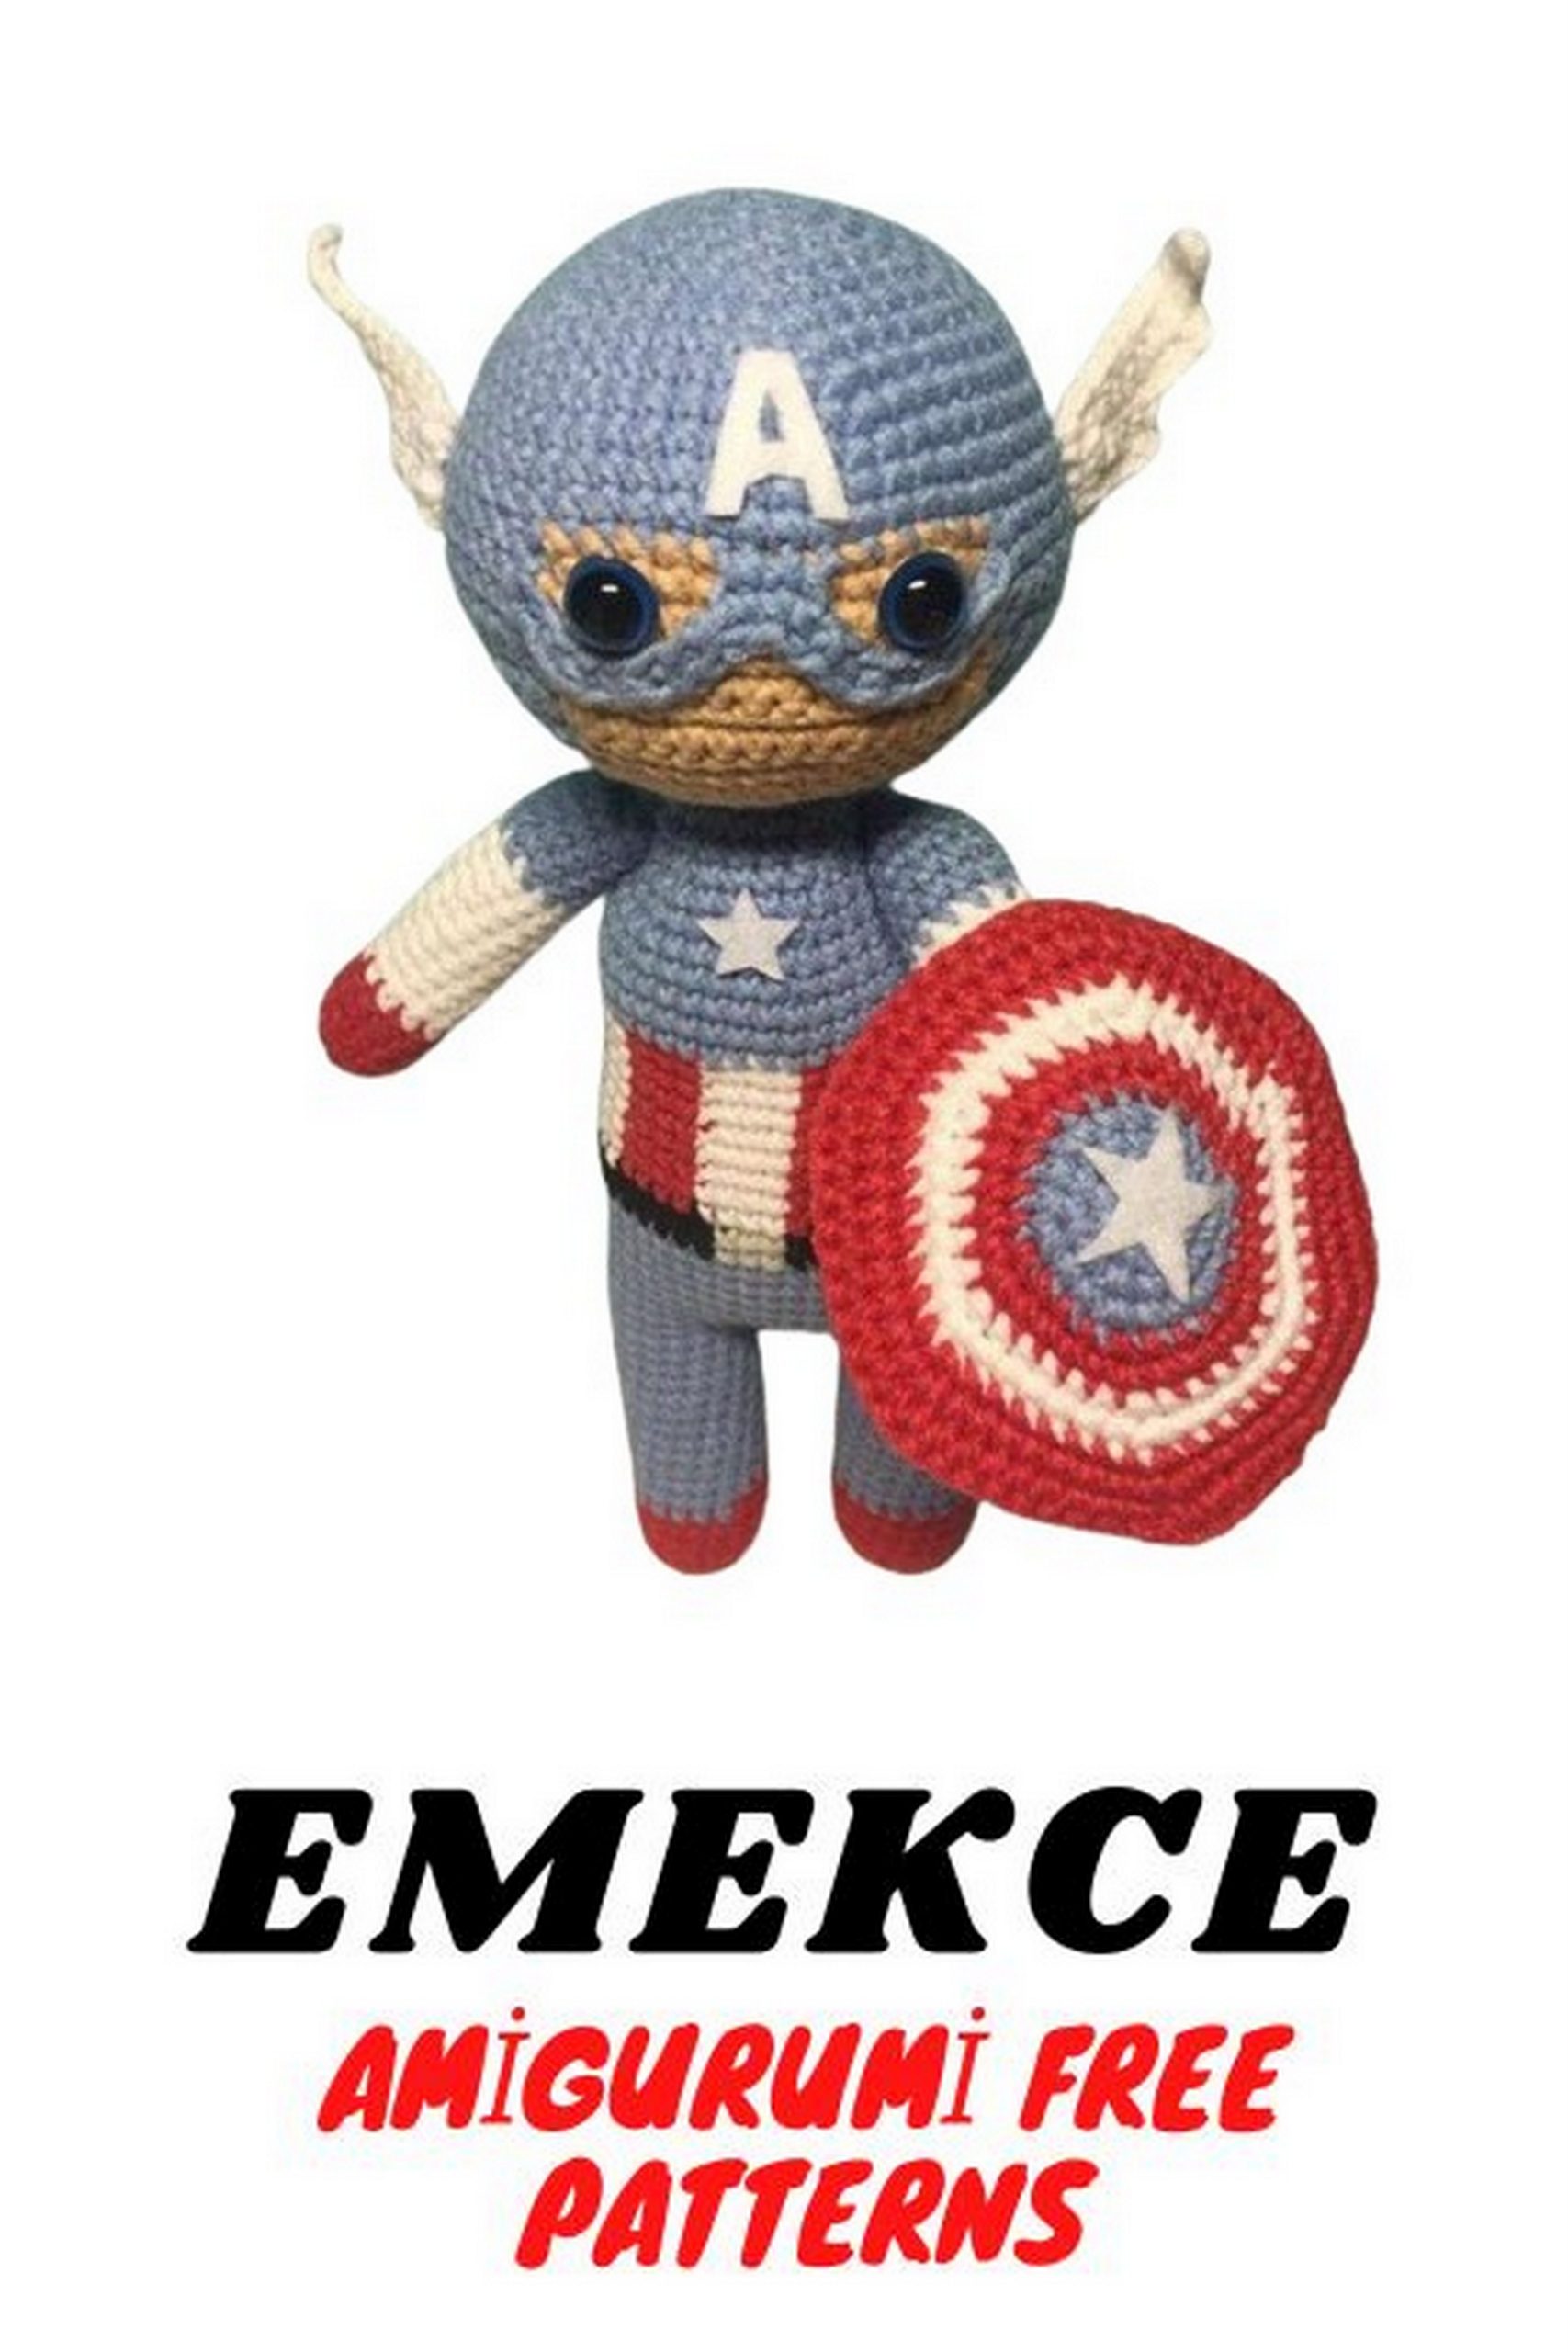
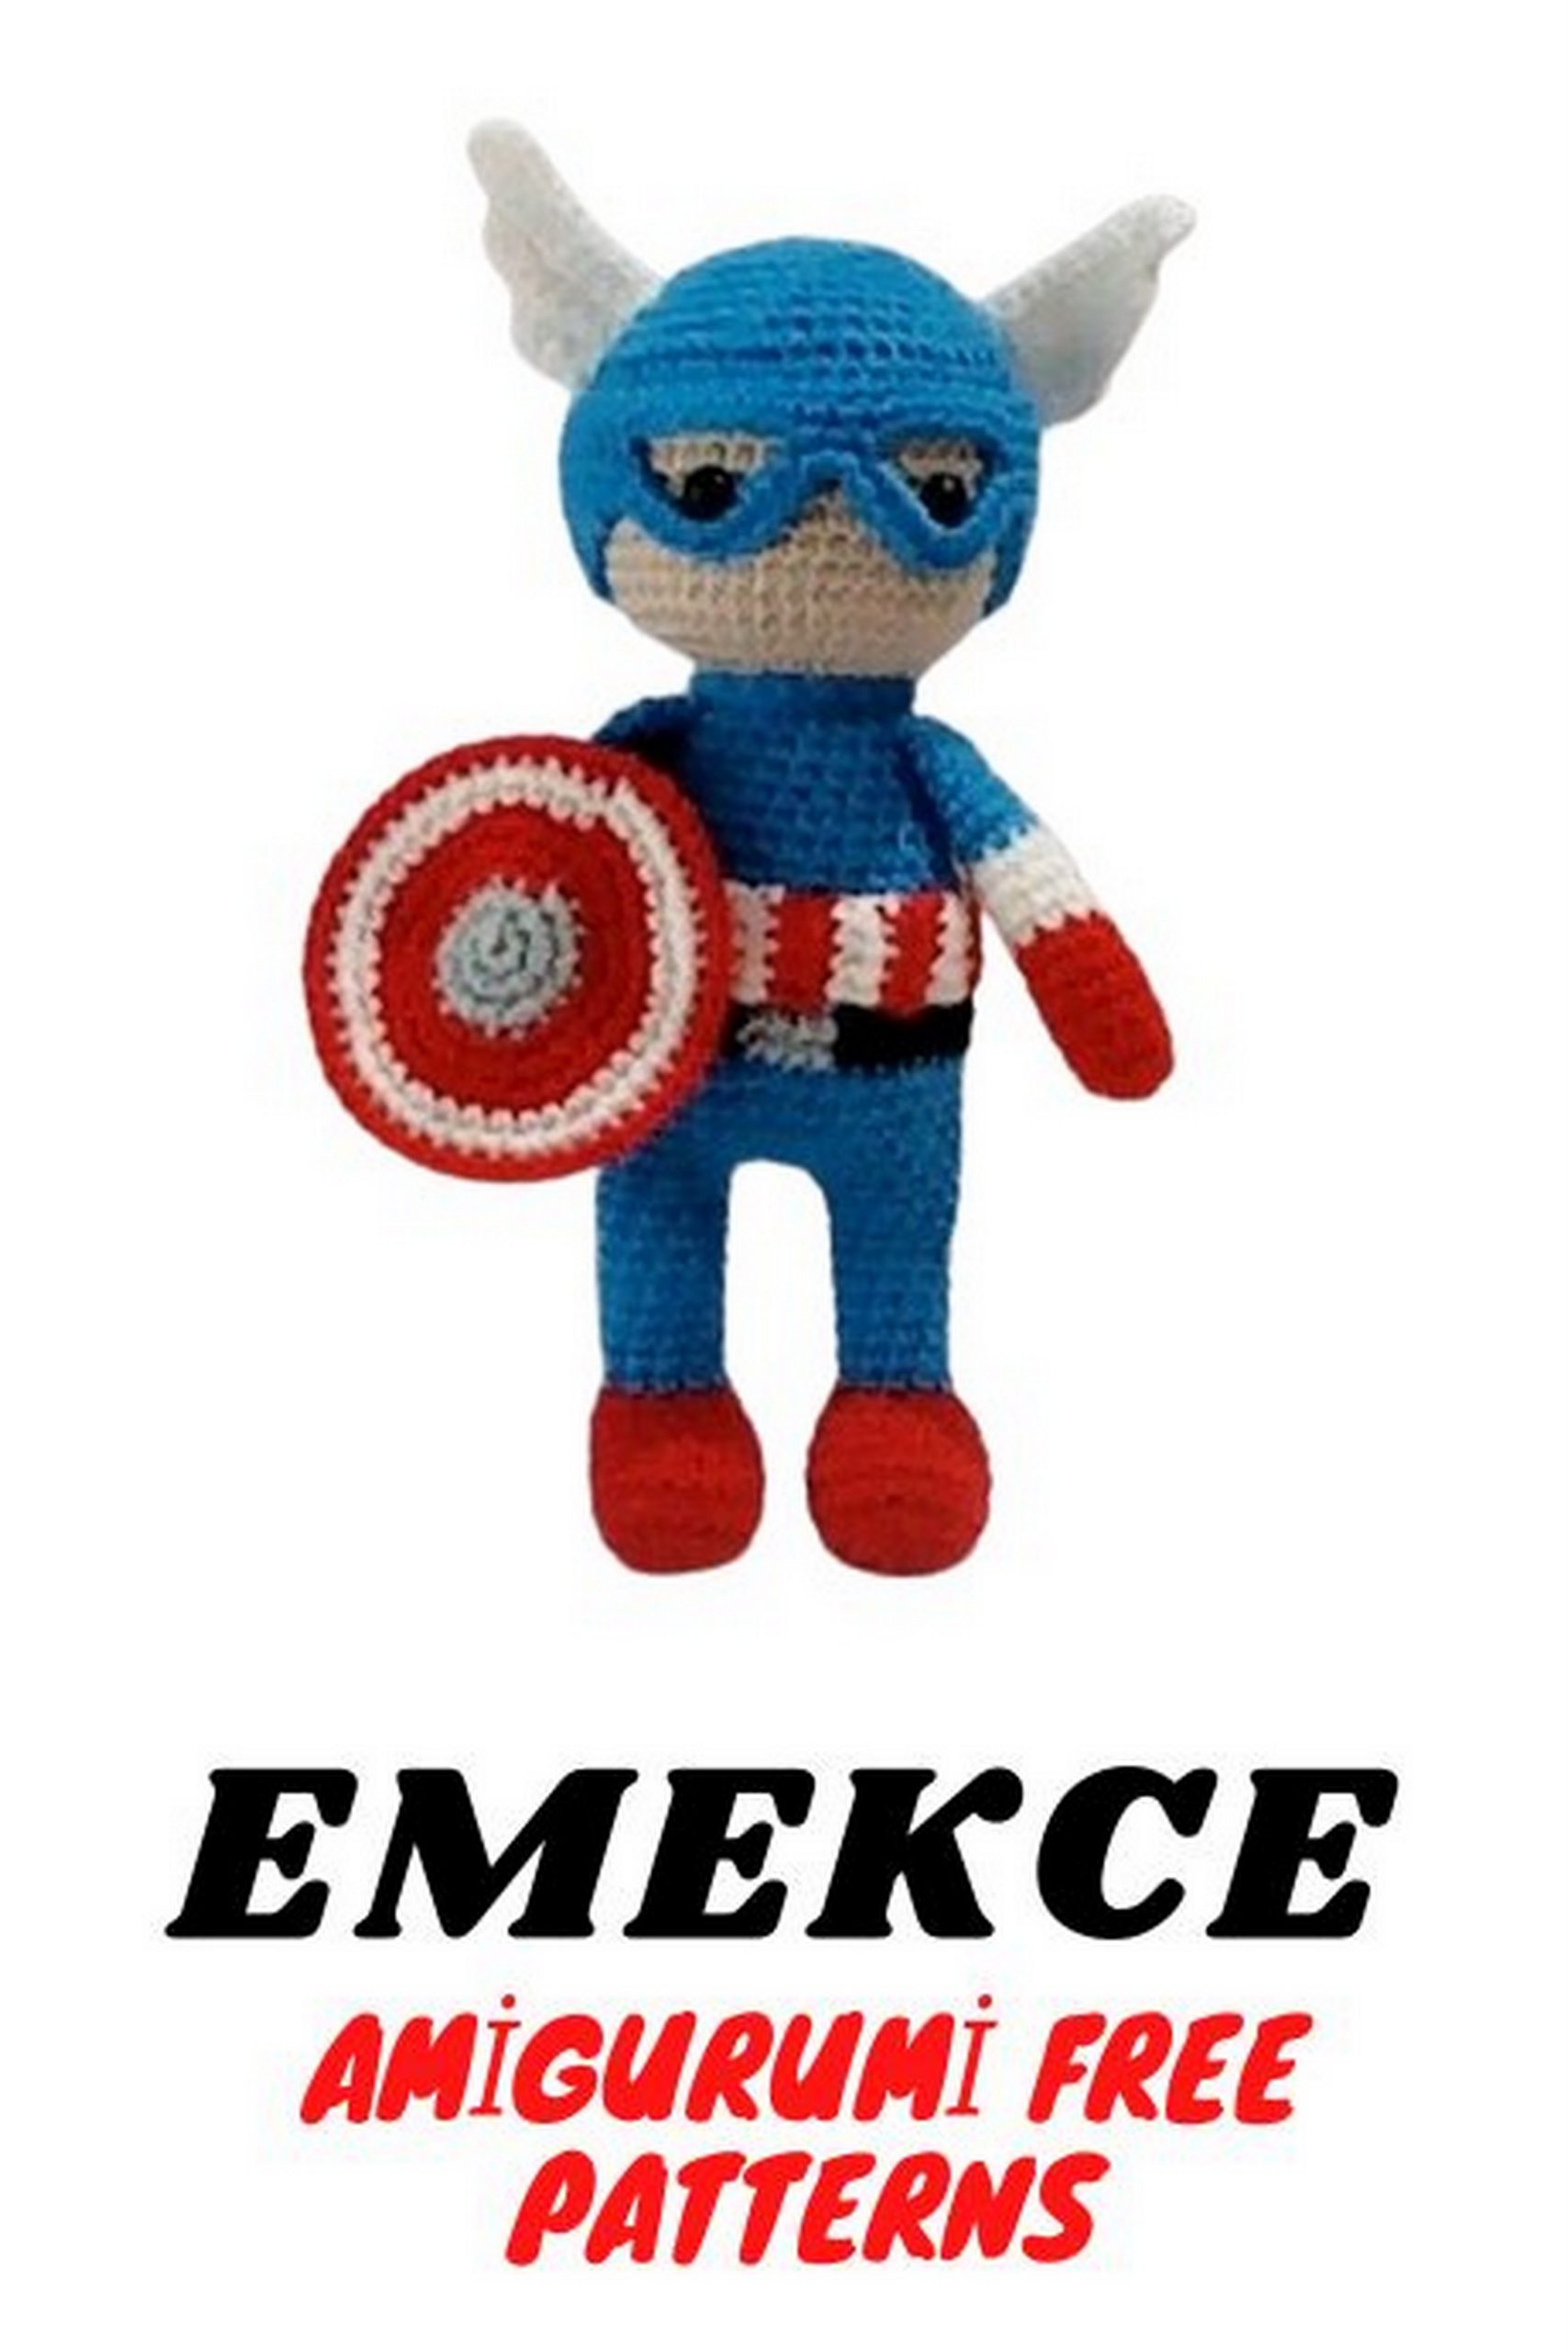
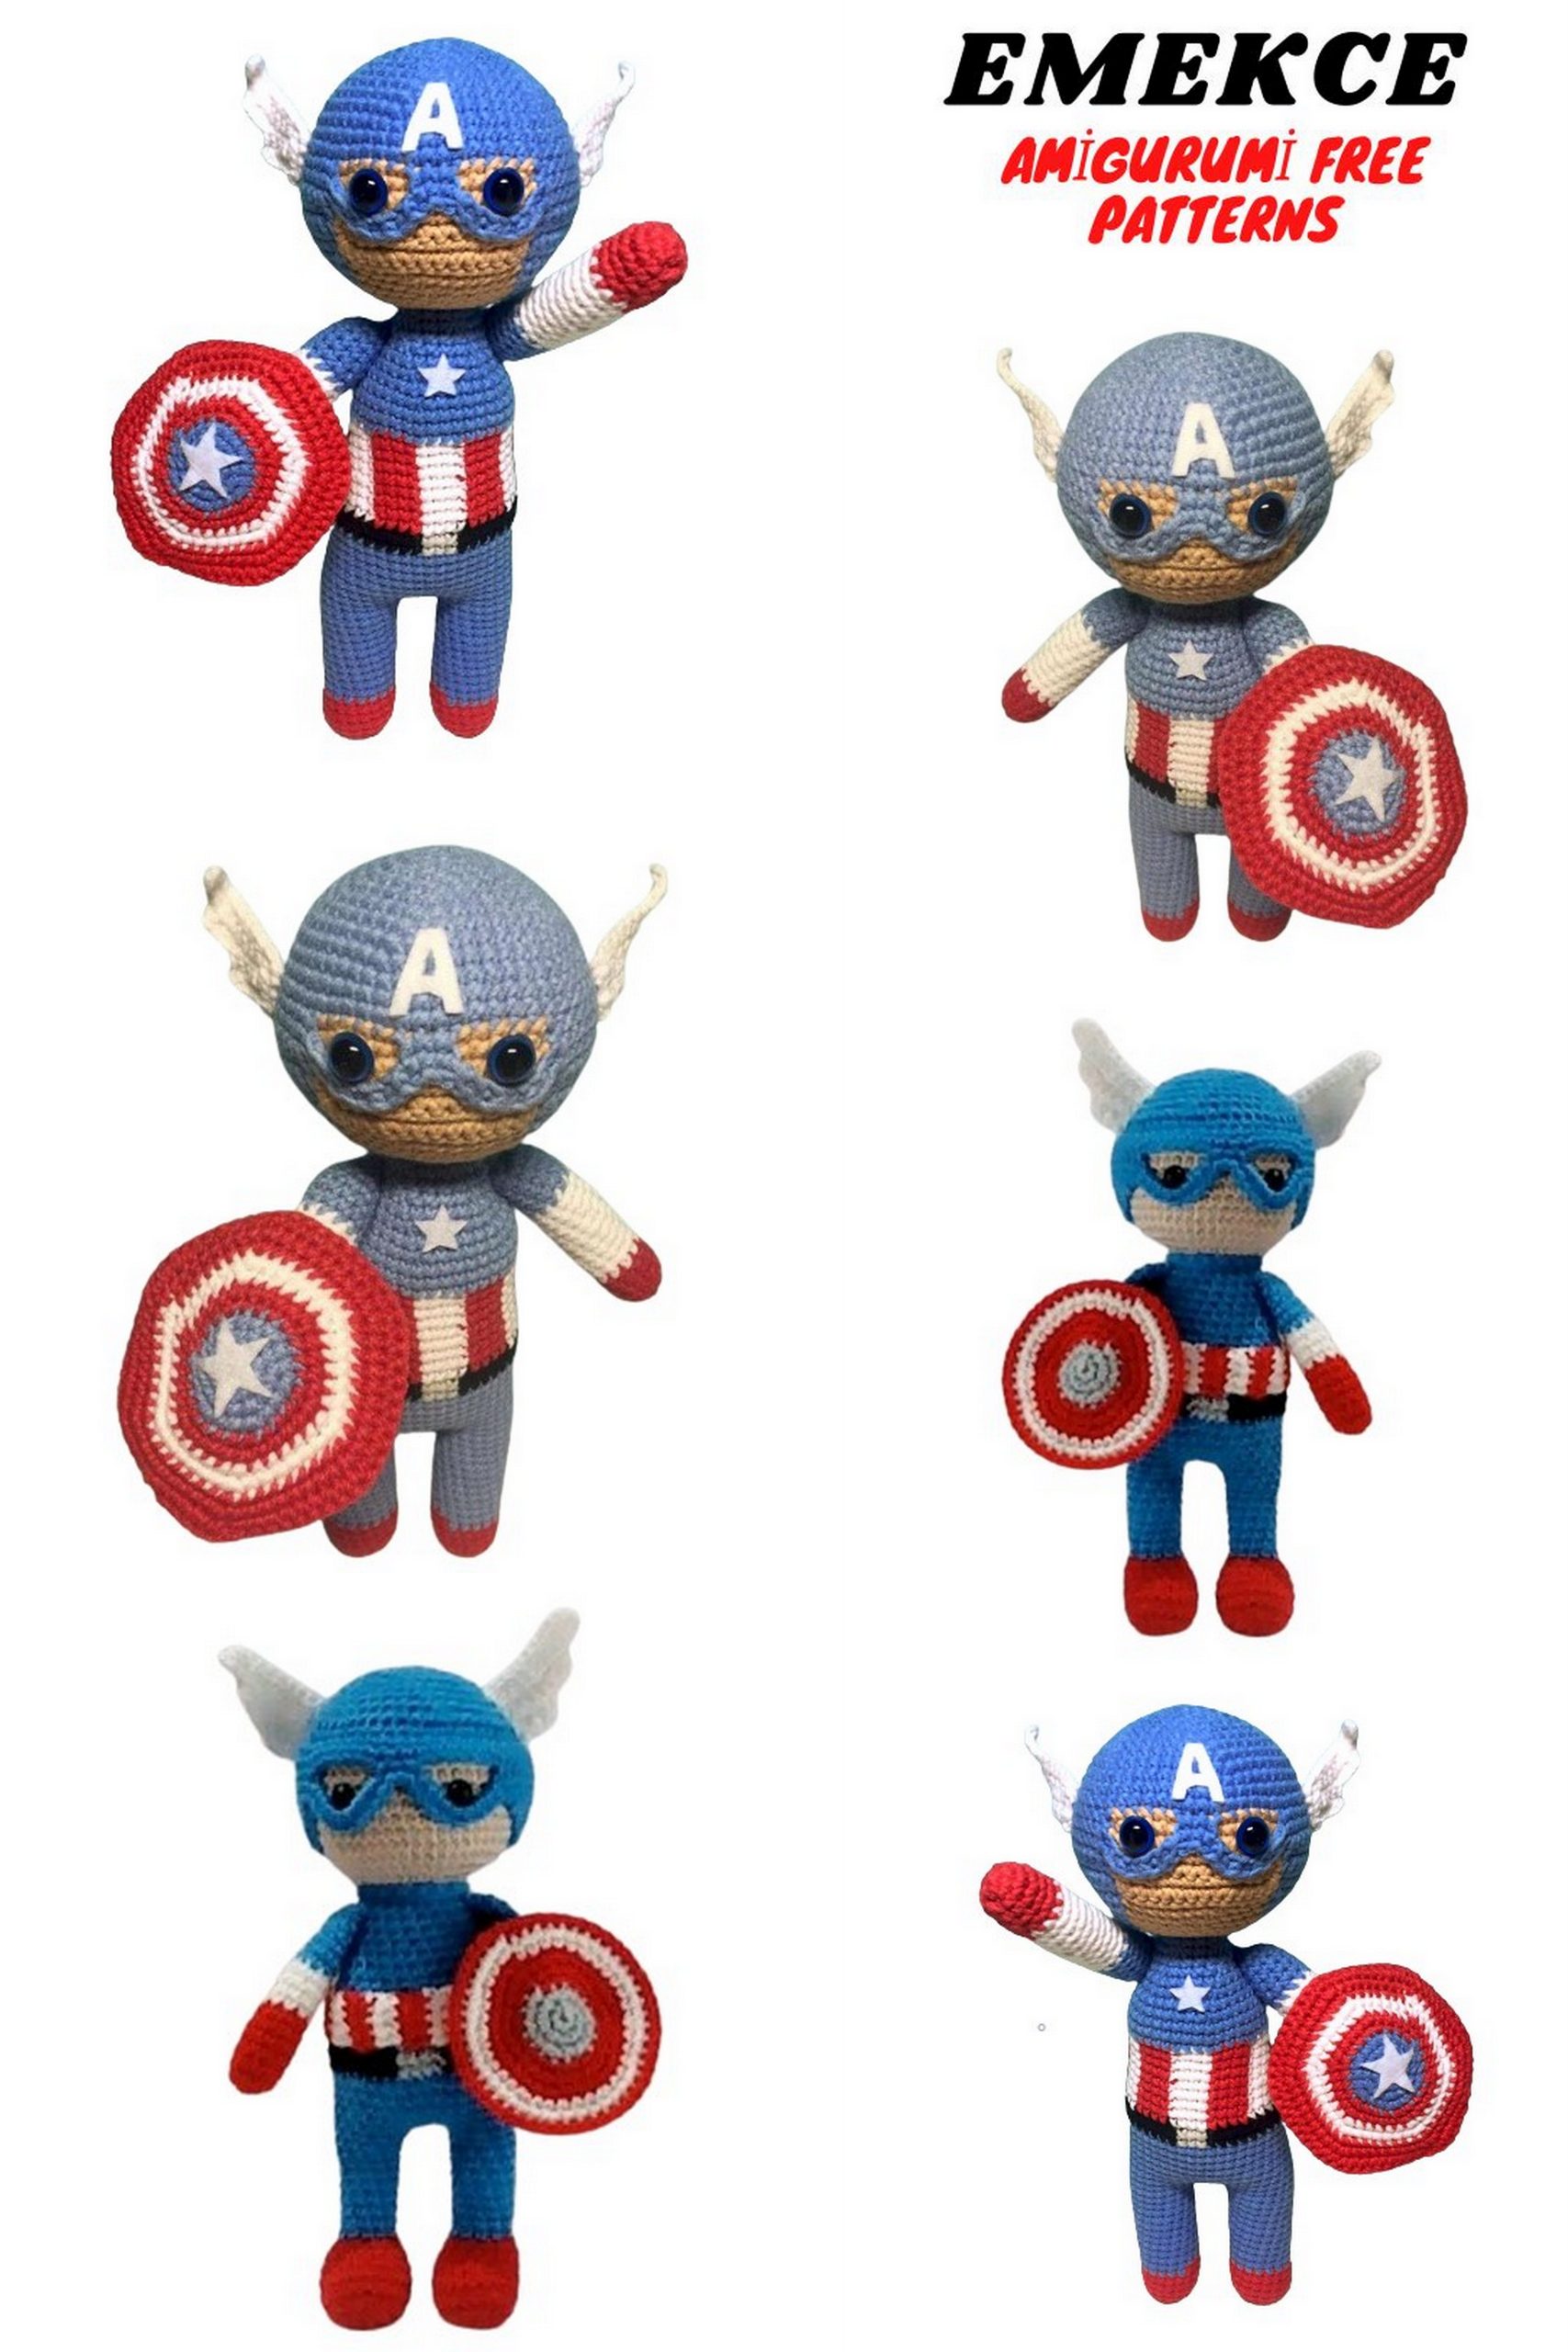
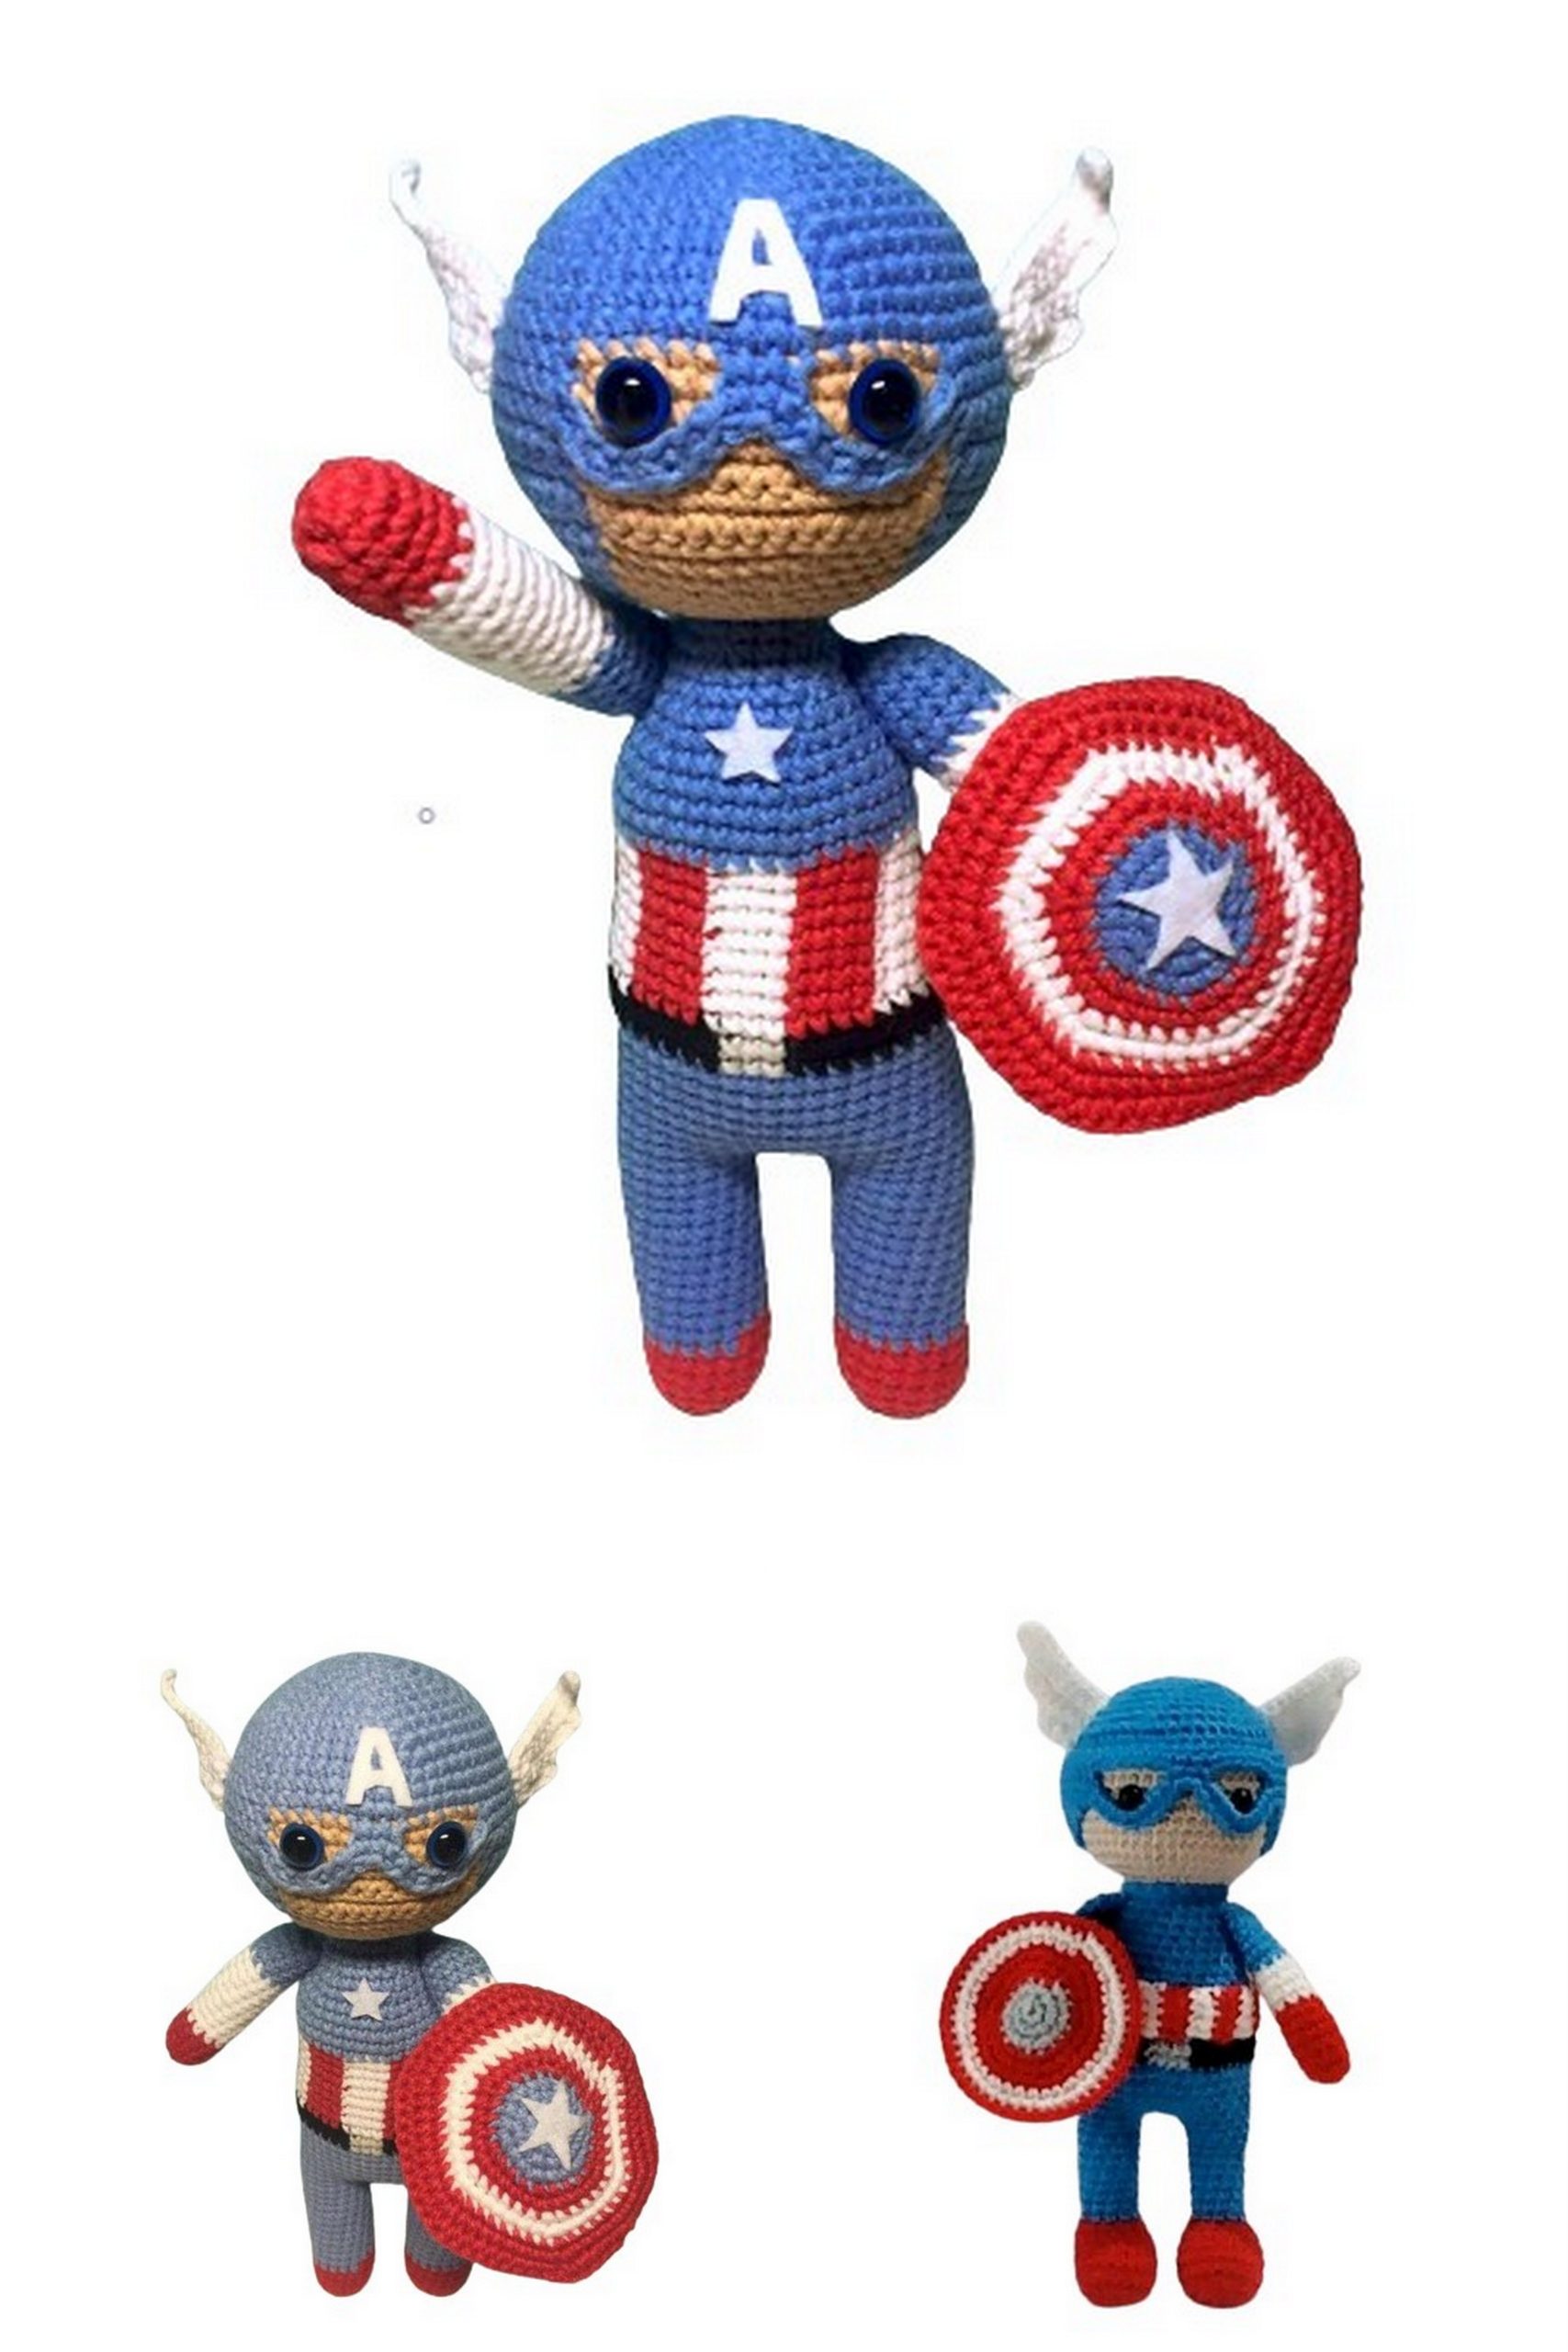
Free Captain America Amigurumi Pattern: Crochet Your Own Superhero!
Unleash your inner superhero with our free Captain America amigurumi pattern! Crochet enthusiasts and Marvel fans alike will love bringing this iconic Avenger to life stitch by stitch. Whether you’re a beginner or an experienced crafter, our step-by-step instructions will guide you through creating your very own cuddly Amigurumi Captain America doll. Get ready to defend justice and honor with this fun and engaging project that’s perfect for fans of all ages!
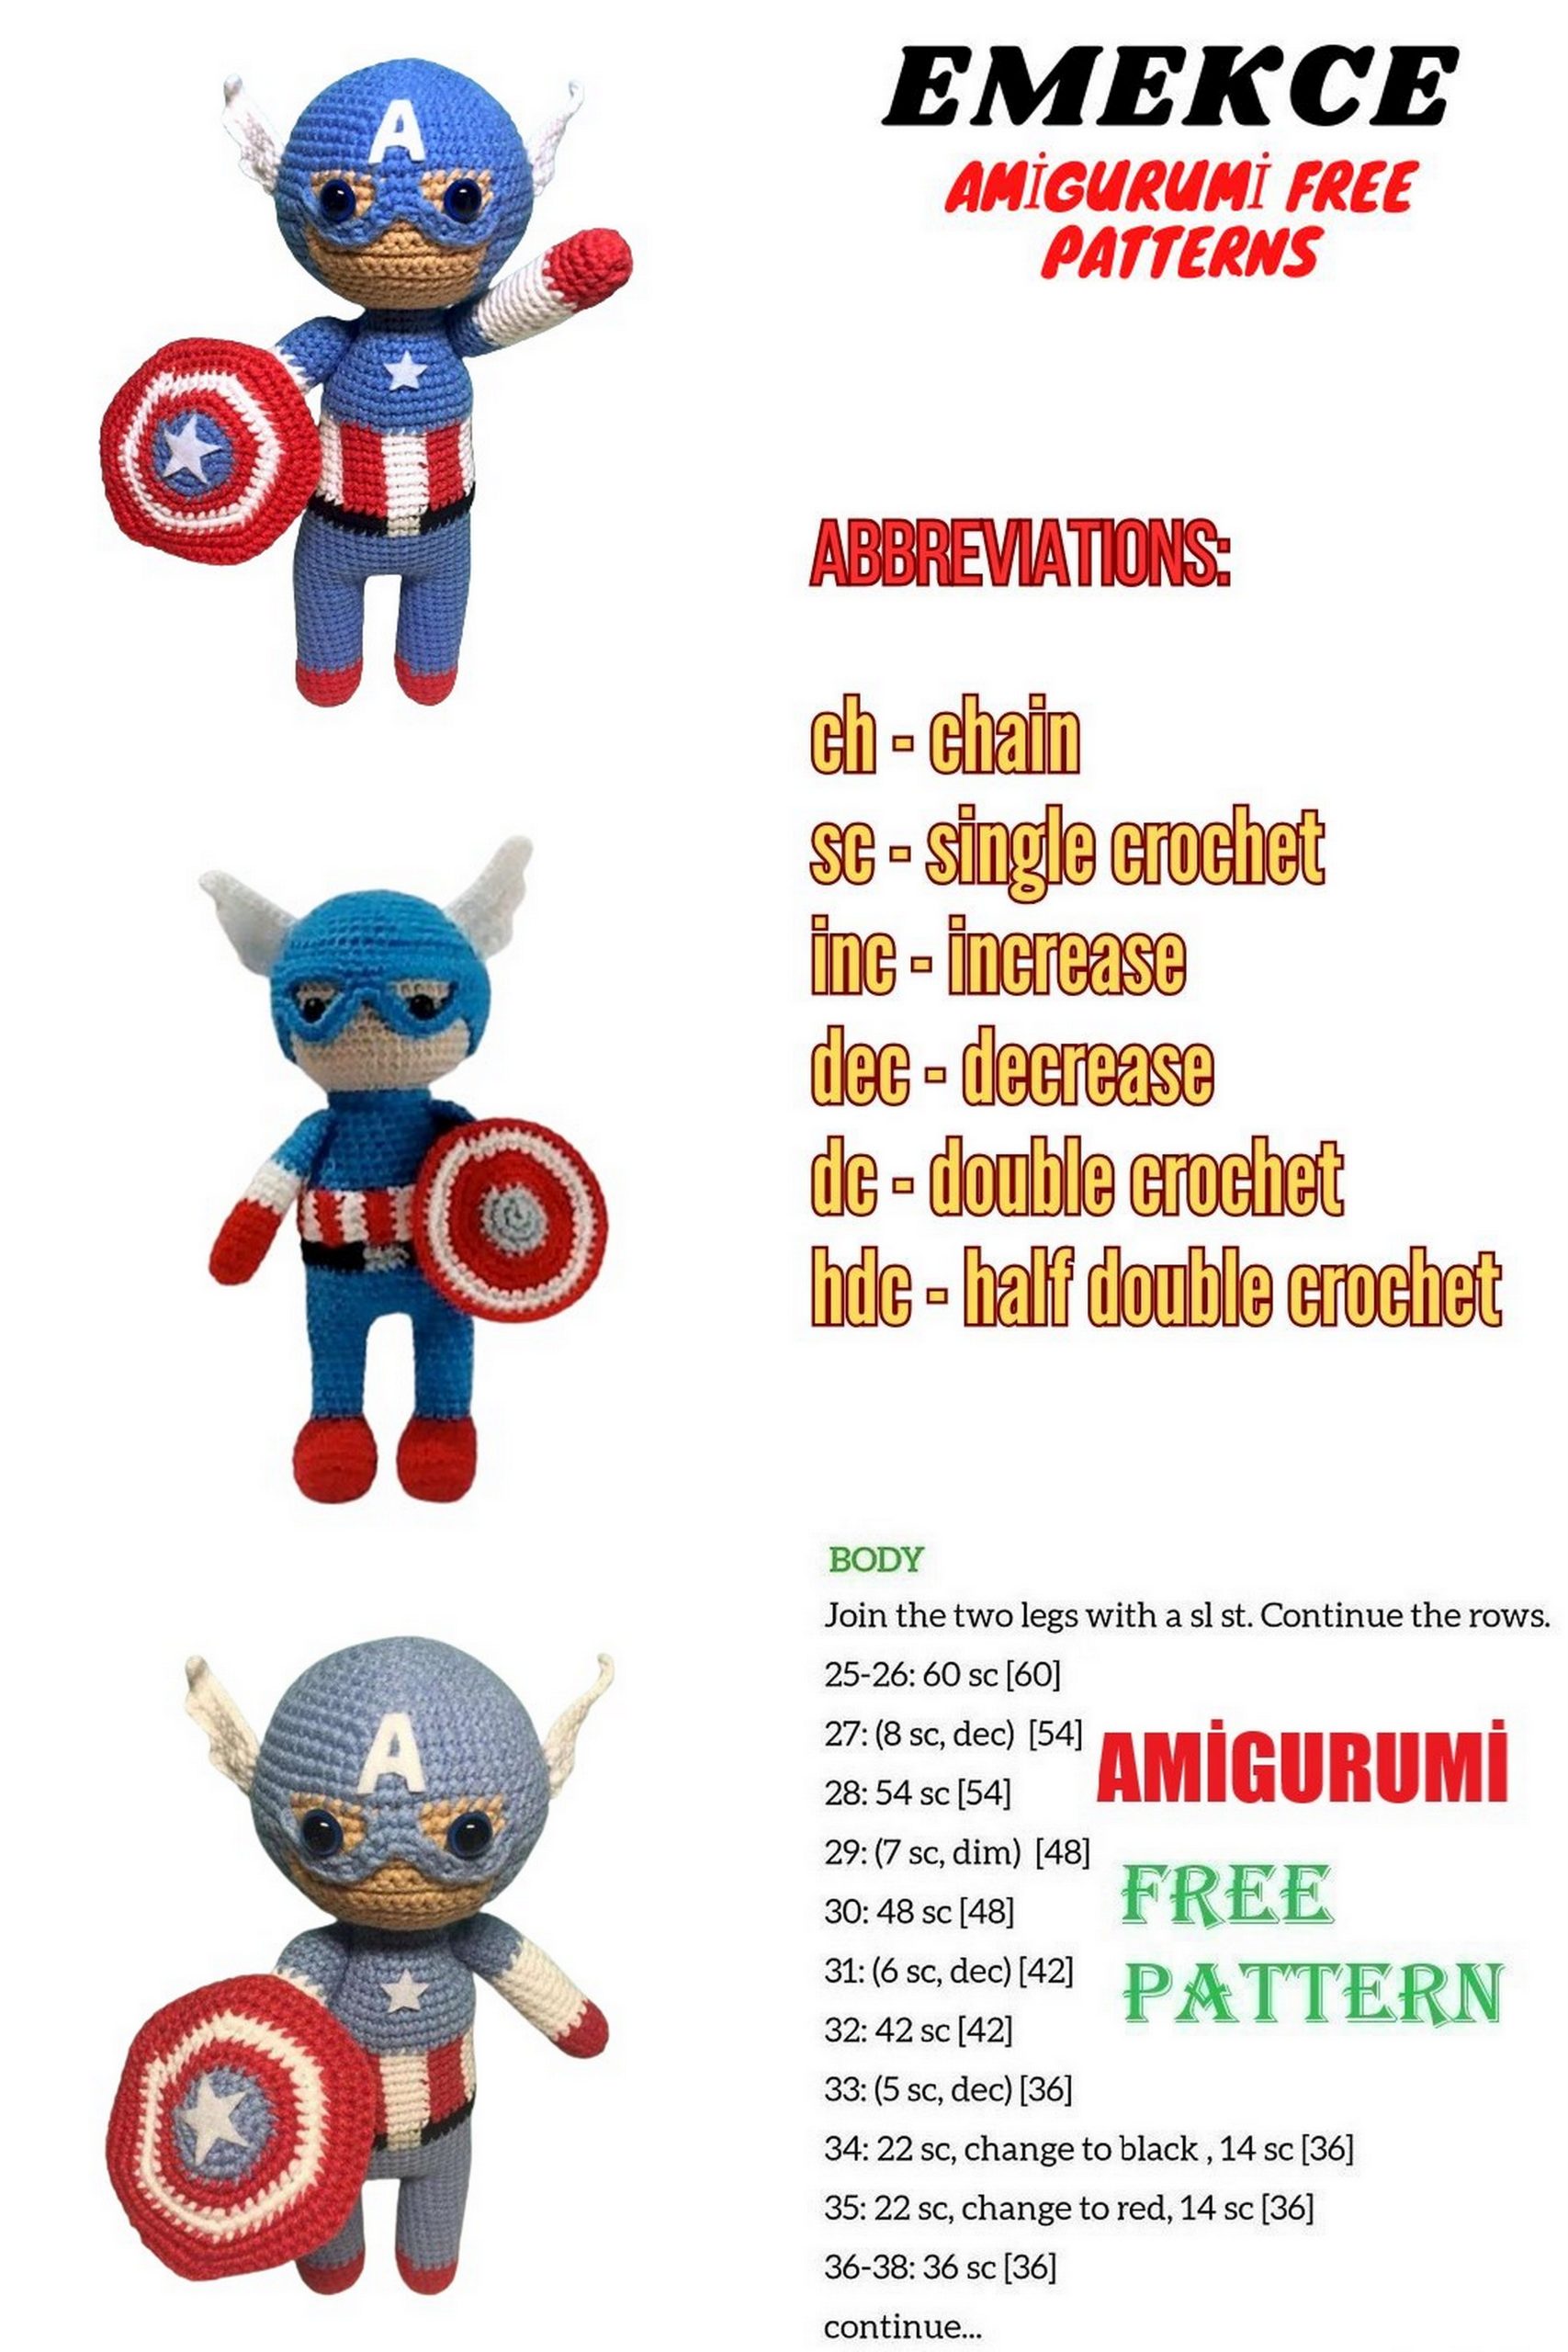
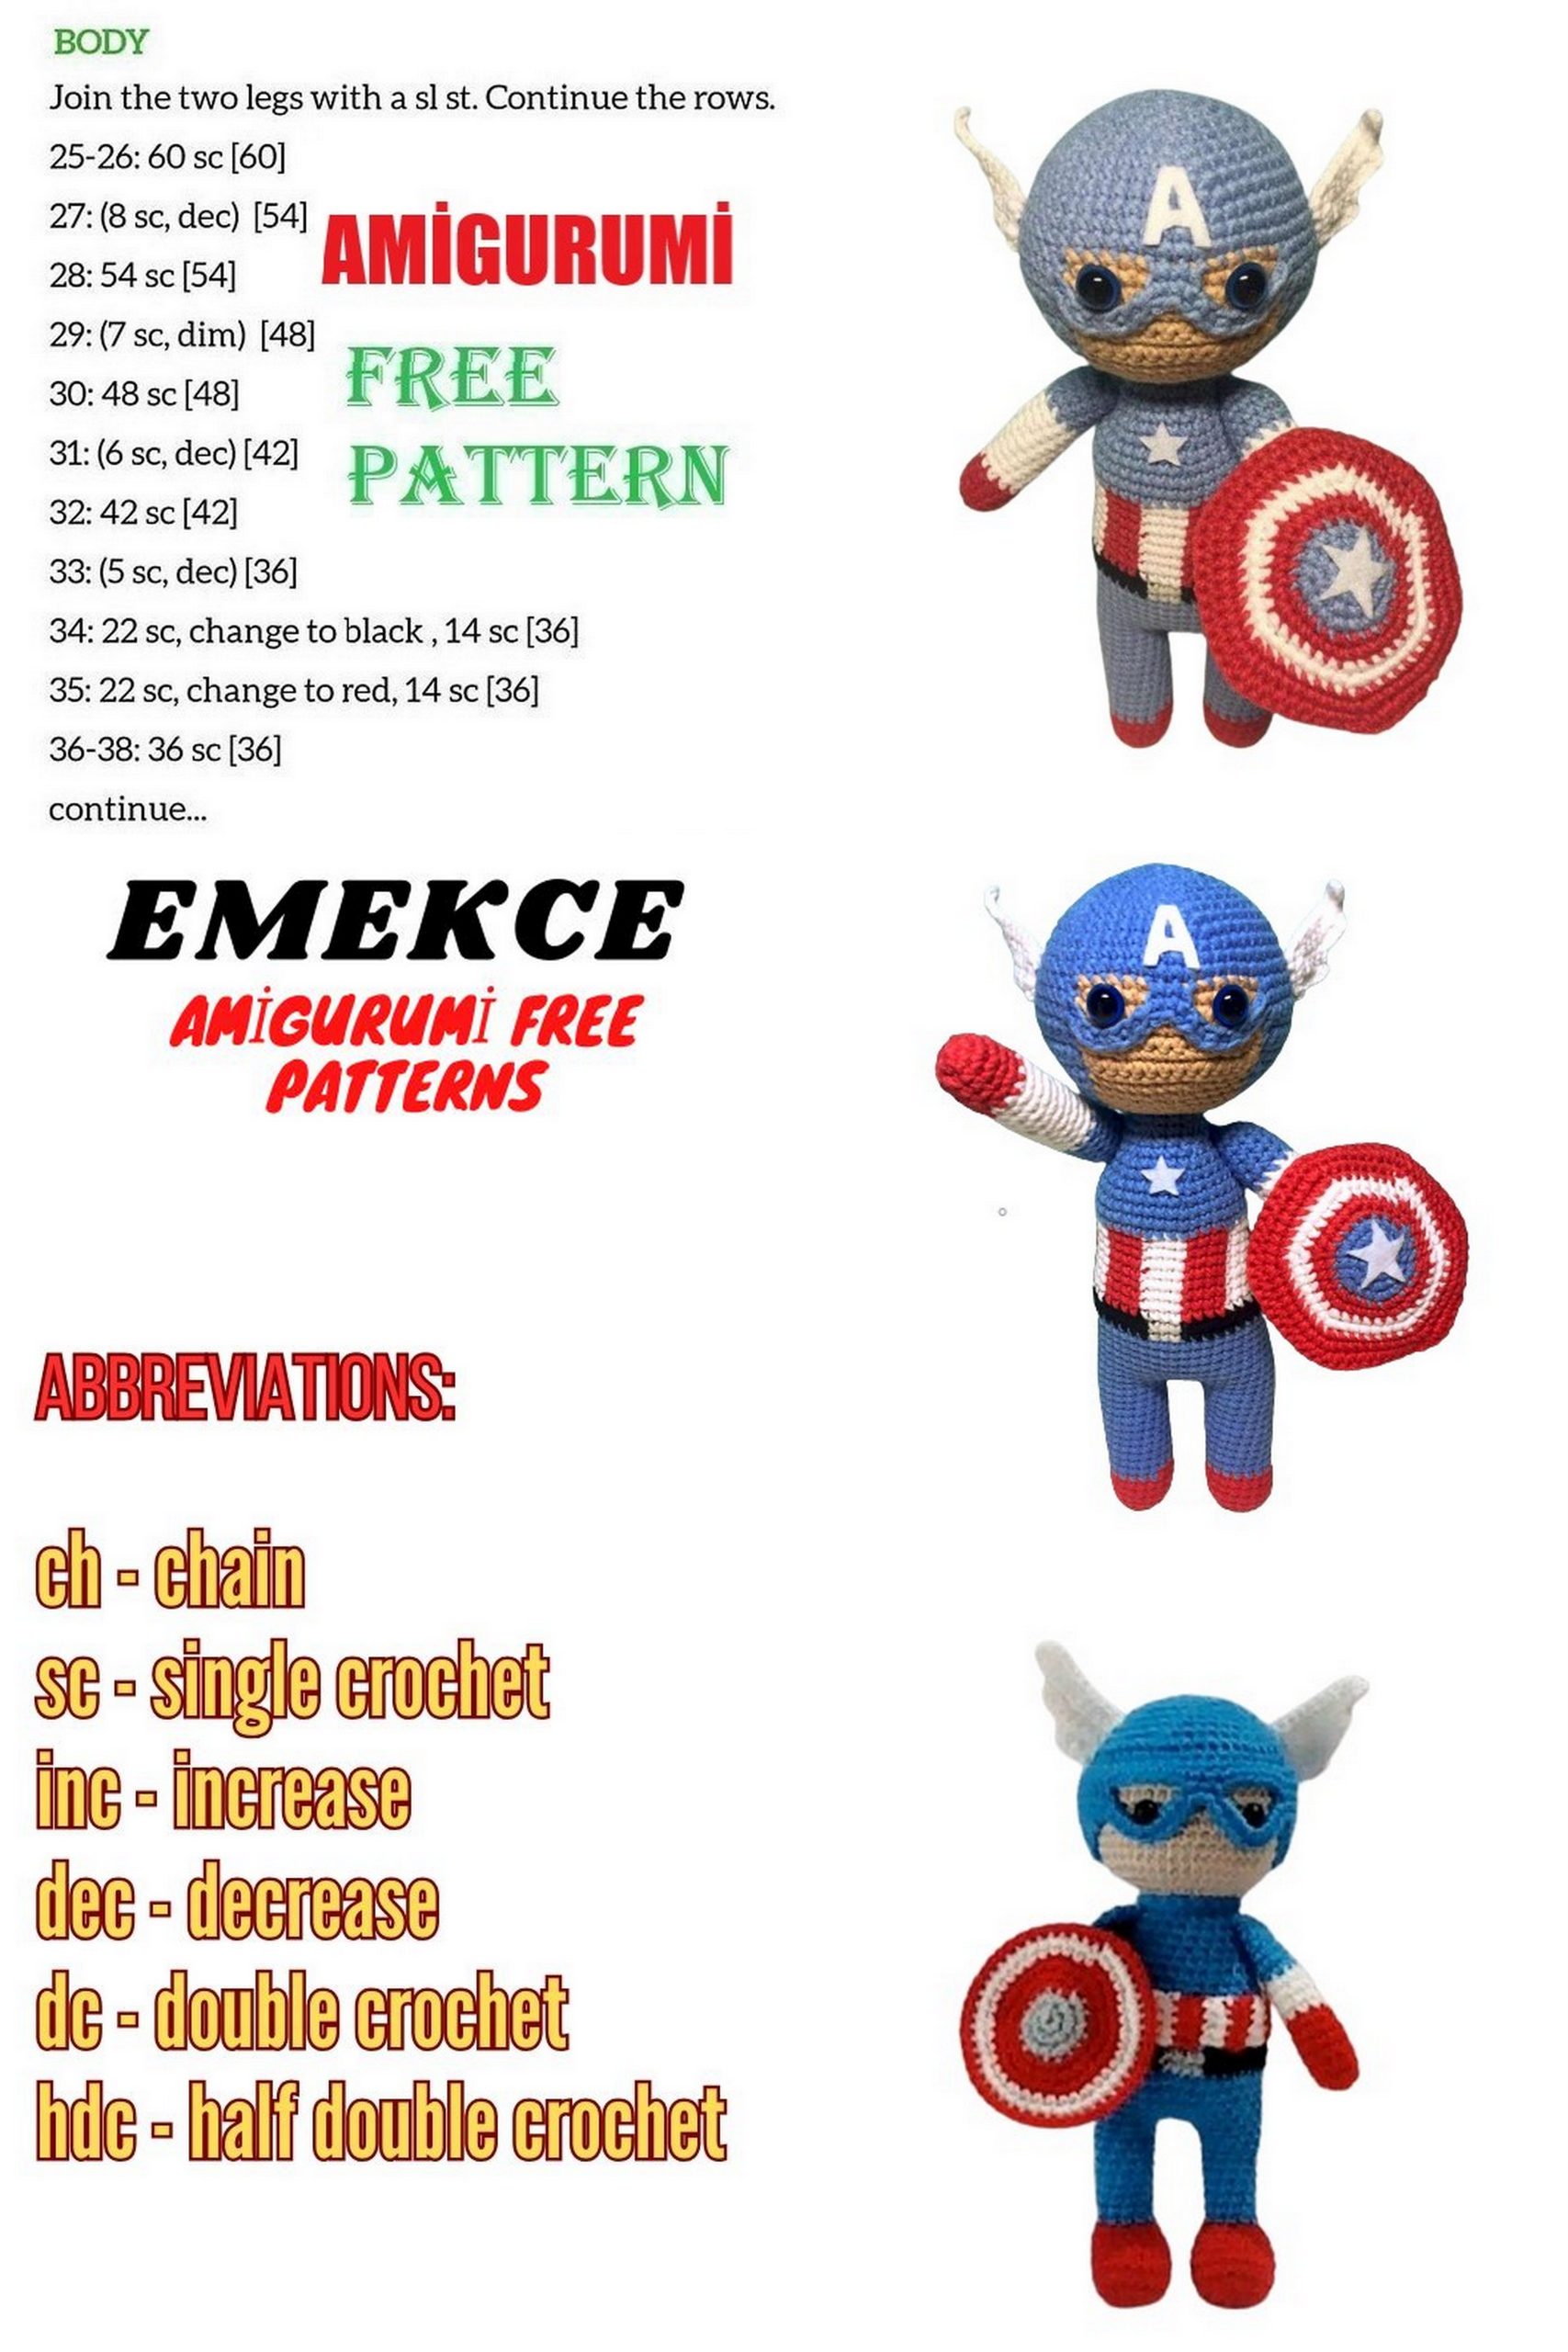
Abbreviations:
sc – single crochet ×
ch – chain stitch ○
sl st – slip stitch ●
Indication of colors in a single row of more than one:
– gray yarn
– red yarn
– white yarn
– beige yarn
– blue yarn
Materials and tools:
Yarn “YarnArt Jeans” (50g/160m). Colors No. 01, 07, 15, 26, 49, 53.
Crochet hook 3.00 mm.
Toy stuffing.
Safety eyes, blue 10mm.
Needle, scissors, glue (crystal moment, or use a glue gun), white sewing thread.
Elastic band.
White felt.
Toy size ~20-22 cm
PATTERN
Legs.
Start crocheting the beginning of the leg with red yarn.
Rnd 1: 6 sc in magic ring (6 sts);
Rnd 2: Inc around (12 sts);
Rnd 3: 1 sc, Inc around (18 sts);
Rnd 4-7: 18 sts;
Change yarn to blue.
You can watch a video on YouTube.
Rnd 8-18: 18 sts;
Cut the yarn of the first leg. Do not cut the yarn of the second leg, continue crocheting with it.
This is how our leg should turn out.
Make 4 ch and join both legs with a slip stitch.
Body.
Rnd 19: crochet 18 sc on one leg, 4 sc on a chain, repeat the same on the second leg and chains. (44 sts);
Rnd 20-28: 44 sts;
Starting from Rnd 29, we start making a belt. First, switch to black yarn, and in the middle for the buckle, switch to gray.
Rnd 29-30: 20 sc, 3 sc, 21 sc (44 sts);
Stuff the legs firmly. Then stuff the body gradually.
From Rnd 31, we alternate between red and white yarn. After each yarn change, you can cut and tie knots if you prefer, but I find this method convenient only for long distances from the next yarn change. In this area, I didn’t cut the yarn; instead, I decided to simply switch the yarn. Be careful and tighten the yarns in this area, as the pattern may tighten. If you have your way of changing yarn, you can use it. You can refer to the point above on how to change yarn or watch a video on YouTube. To avoid the result I had in the first version. I recommend distributing these two strips according to this scheme:
Rnd 31-38: 4 sc, 5 sc, 4 sc, 5 sc, 4 sc, 5 sc, 4 sc, 5 sc, 4 sc, 4 sc, (44 sts);
From Rnd 39, switch to blue yarn and continue until the end of the body.
Rnd 39: 44 sts;
Rnd 40: 10 sc, dec, 20 sc, dec, 10 sc (42 sts).
Rnd 41: 42 sts.
Rnd 42: 5 sc, dec repeat 6 times (36 sts).
Rnd 43: 36 sts.
Rnd 44: 4 sc, dec repeat 6 times (30 sts).
Rnd 45: 30 sts.
Rnd 46: 3 sc, dec repeat 6 times (24 sts).
Rnd 47: 24 sts.
Rnd 48: 2 sc, dec repeat 6 times (18 sts).
Rnd 49: 18 sts.
Fasten off the yarn, leaving a tail for sewing the head. Cut out a star from white felt and glue it in the middle of the body.
Head.
Rnd 1: 6 sc in magic ring (6 sts);
For the following rows, make sure to work in the front loops only when indicated.
Rnd 2: Inc around (12 sts);
Rnd 3: 1 sc, Inc around (18 sts);
Rnd 4: 2 sc, Inc around (24 sts);
Rnd 5: 3 sc, Inc around (30 sts);
Rnd 6: 4 sc, Inc around (36 sts);
Rnd 7: 5 sc, Inc around (42 sts);
Rnd 8: 6 sc, Inc around (48 sts);
Rnd 9: 7 sc, Inc around (54 sts);
Rnd 10: 8 sc, Inc around (60 sts);
Rnd 11-13: 60 sts;
From here, start crocheting the helmet. Rnd 14 – Part 1 (blue yarn):
9 sc, sc through front loop only (flo), ch 8, skip 5 sc from the previous row and sc into the next st (flo), ch 8, skip 5 sc from the previous row and sc into the next st (flo), continue with 37 sc.
Rnd 14 – Part 2 (beige yarn):
Start with beige yarn where the blue yarn was first crocheted through the front loop. Crochet into the second loop with beige yarn. So, for Part 2, the front loops are caught with blue yarn and the back loops with beige yarn. Crochet a loop with beige yarn and start crocheting 5 sc, then sc through the loops that were skipped with blue yarn, then continue with 3 sc through the back loops (blo), and repeat 5 sc, skipped with blue yarn.
Make a ch for turning and proceed to Rnd 15 with beige yarn. Turn the fabric.
Rnd 15-19: (with beige yarn) ch 1, 13 sc (13 sts);
Rnd 15: (with blue yarn) 10 sc, then work on chains: 8 sc, 3 sc, 8 sc around chains, then continue with 37 sc until the end of the row (66 sts);
Rnd 16: crochet 10 sc, ch 1, turn, and crochet 47 sc;
Rnd 17-19: ch 1, 37 sc (37 sts);
Switch yarn to beige.
Rnd 20: 13 sc, 37 sc (60 sts);
Take yarn and sew blue fabric with beige, using any convenient color (blue, beige).
Pull the mask slightly ~ by 2 rows and sew it with blue yarn.
Secure safety eyes between Rows 15-16.
Rnd 21: 8 sc, dec, 3 sc, 5 sc, dec, (8 sc, dec) repeat 4 times (54 sts);
Rnd 22: 7 sc, dec, 3 sc, 4 sc, dec, (7 sc, dec) repeat 4 times (48 sts);
Rnd 23: 6 sc, dec, 3 sc, 3 sc, dec, (6 sc, dec) repeat 4 times (42 sts);
Rnd 24: 5 sc, dec, 3 sc, 2 sc, dec, (5 sc, dec) repeat 4 times (36 sts);
Rnd 25: 4 sc, dec, 3 sc, 1 sc, dec, (4 sc, dec) repeat 4 times (30 sts);
Rnd 26: 3 sc, dec, 3 sc, dec, (3 sc, dec) repeat 4 times (24 sts);
Continue crocheting with blue yarn. Start stuffing the head.
Rnd 27: (2 sc, dec) repeat 6 times (18 sts);
Rnd 28: (1 sc, dec) repeat 6 times (12 sts);
Rnd 29: dec repeat 6 times (6 sts);
Cut and hide the yarn. Sew the head to the body.
Cut out the letter “A” from white felt and glue it on the top of the helmet, in the middle.
Wings
ch, chain stitch
sc, single crochet
sl st, slip stitch
gradual transition
Rnd 1: 4 ch
Rnd 2: ch, 4 sc
Rnd 3: ch, 4 sc, 3 ch
Rnd 4: ch, 7 sc
Rnd 5: ch, 7 sc, 3 ch
Rnd 6: ch, 9 sc, sl st to the side with chain loops – 3 sc, sl st
Leave yarn for sewing. Crochet the second wing in the same way.
Place them between Rnds 12-16.
Arms
Start the arm with red yarn.
Rnd 1: 6 sc in magic ring (6 sts);
Rnd 2: Inc around (12 sts);
Rnd 3-6: 12 sts;
Change yarn to white.
Rnd 7-16: 12 sts;
Change yarn to blue and continue with it until the end.
Rnd 17-22: 12 sts;
Rnd 23: Dec 6 times (6 sts).
Pull the end. Either leave the yarn for sewing to prevent the arms from moving, or, like me, hide the yarn and sew the arms on a thread mount. You can watch how to attach the arms using this method on YouTube, or briefly:
Mark the midpoints on the body with pins where you will attach the arms.
Thread the needle with blue yarn, insert it in the middle of the arm between Rows 22-23, then insert it into the body where you marked with a pin and come out on the other side, where another pin mark is.
Pull the thread, ensuring that there is an end of the thread left from the starting point (for the first arm).
Skip a sc, insert the needle and pass it through the marked points through the body and come out to the first arm where the end of the thread remains.
Take both ends of the threads and make a knot, making sure to tighten the knot well.
Hide the threads.
Shield, patterned side
Start crocheting with blue yarn.
Rnd 1: 6 sc in magic ring (6 sts);
Rnd 2: Inc around (12 sts);
Rnd 3: 1 sc, Inc around (18 sts);
Rnd 4: 2 sc, Inc around (24 sts);
Change yarn to red.
Rnd 5: 3 sc, Inc around (30 sts);
Rnd 6: 4 sc, Inc around (36 sts);
Change yarn to white.
Rnd 7: 5 sc, Inc around (42 sts);
Rnd 8: 6 sc, Inc around (48 sts);
Change yarn to red.
Rnd 9: 7 sc, Inc around (54 sts);
Rnd 10: 8 sc, Inc around (60 sts);
Fasten off the yarn.
Cut out the second star from felt and glue it to the front of the shield in the center.
Shield, back side
Crochet the entire back side with red yarn.
Rnd 1: 6 sc in magic ring (6 sts);
Rnd 2: Inc around (12 sts);
Rnd 3: 1 sc, Inc around (18 sts);
Rnd 4: 2 sc, Inc around (24 sts);
Rnd 5: 3 sc, Inc around (30 sts);
Rnd 6: 4 sc, Inc around (36 sts);
Rnd 7: 5 sc, Inc around (42 sts);
Rnd 8: 6 sc, Inc around (48 sts);
Rnd 9: 7 sc, Inc around (54 sts);
Rnd 10: 8 sc, Inc around (60 sts);
Do not cut the yarn. After attaching the elastic band, we attach the front side of the shield and continue crocheting.
Take a 7 cm elastic band, needle, and regular white sewing thread.
Fold the edges slightly and sew them so that the shield is placed in the middle of the arm.
Rnd 11: 60 sts.
Cut off the yarn and hide it.
Wishing you creative success!