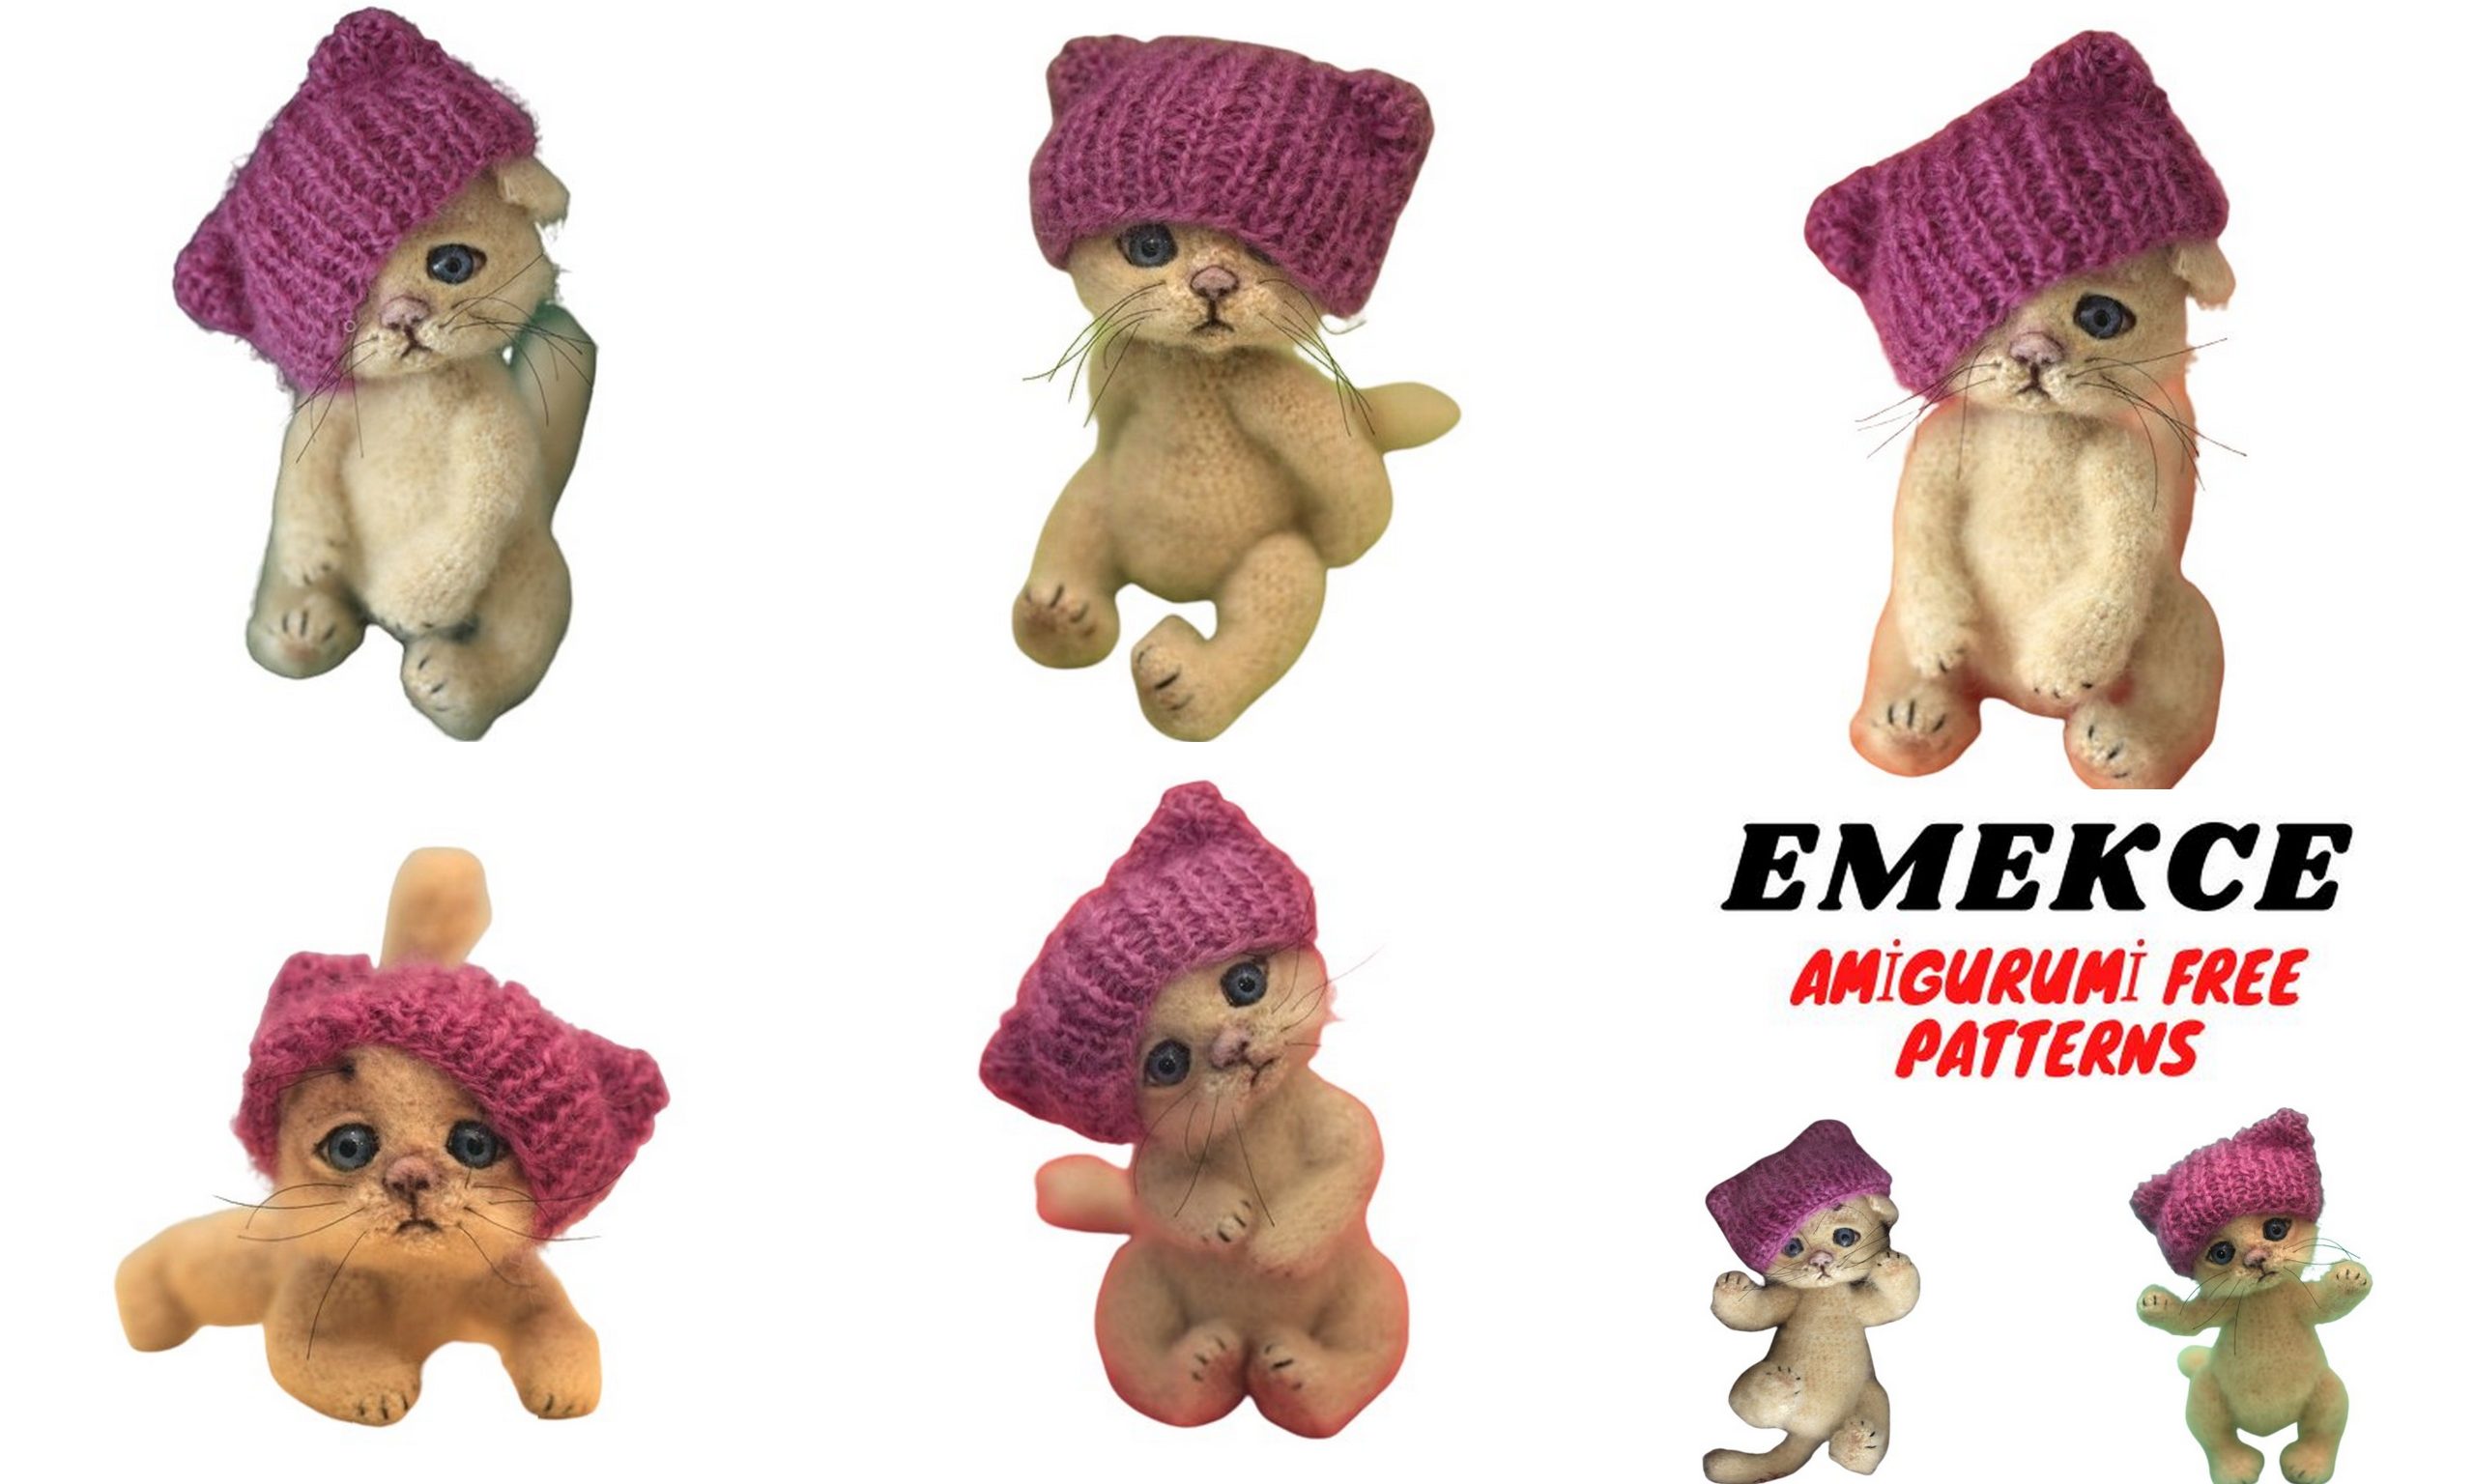
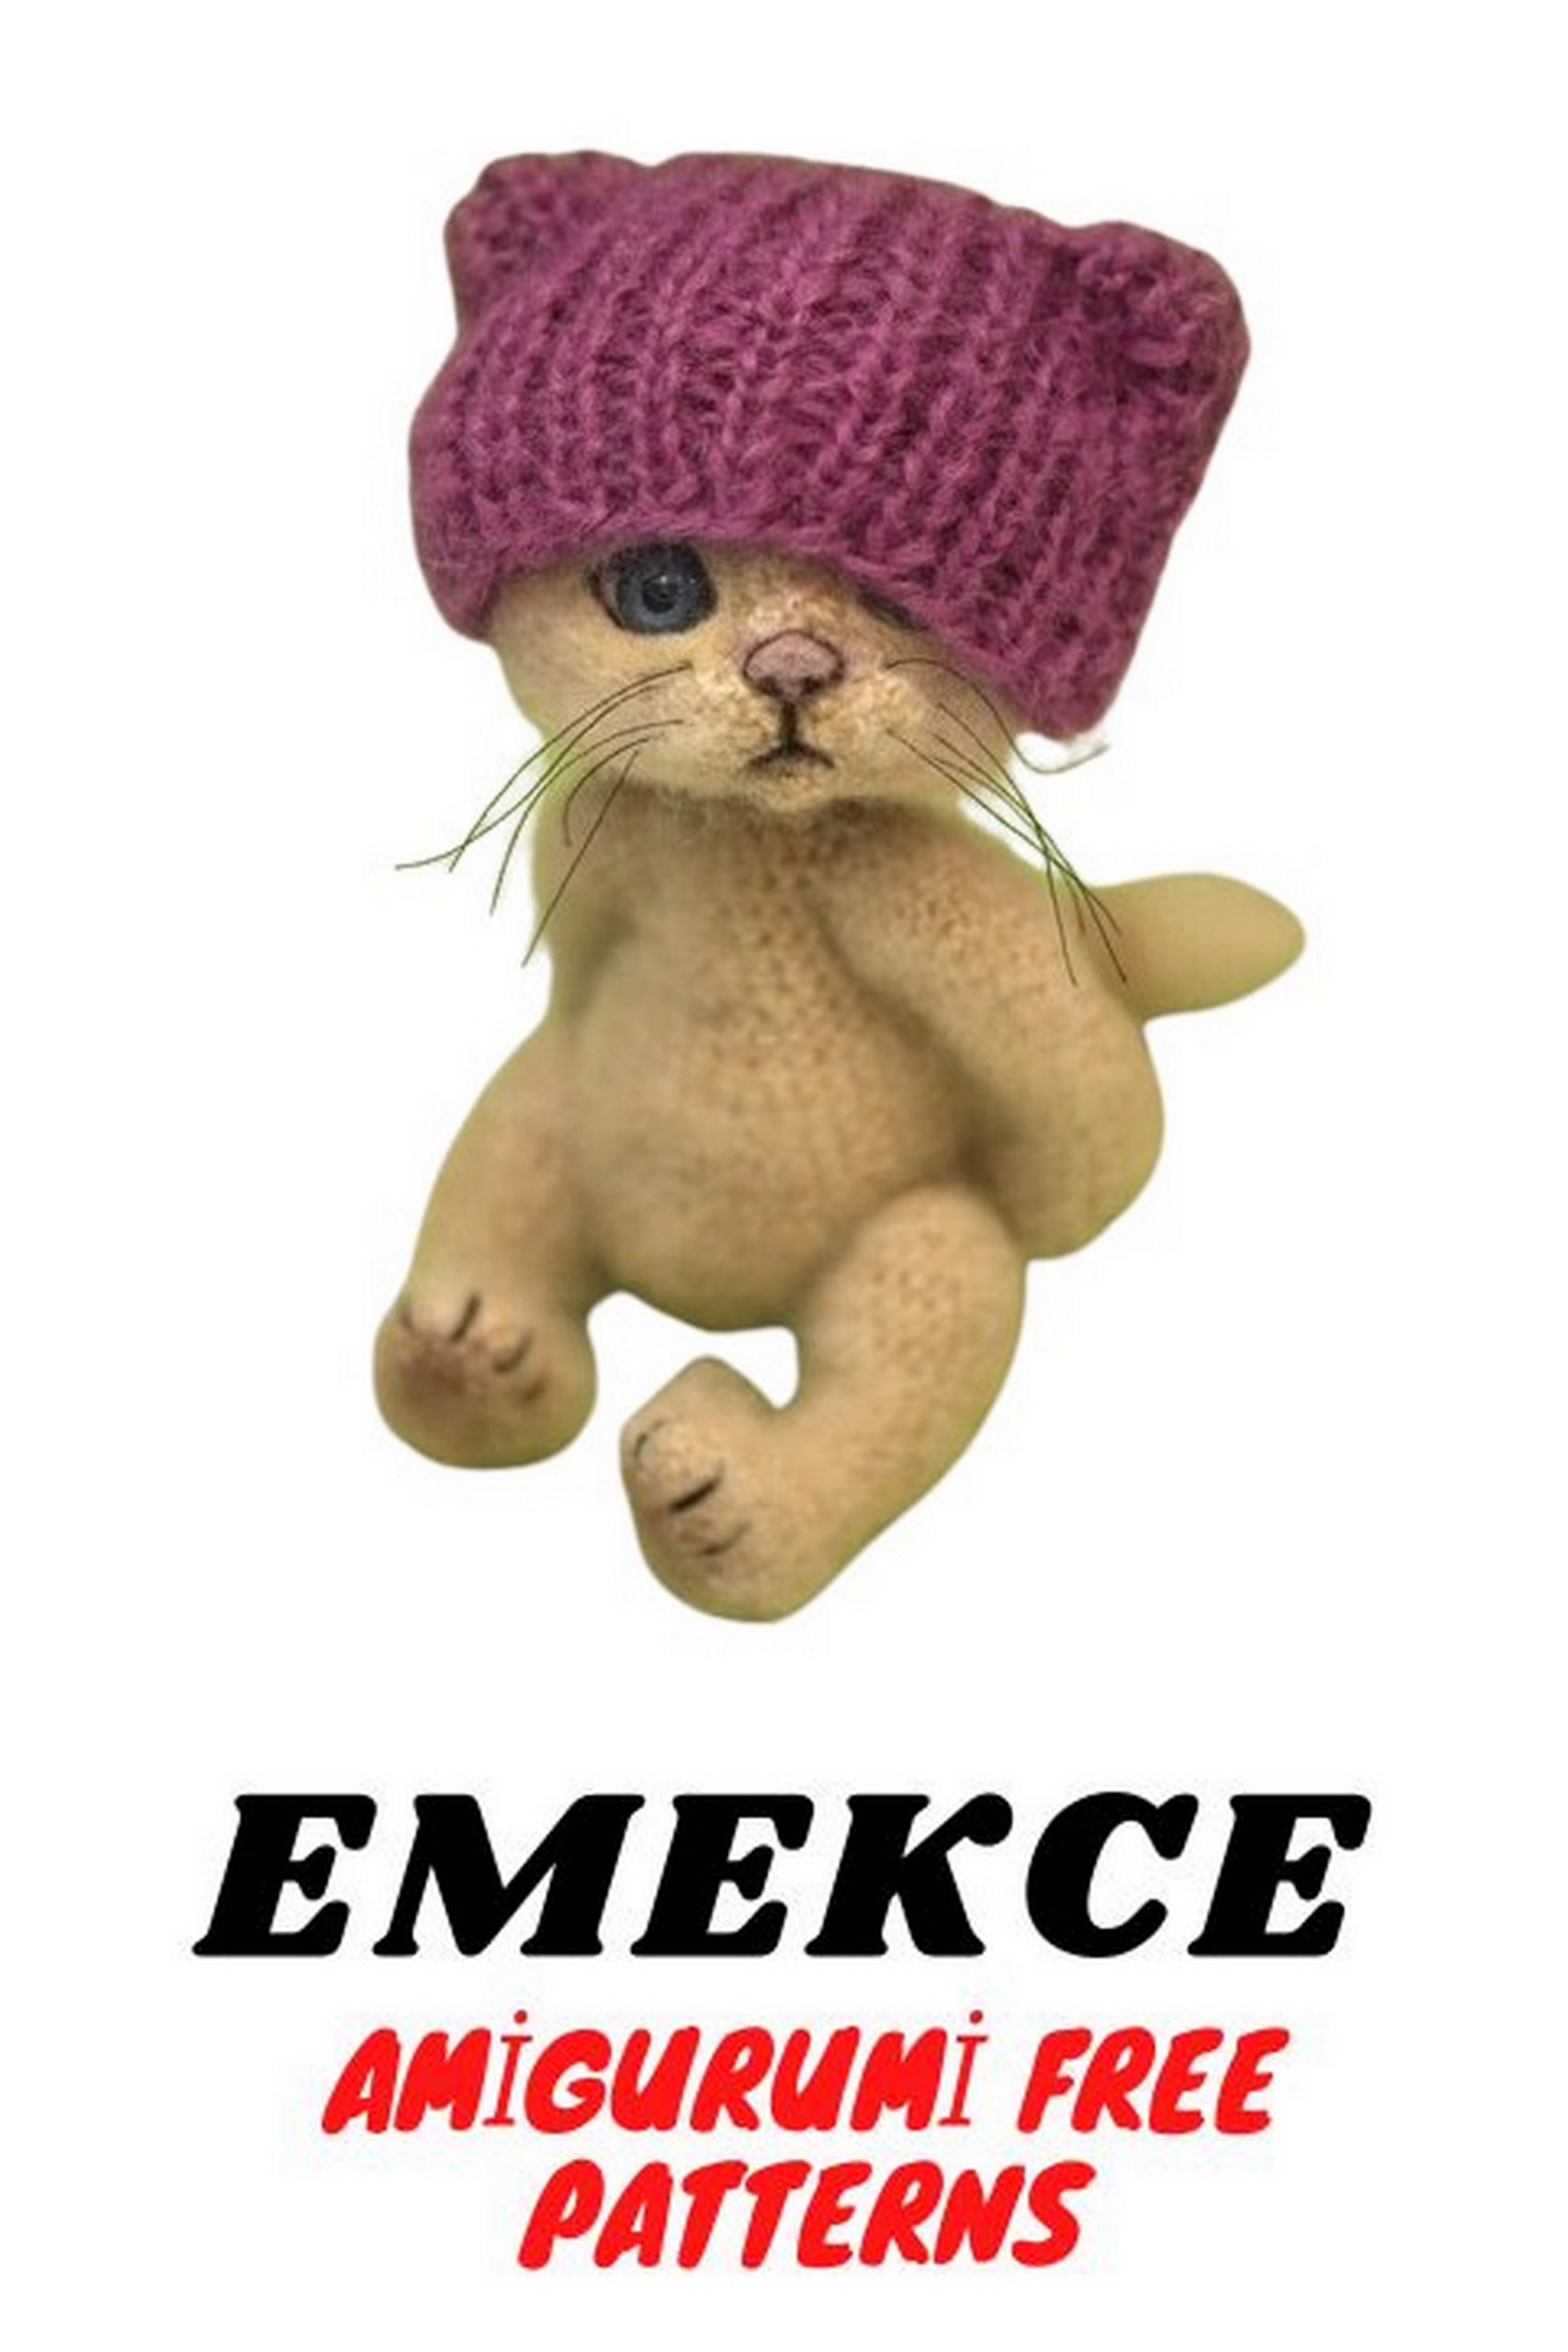
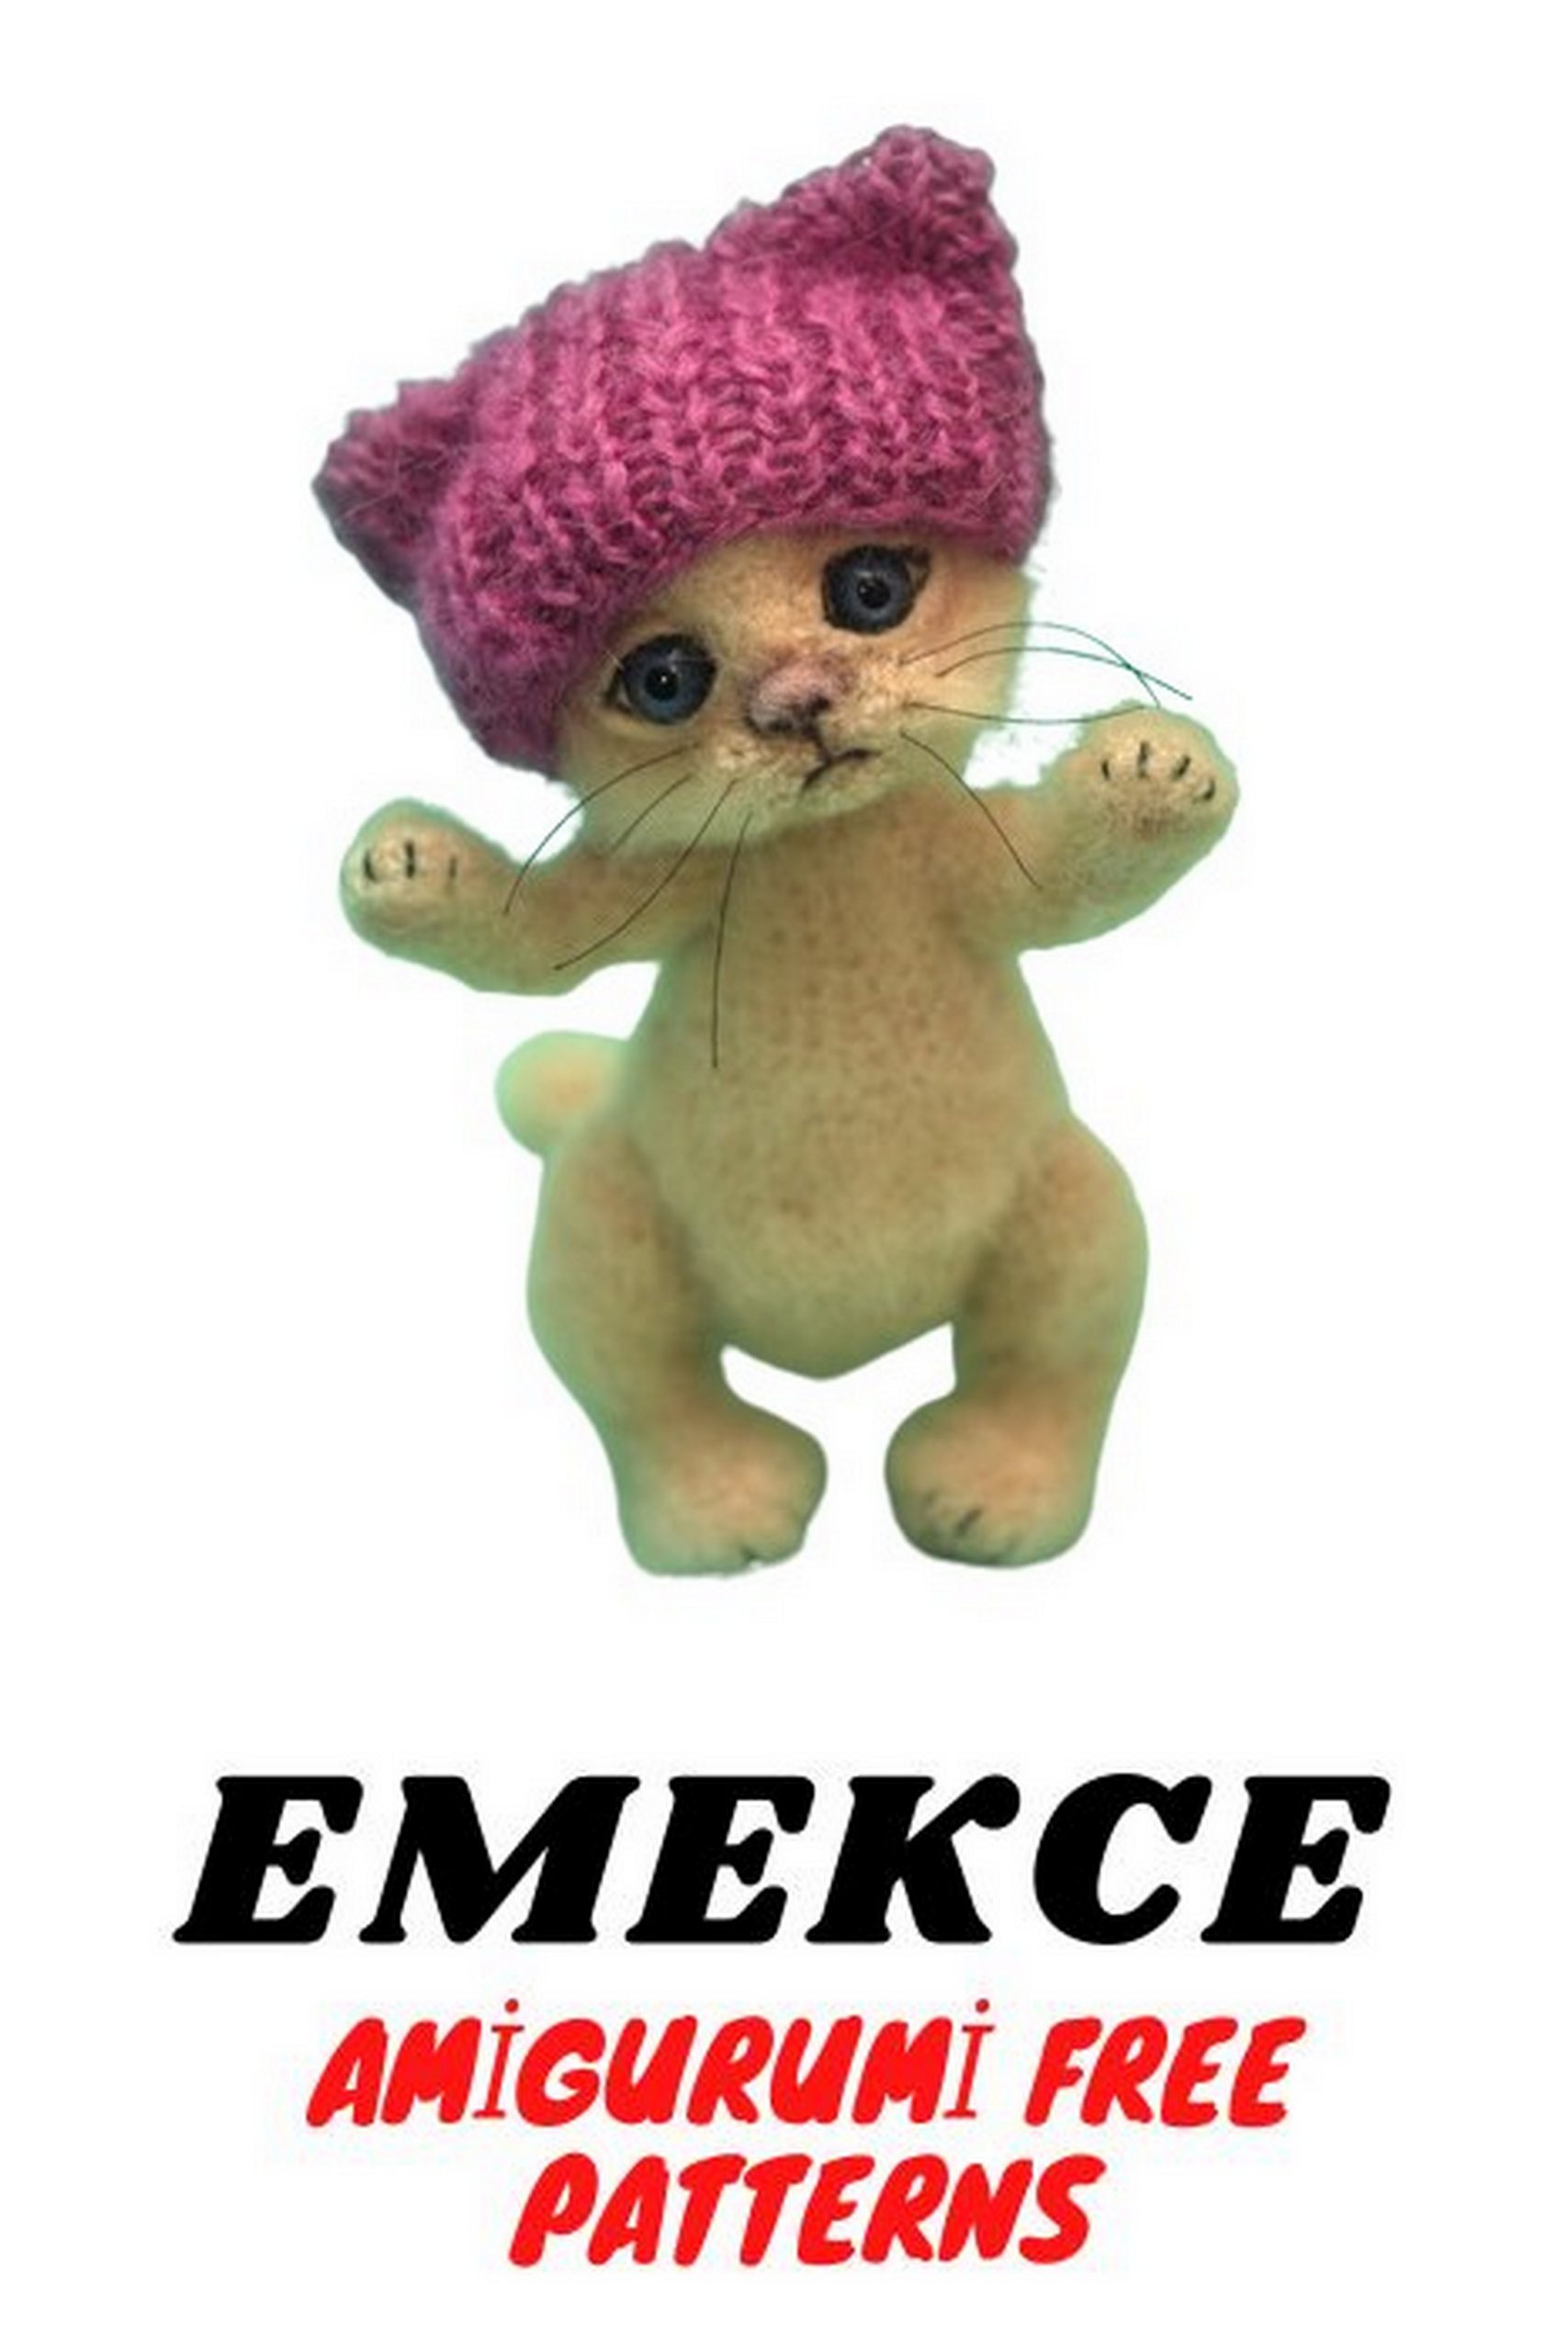
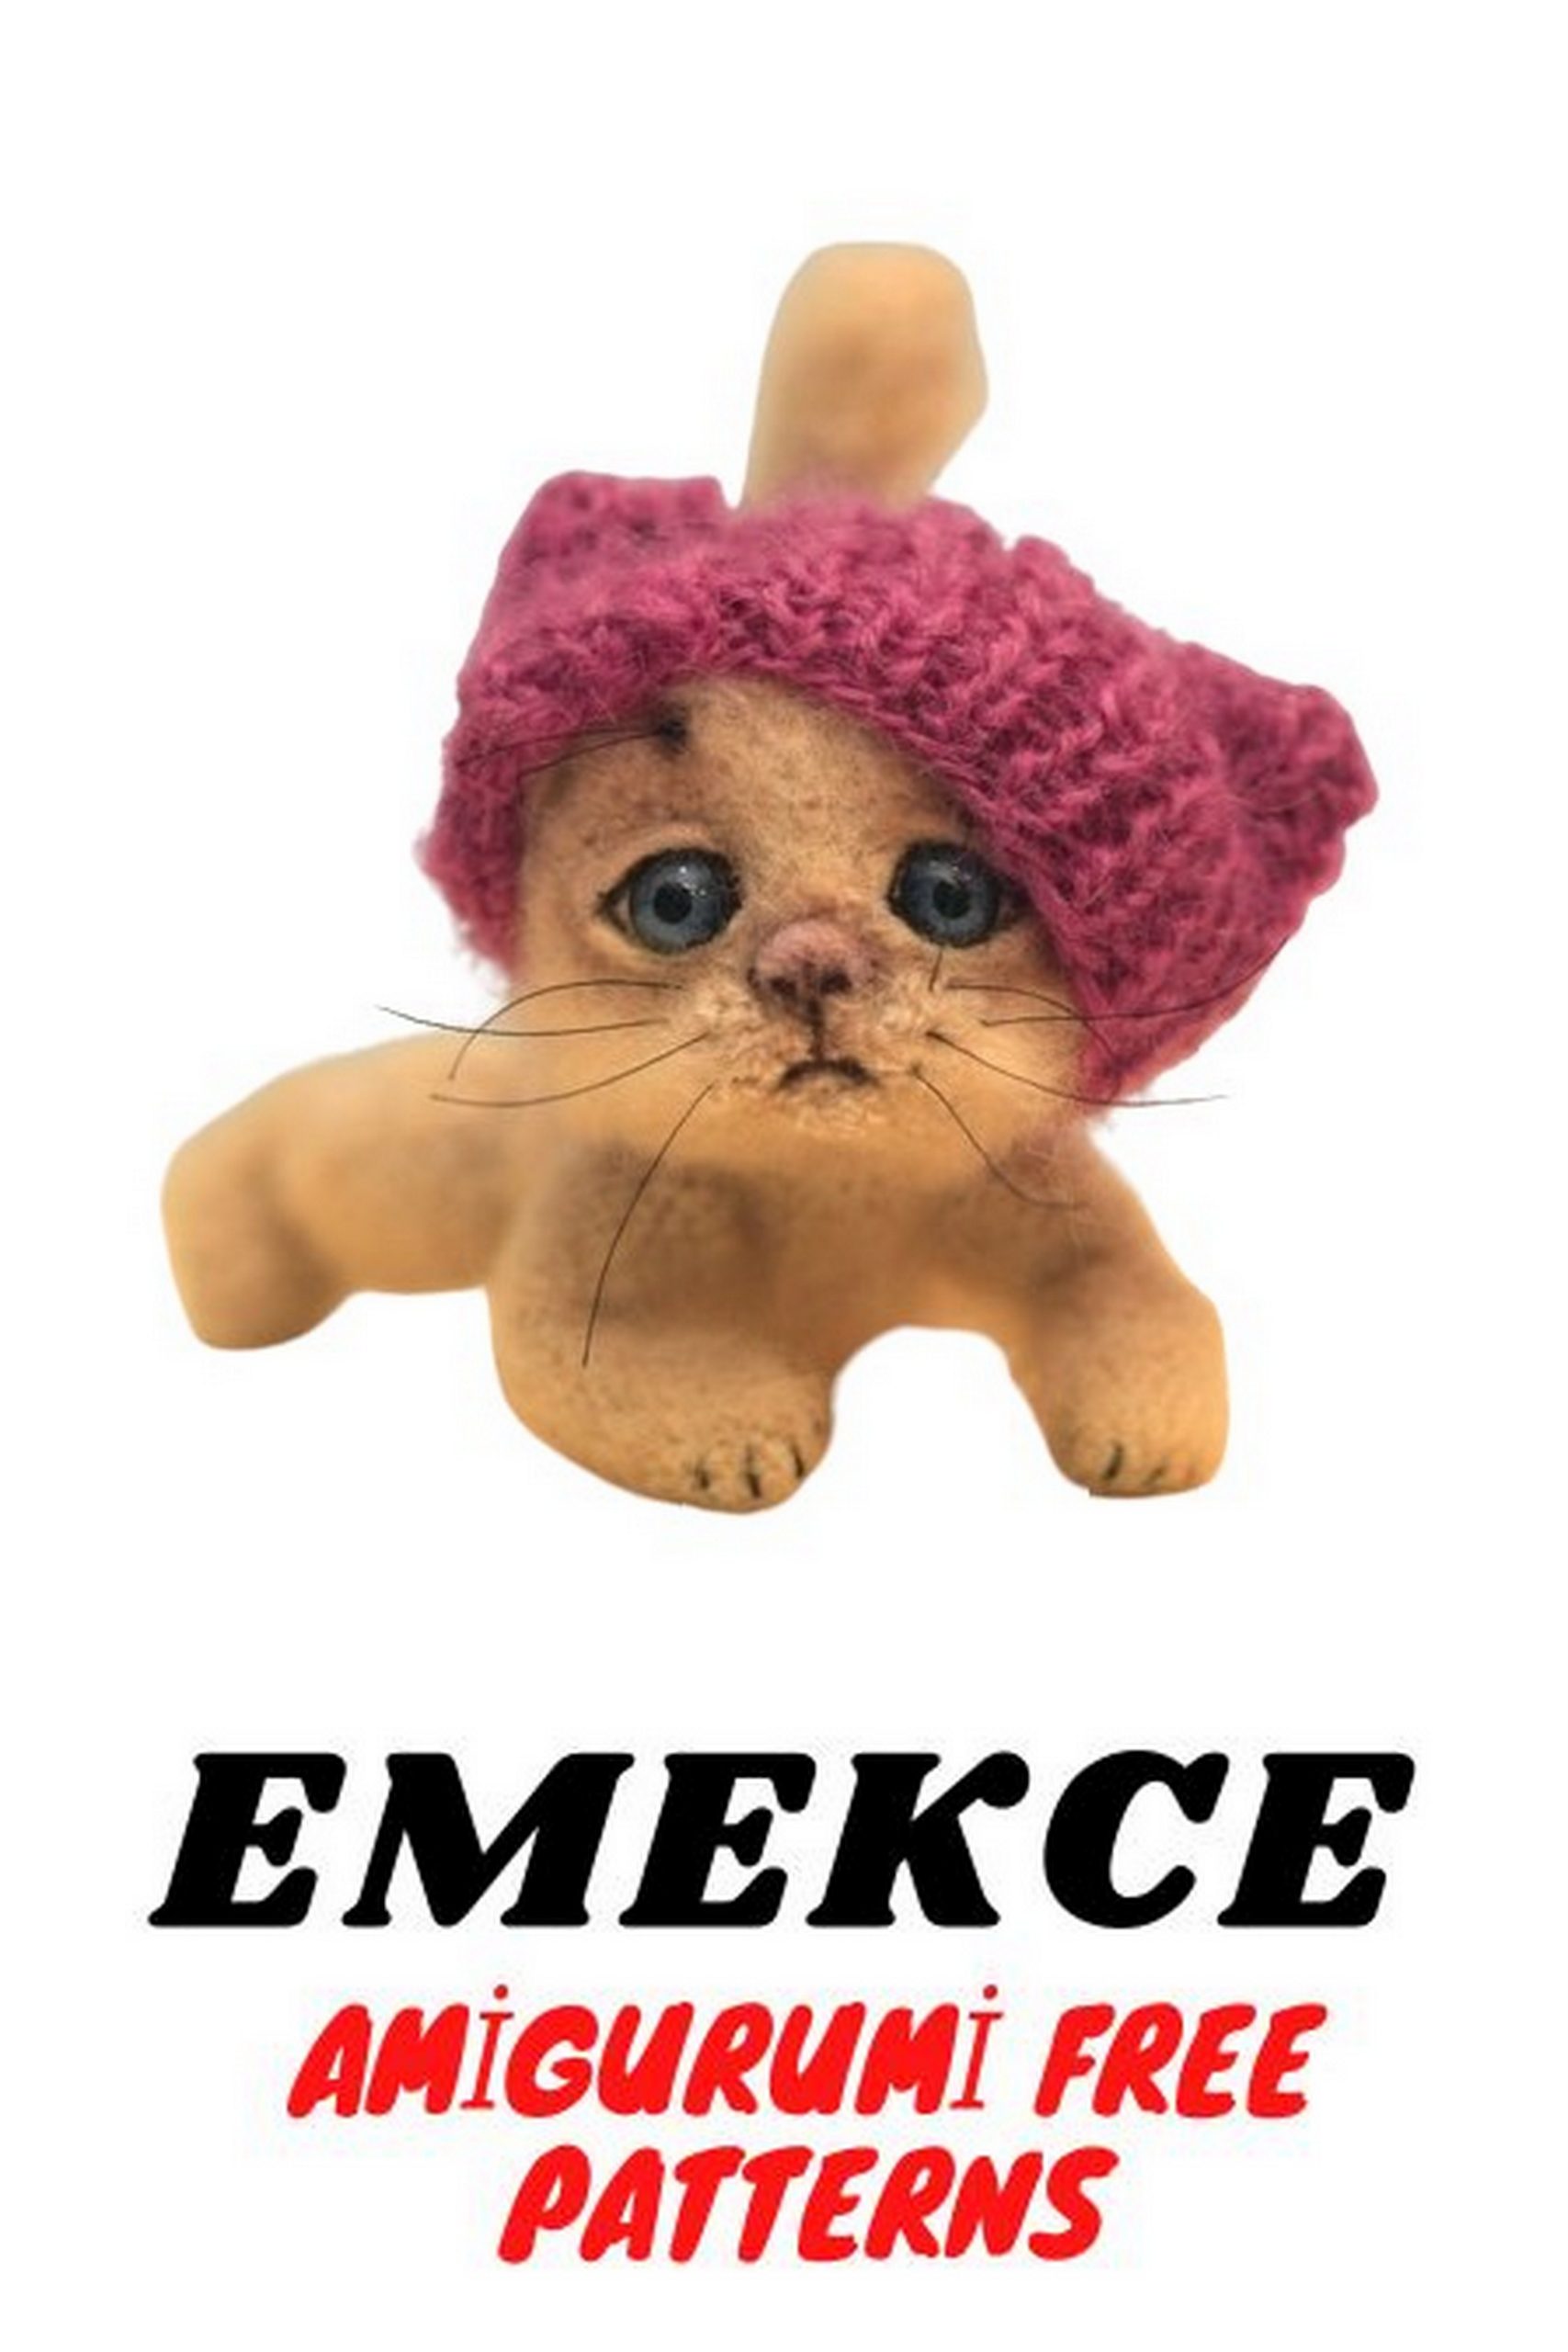
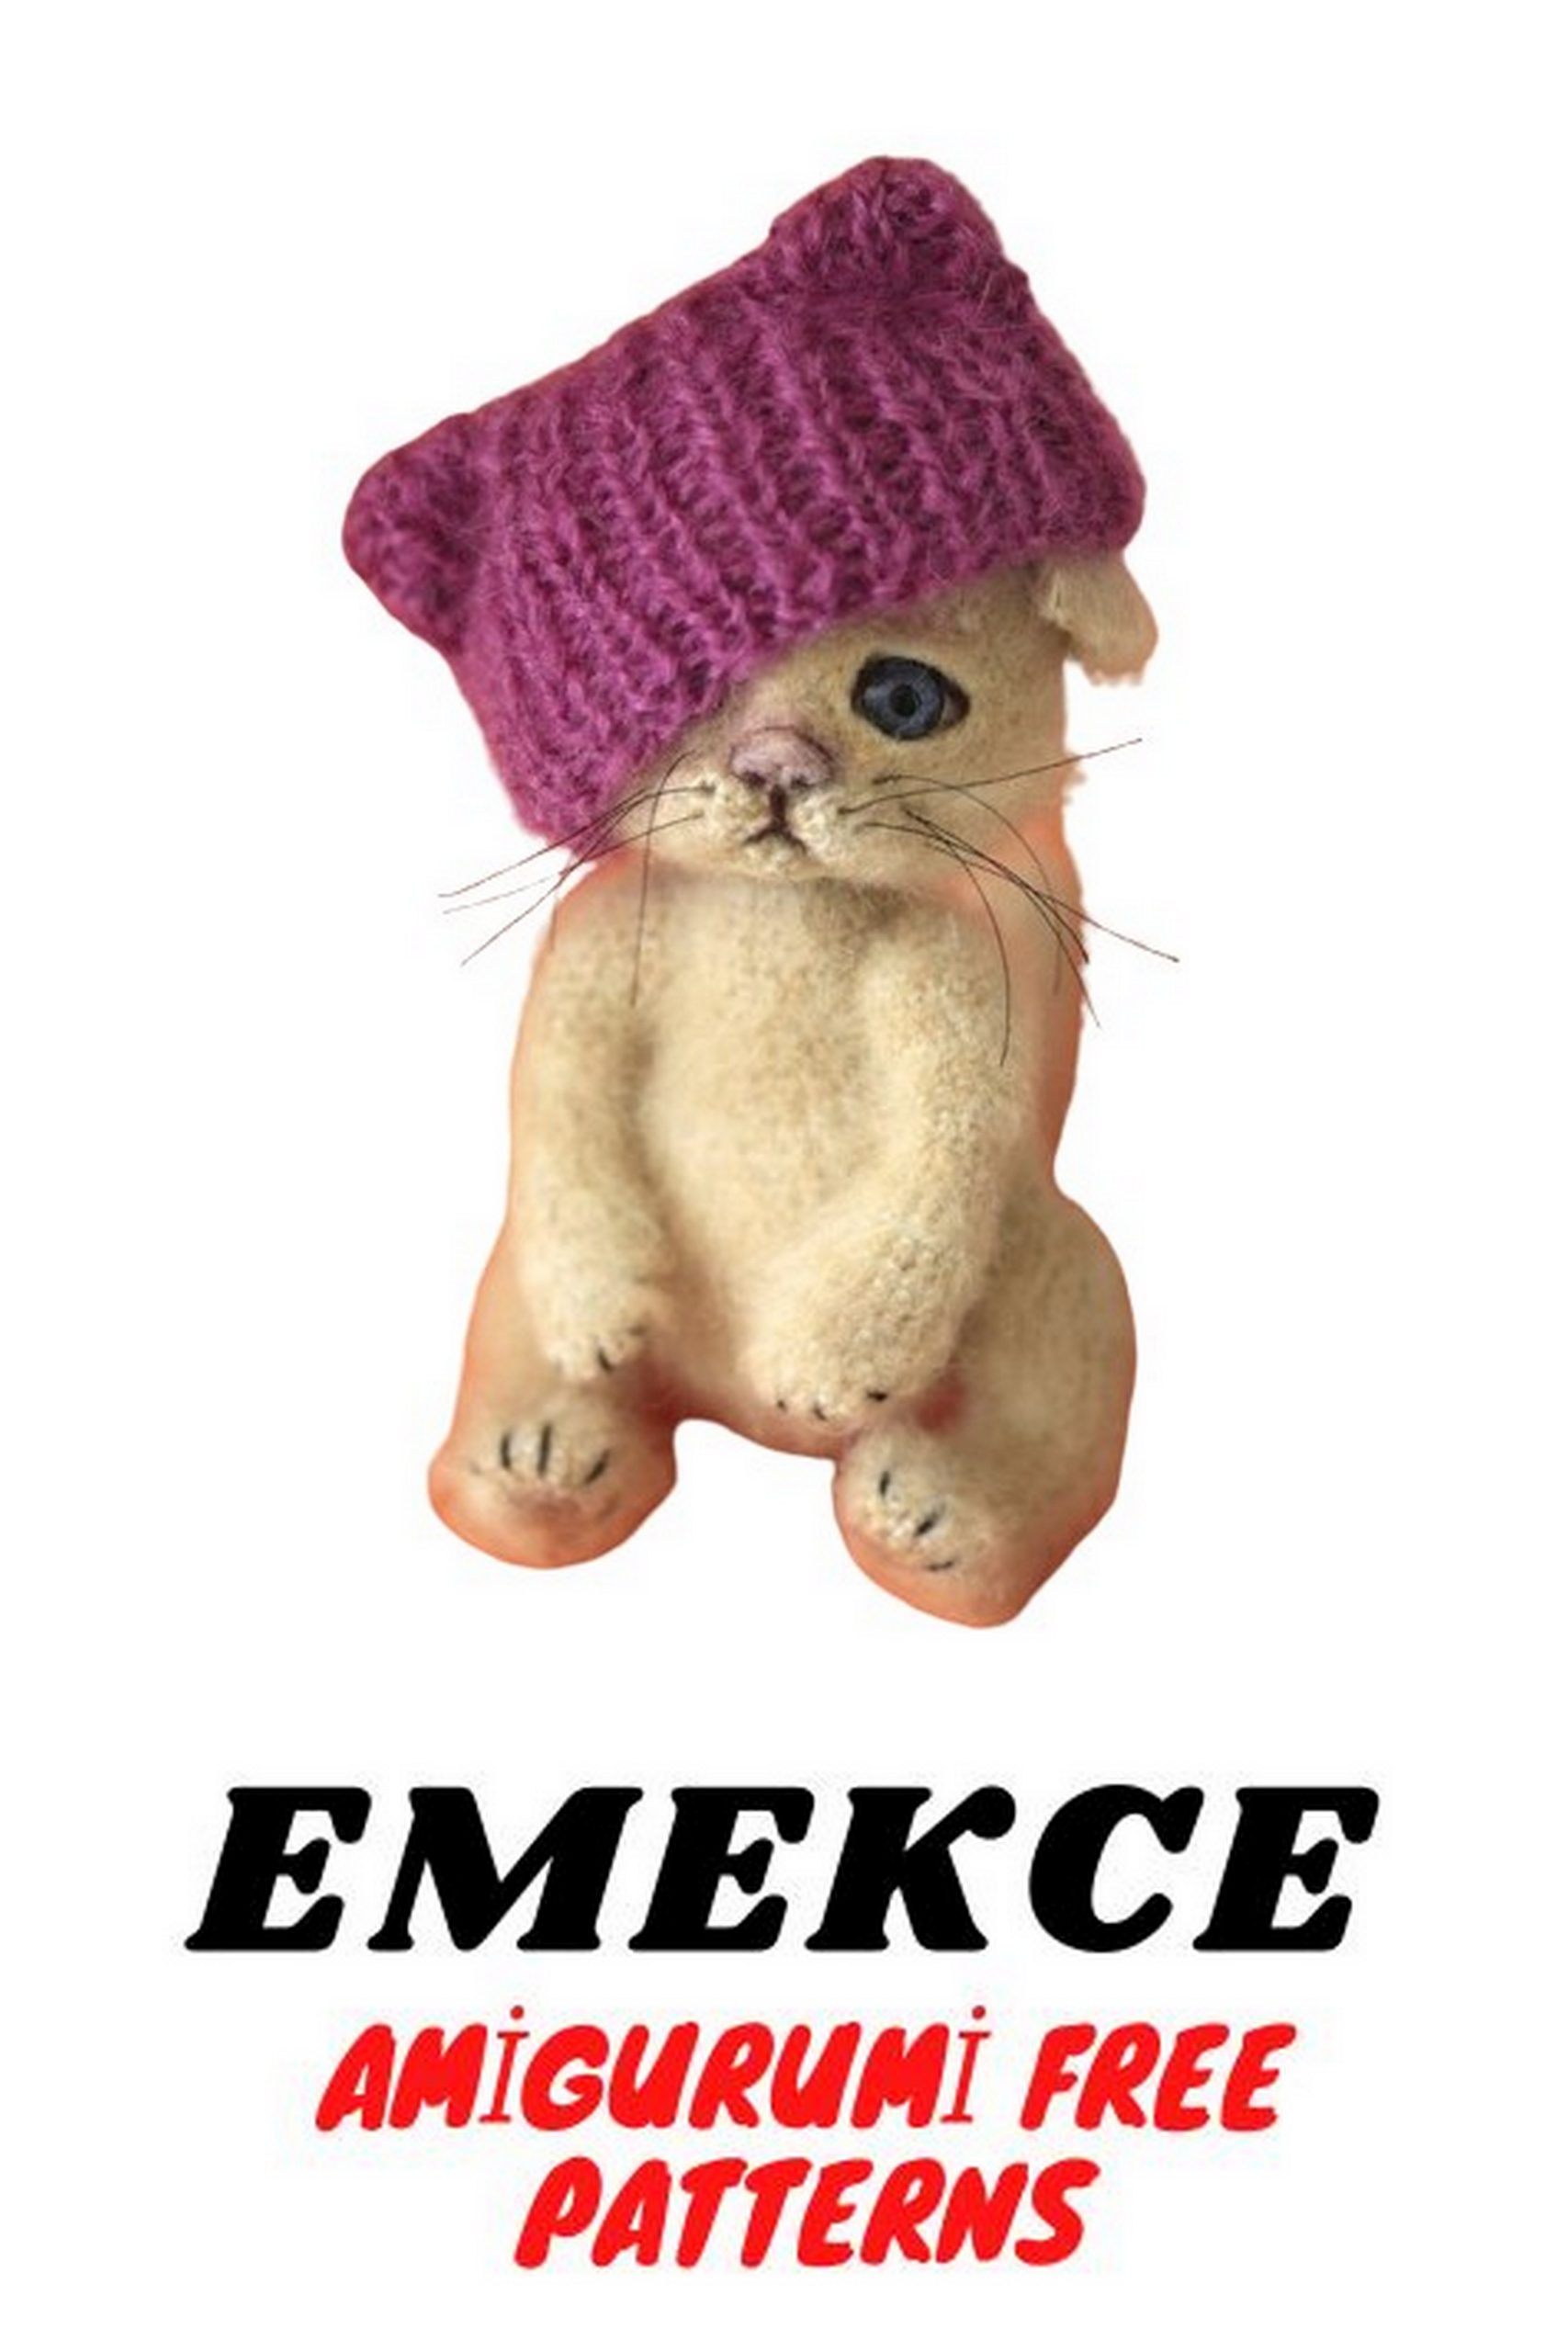
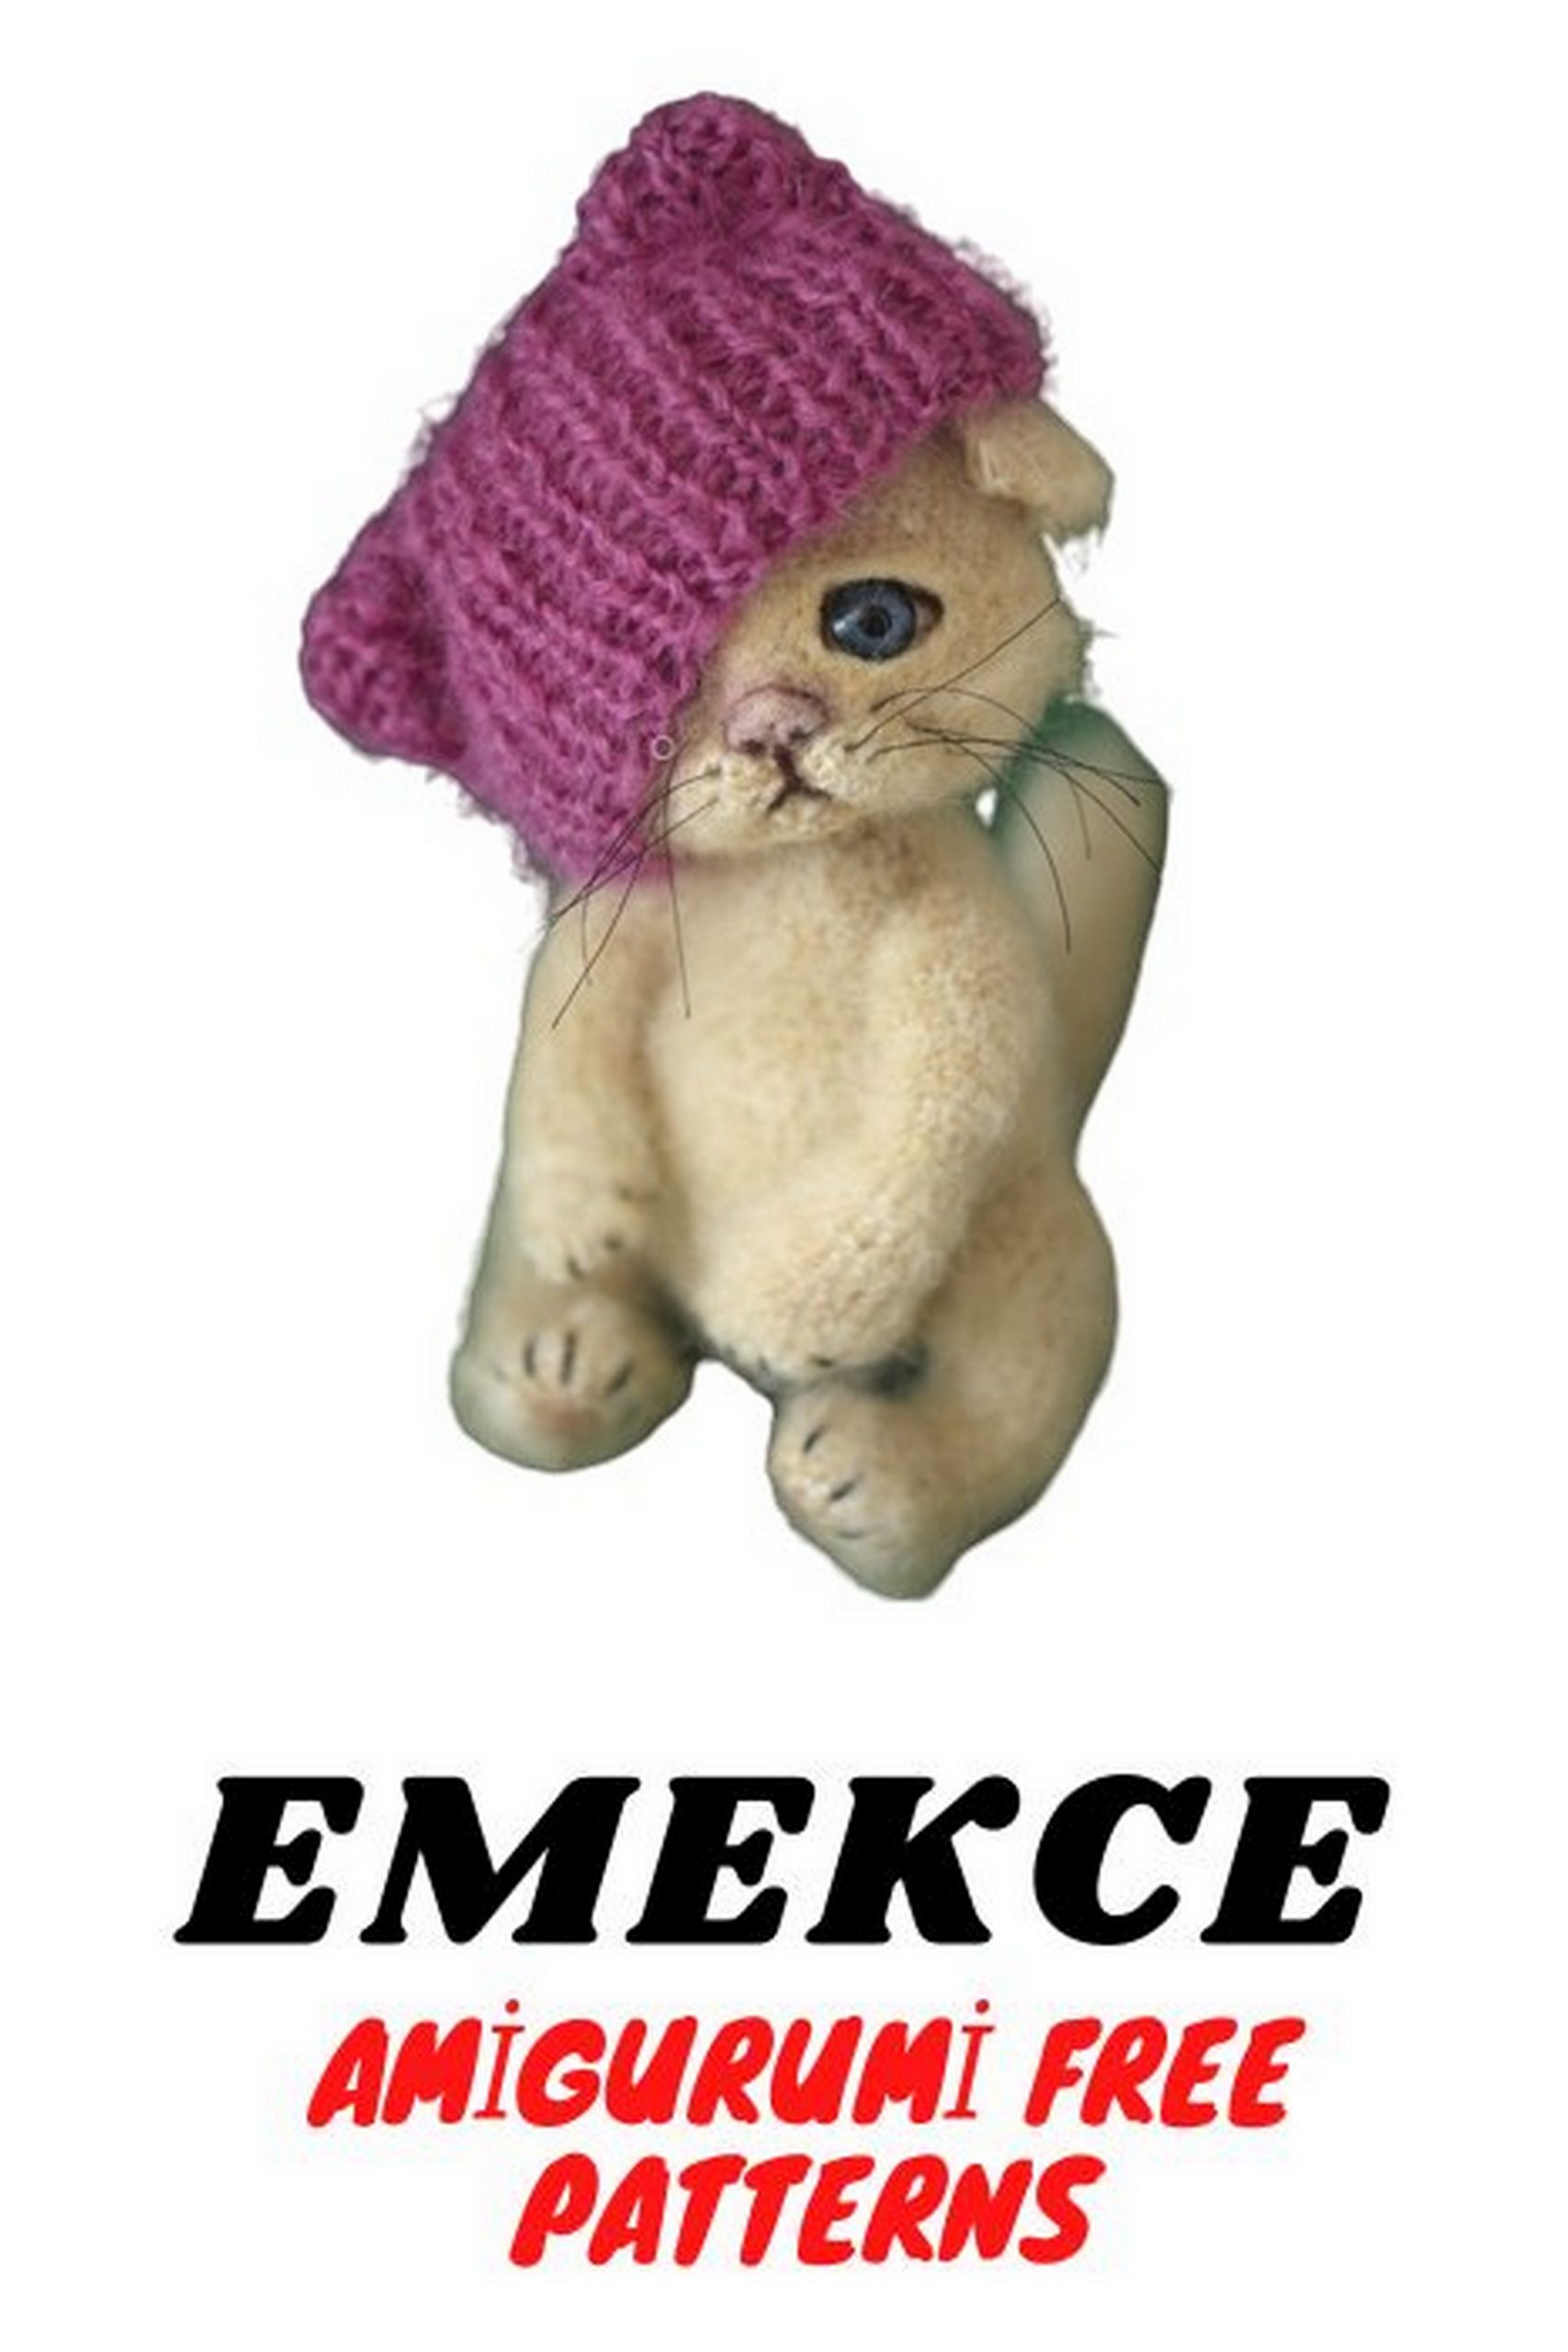
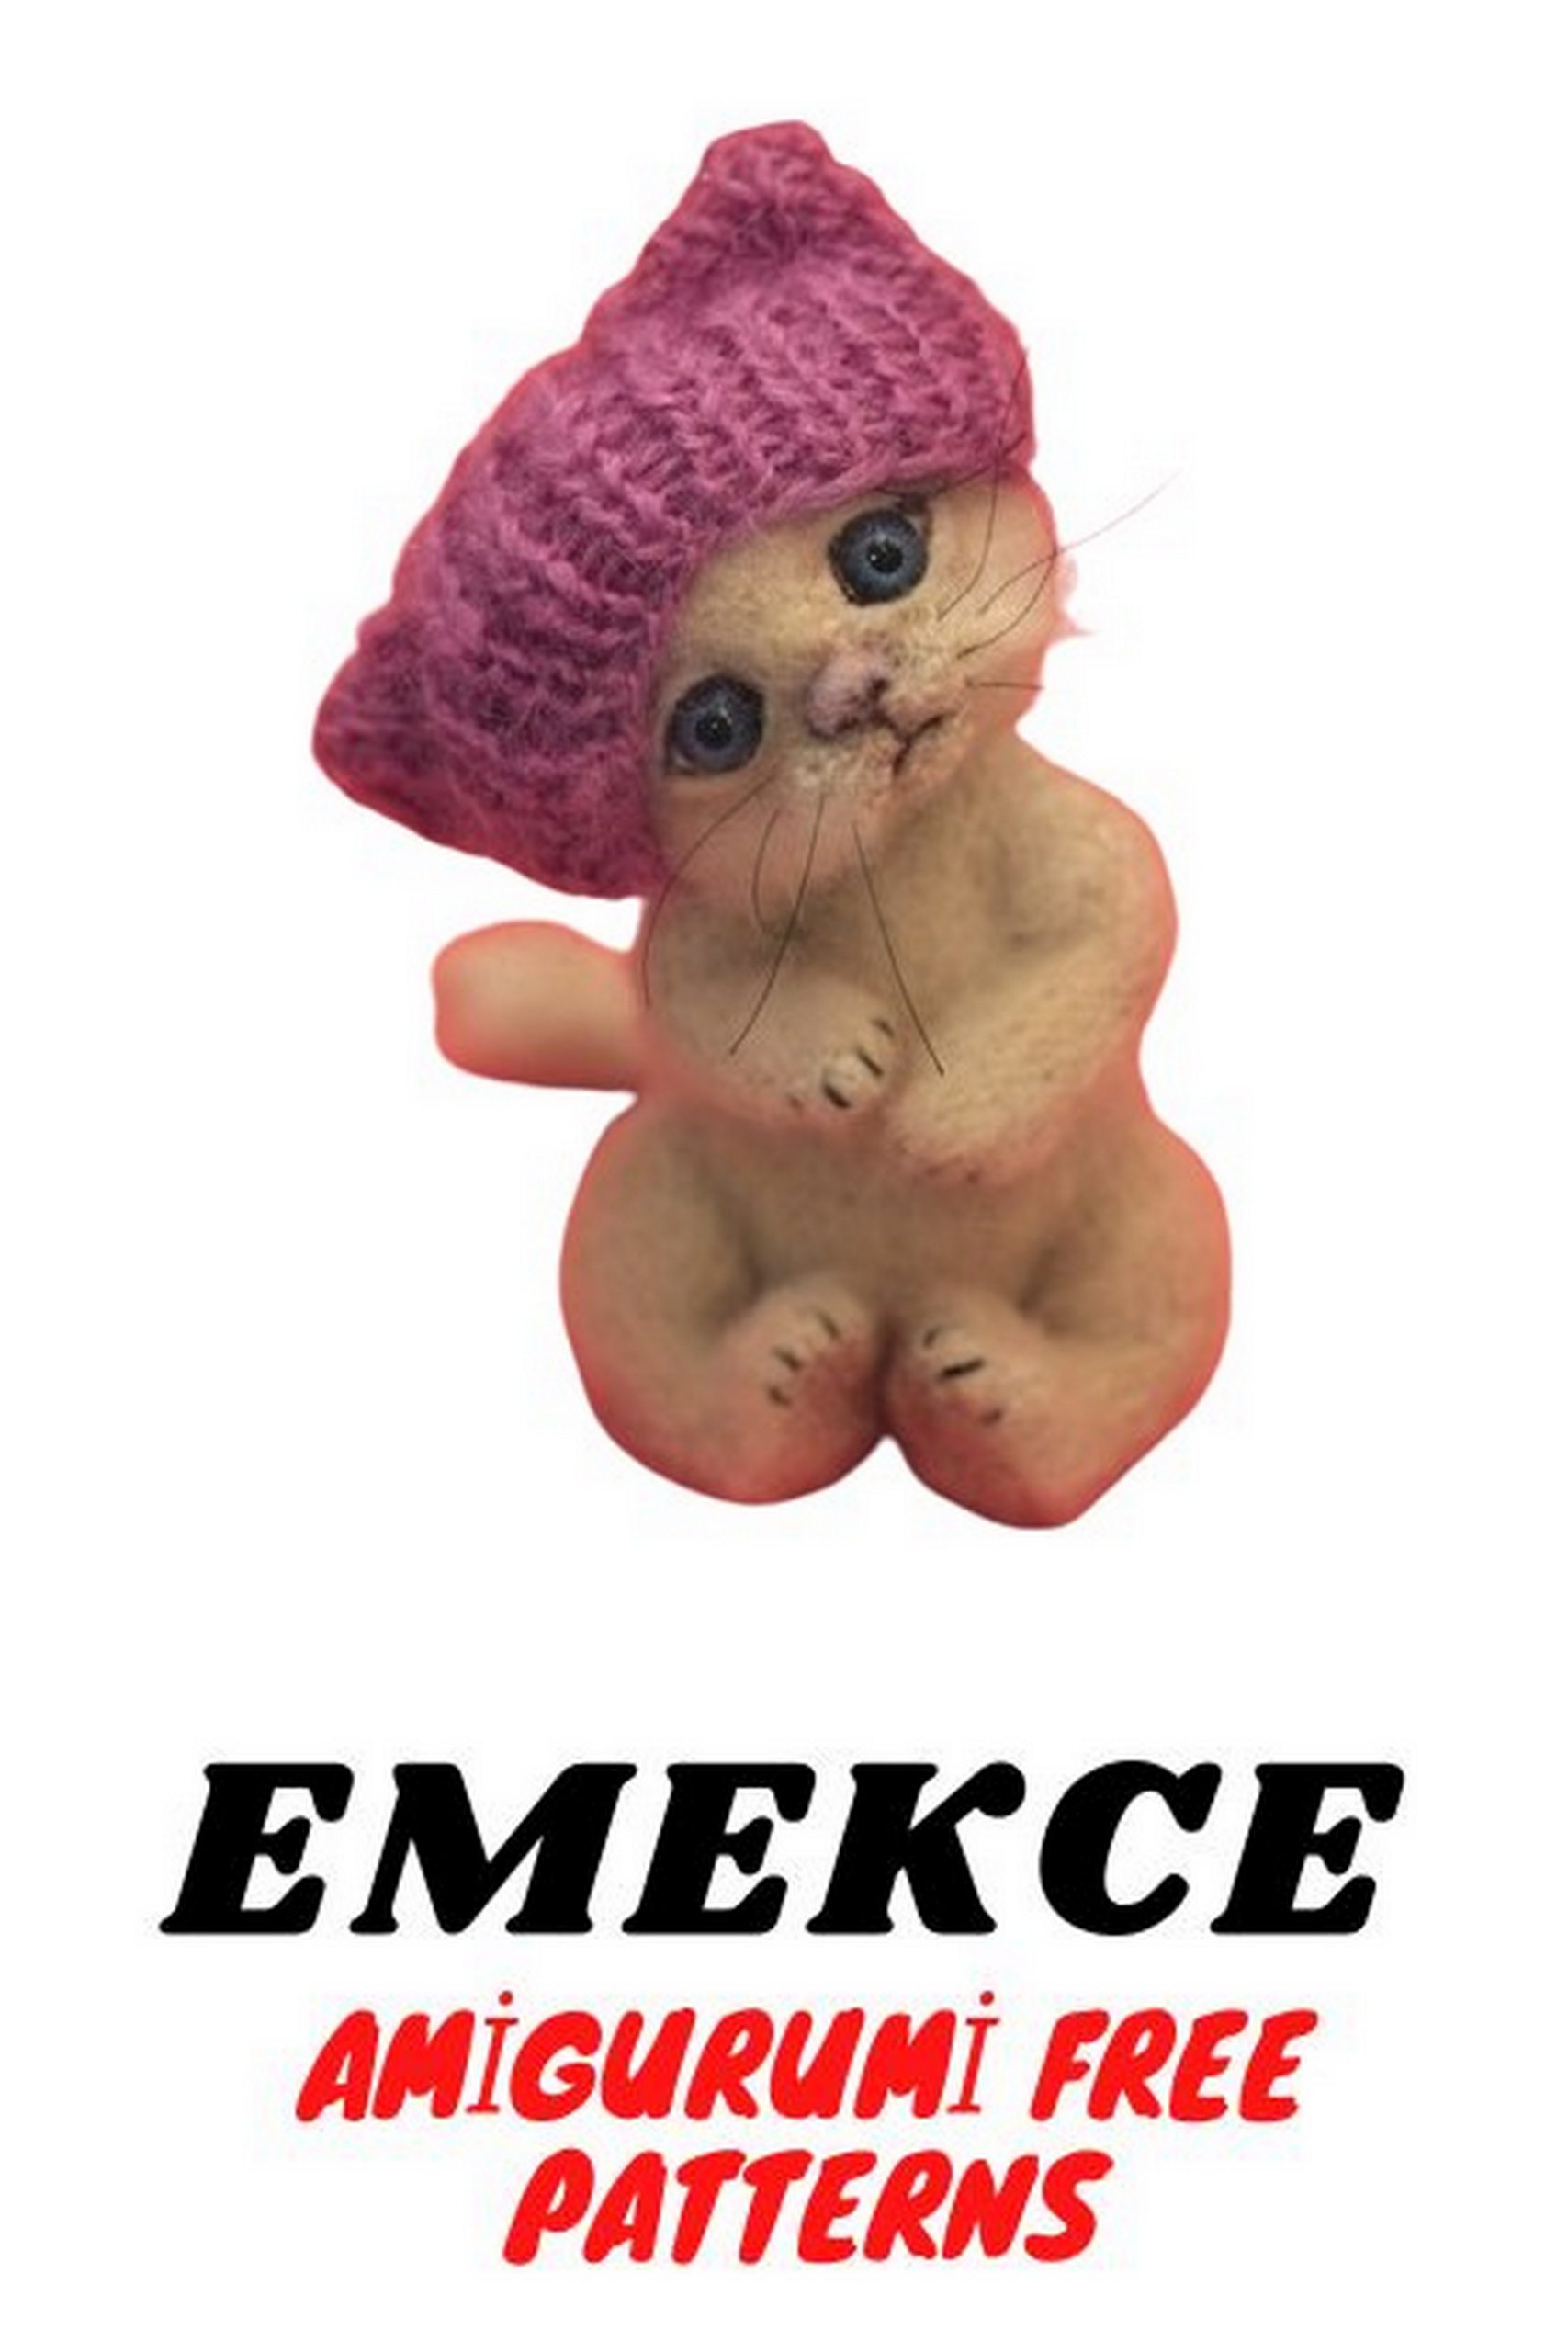
Adorable Free Pattern for Amigurumi Kitten – Crochet Your Own Cuddly Friend!
Welcome to the world of amigurumi crafting, where you can bring the cutest creatures to life with just a hook and some yarn! If you’re a fan of crocheting and love all things cute and cuddly, you’re in for a treat. Our free pattern for an amigurumi kitten is perfect for both beginners and seasoned crafters alike.
With this pattern, you’ll be able to create your very own tiny feline friend, complete with whiskers and a playful tail. Whether you’re making it for yourself or as a gift for a fellow cat lover, this little kitten is sure to bring smiles wherever it goes.
So grab your crochet hook, pick out your favorite yarn colors, and let’s get started on this purr-fectly delightful project! Follow along with our easy-to-understand instructions, and soon enough, you’ll have your own adorable amigurumi kitten to cuddle with whenever you need a dose of cuteness in your day.
Get ready to embark on a crafting adventure filled with joy and creativity. Crochet your way to happiness with our free pattern for the most lovable amigurumi kitten you’ve ever seen!
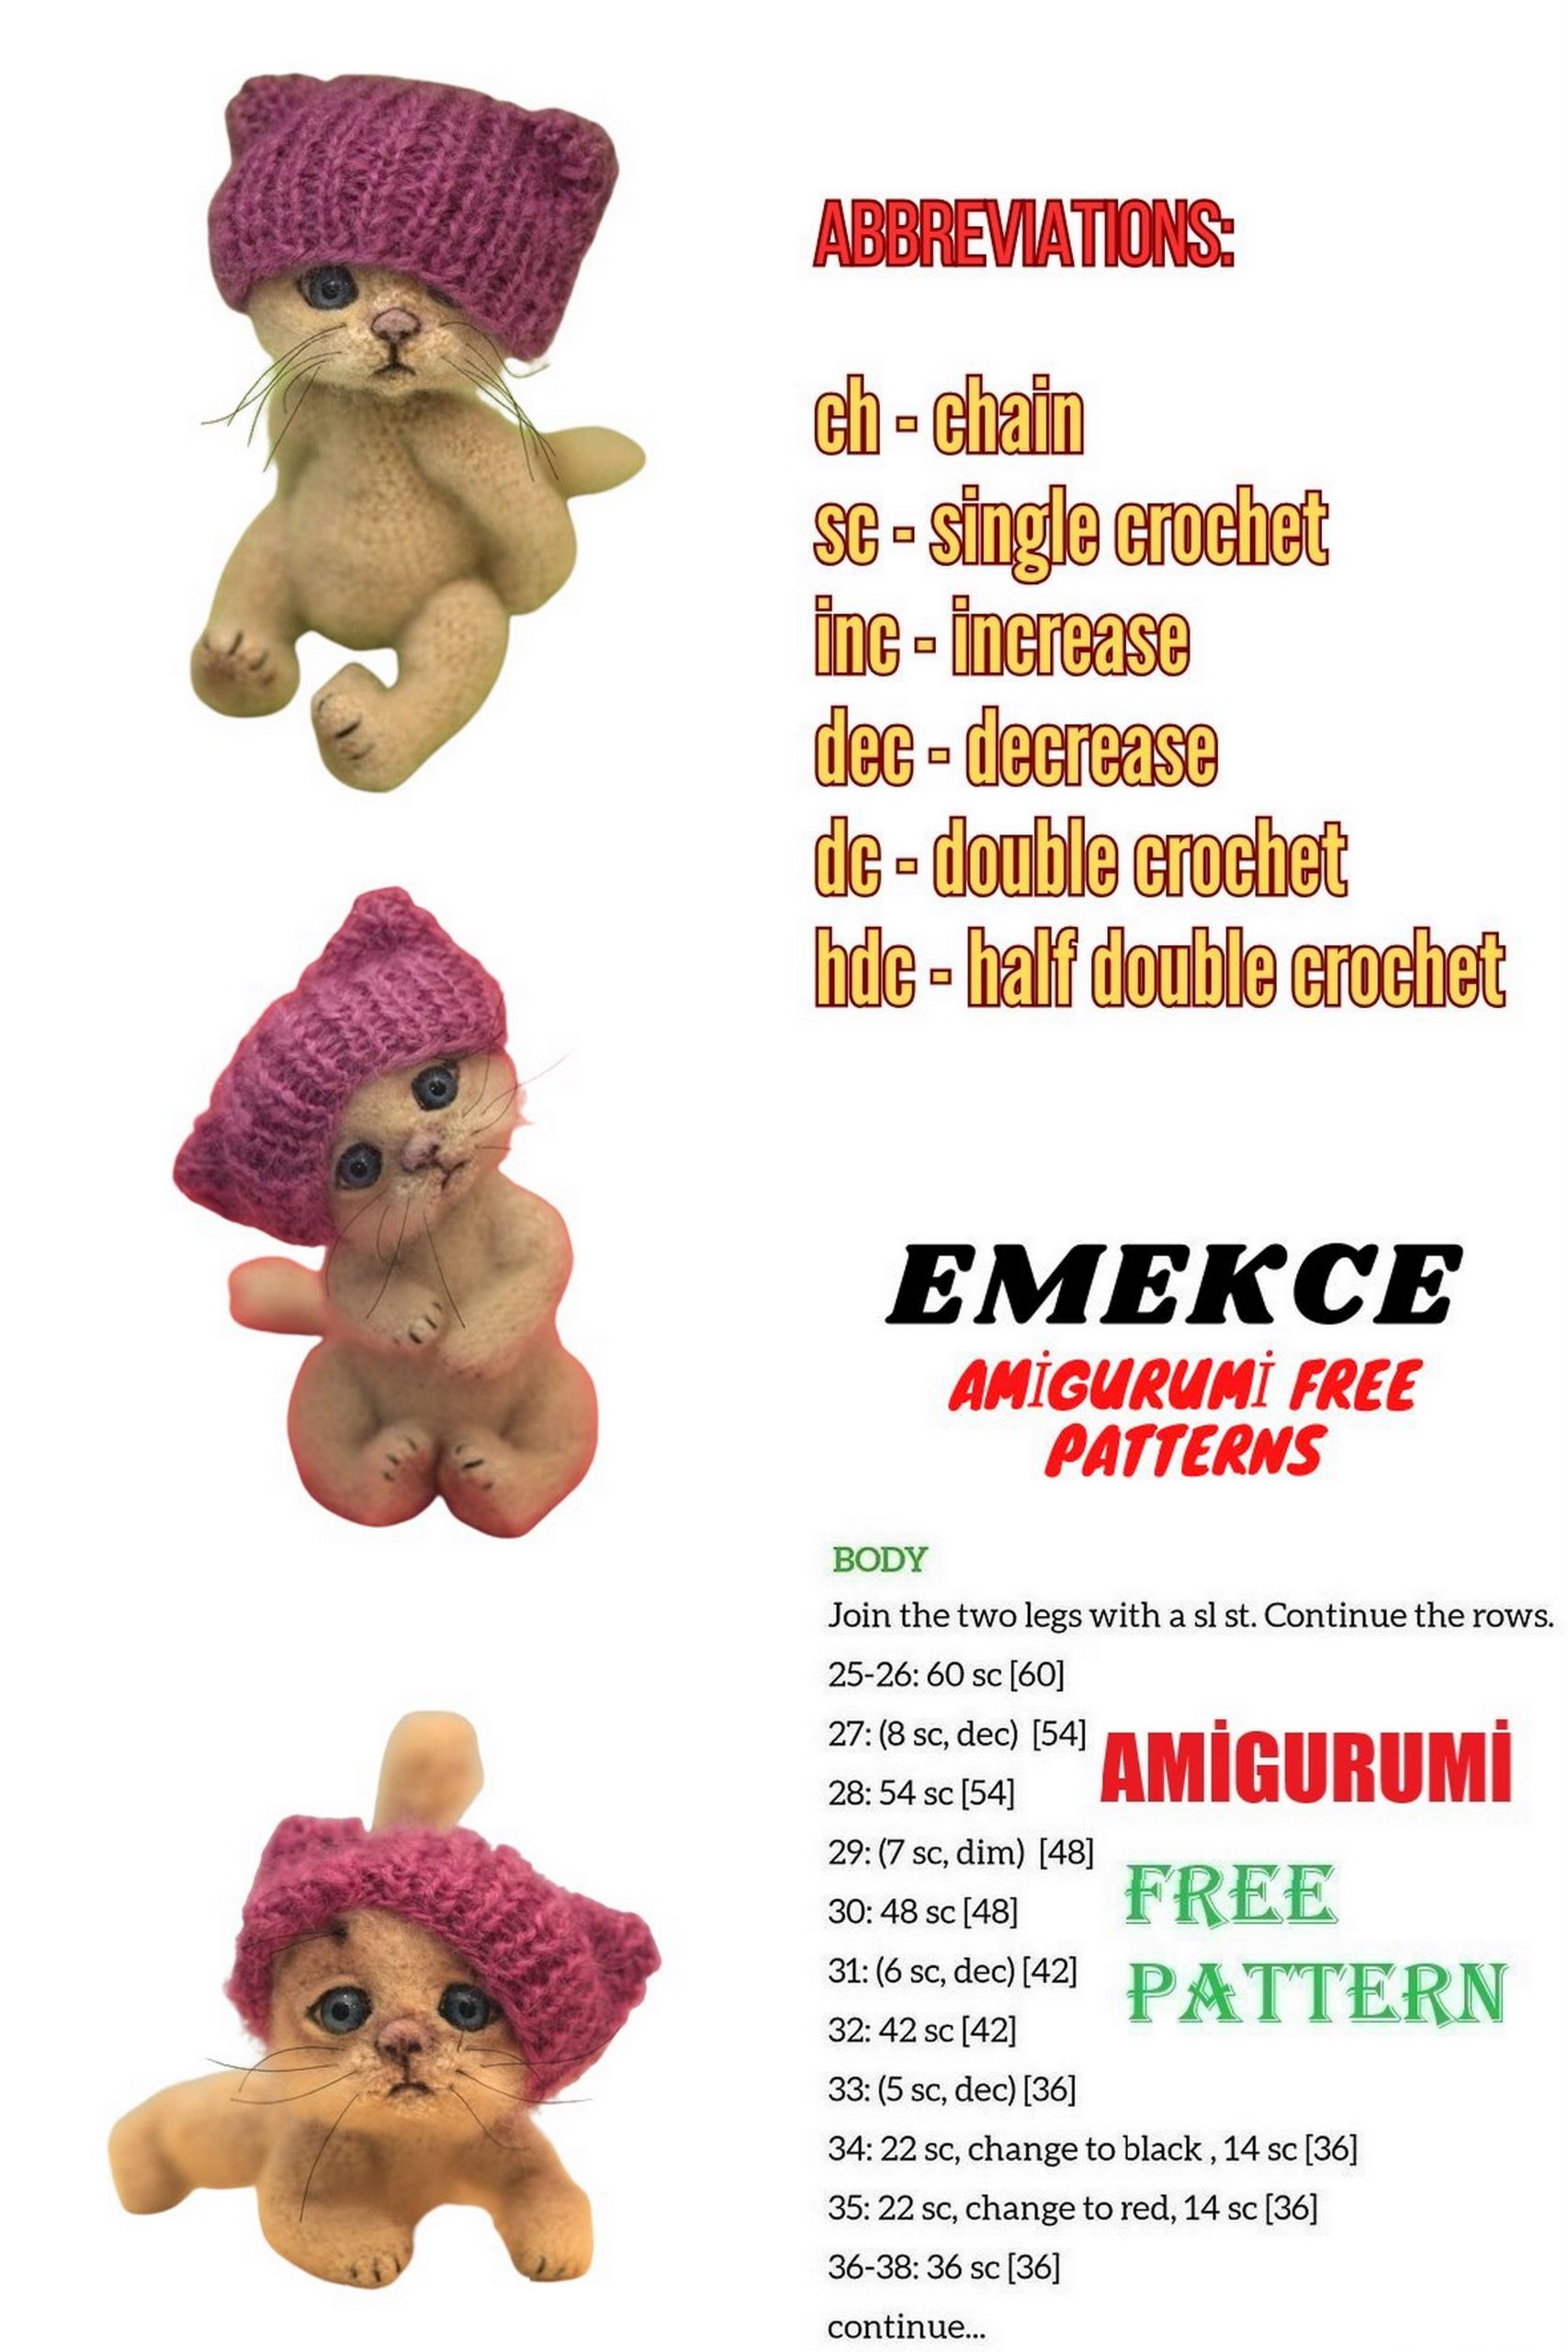
Abbreviations:
sc – single crochet
inc – increase
dec – decrease
ch – chain stitch
hdc – half double crochet
(…)x6 repeat action in parentheses 6 times.
PATTERN
Head:
Work the head in continuous rounds. Place a marker at the back center. Make adjustments where necessary.
1: 6 sc in magic ring (6)
2: (inc) x6 (12)
3: (sc, inc) x6 (18)
4: (2 sc, inc) x6 (24)
5: (3 sc, inc) x6 (30)
6: 30 sc
7: 7 sc, inc, 14 sc, inc, 7 sc (32)
8: 8 sc, inc, 14 sc, inc, 8 sc (34)
9: 8 sc, inc, 16 sc, inc, 8 sc (36)
10: 36 sc, ch for adjustment
11: (5 sc, inc) x6 (42)
12: (6 sc, inc) x6 (48)
13: (7 sc, inc) x6 (54)
14-21: 54 sc (8 rounds)
22: (7 sc, dec) x6 (48)
23: (6 sc, dec) x6 (42)
24: (5 sc, dec) x6 (36), ch for adjustment
25: (4 sc, dec) x6 (30)
26: (3 sc, dec) x6 (24)
Leave a long tail for sewing and proceed to work on other parts.
Arms (make 2):
1: 6 sc in magic ring (6)
2: (inc) x6 (12)
3-12: 12 sc (10 rounds)
13-14: dec hdc, 3 sc, inc, inc, 3 sc, dec hdc (12)
15: 6 sc, inc, 5 sc (13)
16: 6 sc, inc, 6 sc (14)
17: 7 sc, inc, 6 sc (15)
18: 7 sc, inc, 7 sc (16)
19: 7 sc, inc, 7 sc, inc (18)
20-23: 18 sc (4 rounds)
Leave a tail for sewing.
Legs (make 2):
1: Ch 5, from the 2nd ch, 3 sc, 3 sc in 1, on the other side 3 sc, 3 sc in 1 (12)
2: 3 sc, (inc) x3, 3 sc, (inc) x3 (18)
3: 3 sc, (sc, inc) x3, 3 sc, (sc, inc) x3 (24)
4: 24 sc
5: 22 sc until the middle of the foot, place a marker, this is the new beginning of the row.
6: 8 sc, (dec hdc) x4, 8 sc (20)
7: 6 sc, (dec hdc) x4, 6 sc (16)
8: 4 sc, (dec hdc) x4, 4 sc (12)
9-11: 12 sc (3 rounds)
12: (inc, 5 sc) x2 (14)
13: 14 sc
14: (6 sc, inc) x2 (16), ch for adjustment
15: 16 sc
16: (7 sc, inc) x2 (18)
17: (5 sc, inc) x3 (21)
18: 21 sc
19: inc, 20 sc (22)
20-23: 22 sc (4 rounds)
24: sc, (3 sc, dec) x2, sc, (3 sc, dec) x2 (18)
25: (sc, dec) x6 (12)
Leave a tail for sewing.
Body (top down):
1: 6 sc in magic ring (6)
2: (inc) x6 (12)
3: (sc, inc) x6 (18)
4: (2 sc, inc) x6 (24)
5-10: 24 sc (6 rounds)
11: (3 sc, inc) x6 (30)
12: 30 sc
13: (4 sc, inc) x6 (36)
14: 36 sc
15: (5 sc, inc) x6 (42)
16-27: 42 sc (12 rounds)
28: (5 sc, dec) x6 (36)
29: (4 sc, dec) x6 (30)
30: (3 sc, dec) x6 (24)
31: (2 sc, dec) x6 (18)
Insert wire frame from the head, through the hole (left in the magic ring of the first row of the body), through the body to the end of the tail (through the loop in the knitting). I crochet not very tightly, so the wire passes easily between the stitches. My kitty turns out to be 17 cm in size without counting the tail, so I cut the wire about 27-30 cm long for the frame. Count 7 rows from the top of the body and insert wire for the arms, and at the bottom – at about the level of the 10-12th row, insert wire for the legs. Stuff the body with fiberfill and finish crocheting the body.
32: (sc, dec) x6 (12)
33: (dec) x6
Tail:
1: 6 sc in magic ring (6)
2: (inc) x6 (12)
3-28: 12 (26 rounds, you can crochet the tail longer or shorter, as you like)
Ears (make 2):
1: Ch 2, turn
2: 2 sc, inc, turn
3: 3 sc, inc, turn
4: 4 sc, inc, turn
5: 5 sc, inc, turn
6: 6 sc, inc, turn
7: 7 sc, inc, turn
8: 9 sc
Crochet around both sides of the ear and leave a tail for sewing.
Muzzle:
Consists of two parts, the first is crocheted vertically, the second horizontally.
Do not stuff them.
First part:
1: 6 sc in magic ring (6)
2: 6 sc (6)
Pull together into one loop, then chain 2 and in the second from the hook, crochet 6 sc, join in the round. Crochet another 6 stitches around, then pull the loops together again.
Second part:
1: 6 sc in magic ring (6)
2-4: 6 sc (3 rounds), pull together into one loop, chain 2 and in the second from the hook, crochet 6 sc, join in the round. Crochet another 3 rounds of 6 stitches each, then pull the loops together.
Assembly Tips:
Insert the wire, stuff the body. Make a loop at the end of the wire, wrap it with adhesive tape, put the arm on the wire, stuff it slightly with polyester fiberfill, and sew it to the body. If desired, arms and legs can be attached in different ways, using thread joints or joints, depending on your preference. Do the same for the legs.
Sew the vertical part of the muzzle first, then sew the horizontal part on top. It creates a cross shape from two parts. Then make the eye indentations.
I make the eye indentations as follows: From the point where the neck will be (under the chin), insert the needle into the position of the right eye, then skip one row and insert the needle in the same place, tighten the thread. Do the same for the left eye. Repeat the procedure a couple of times.
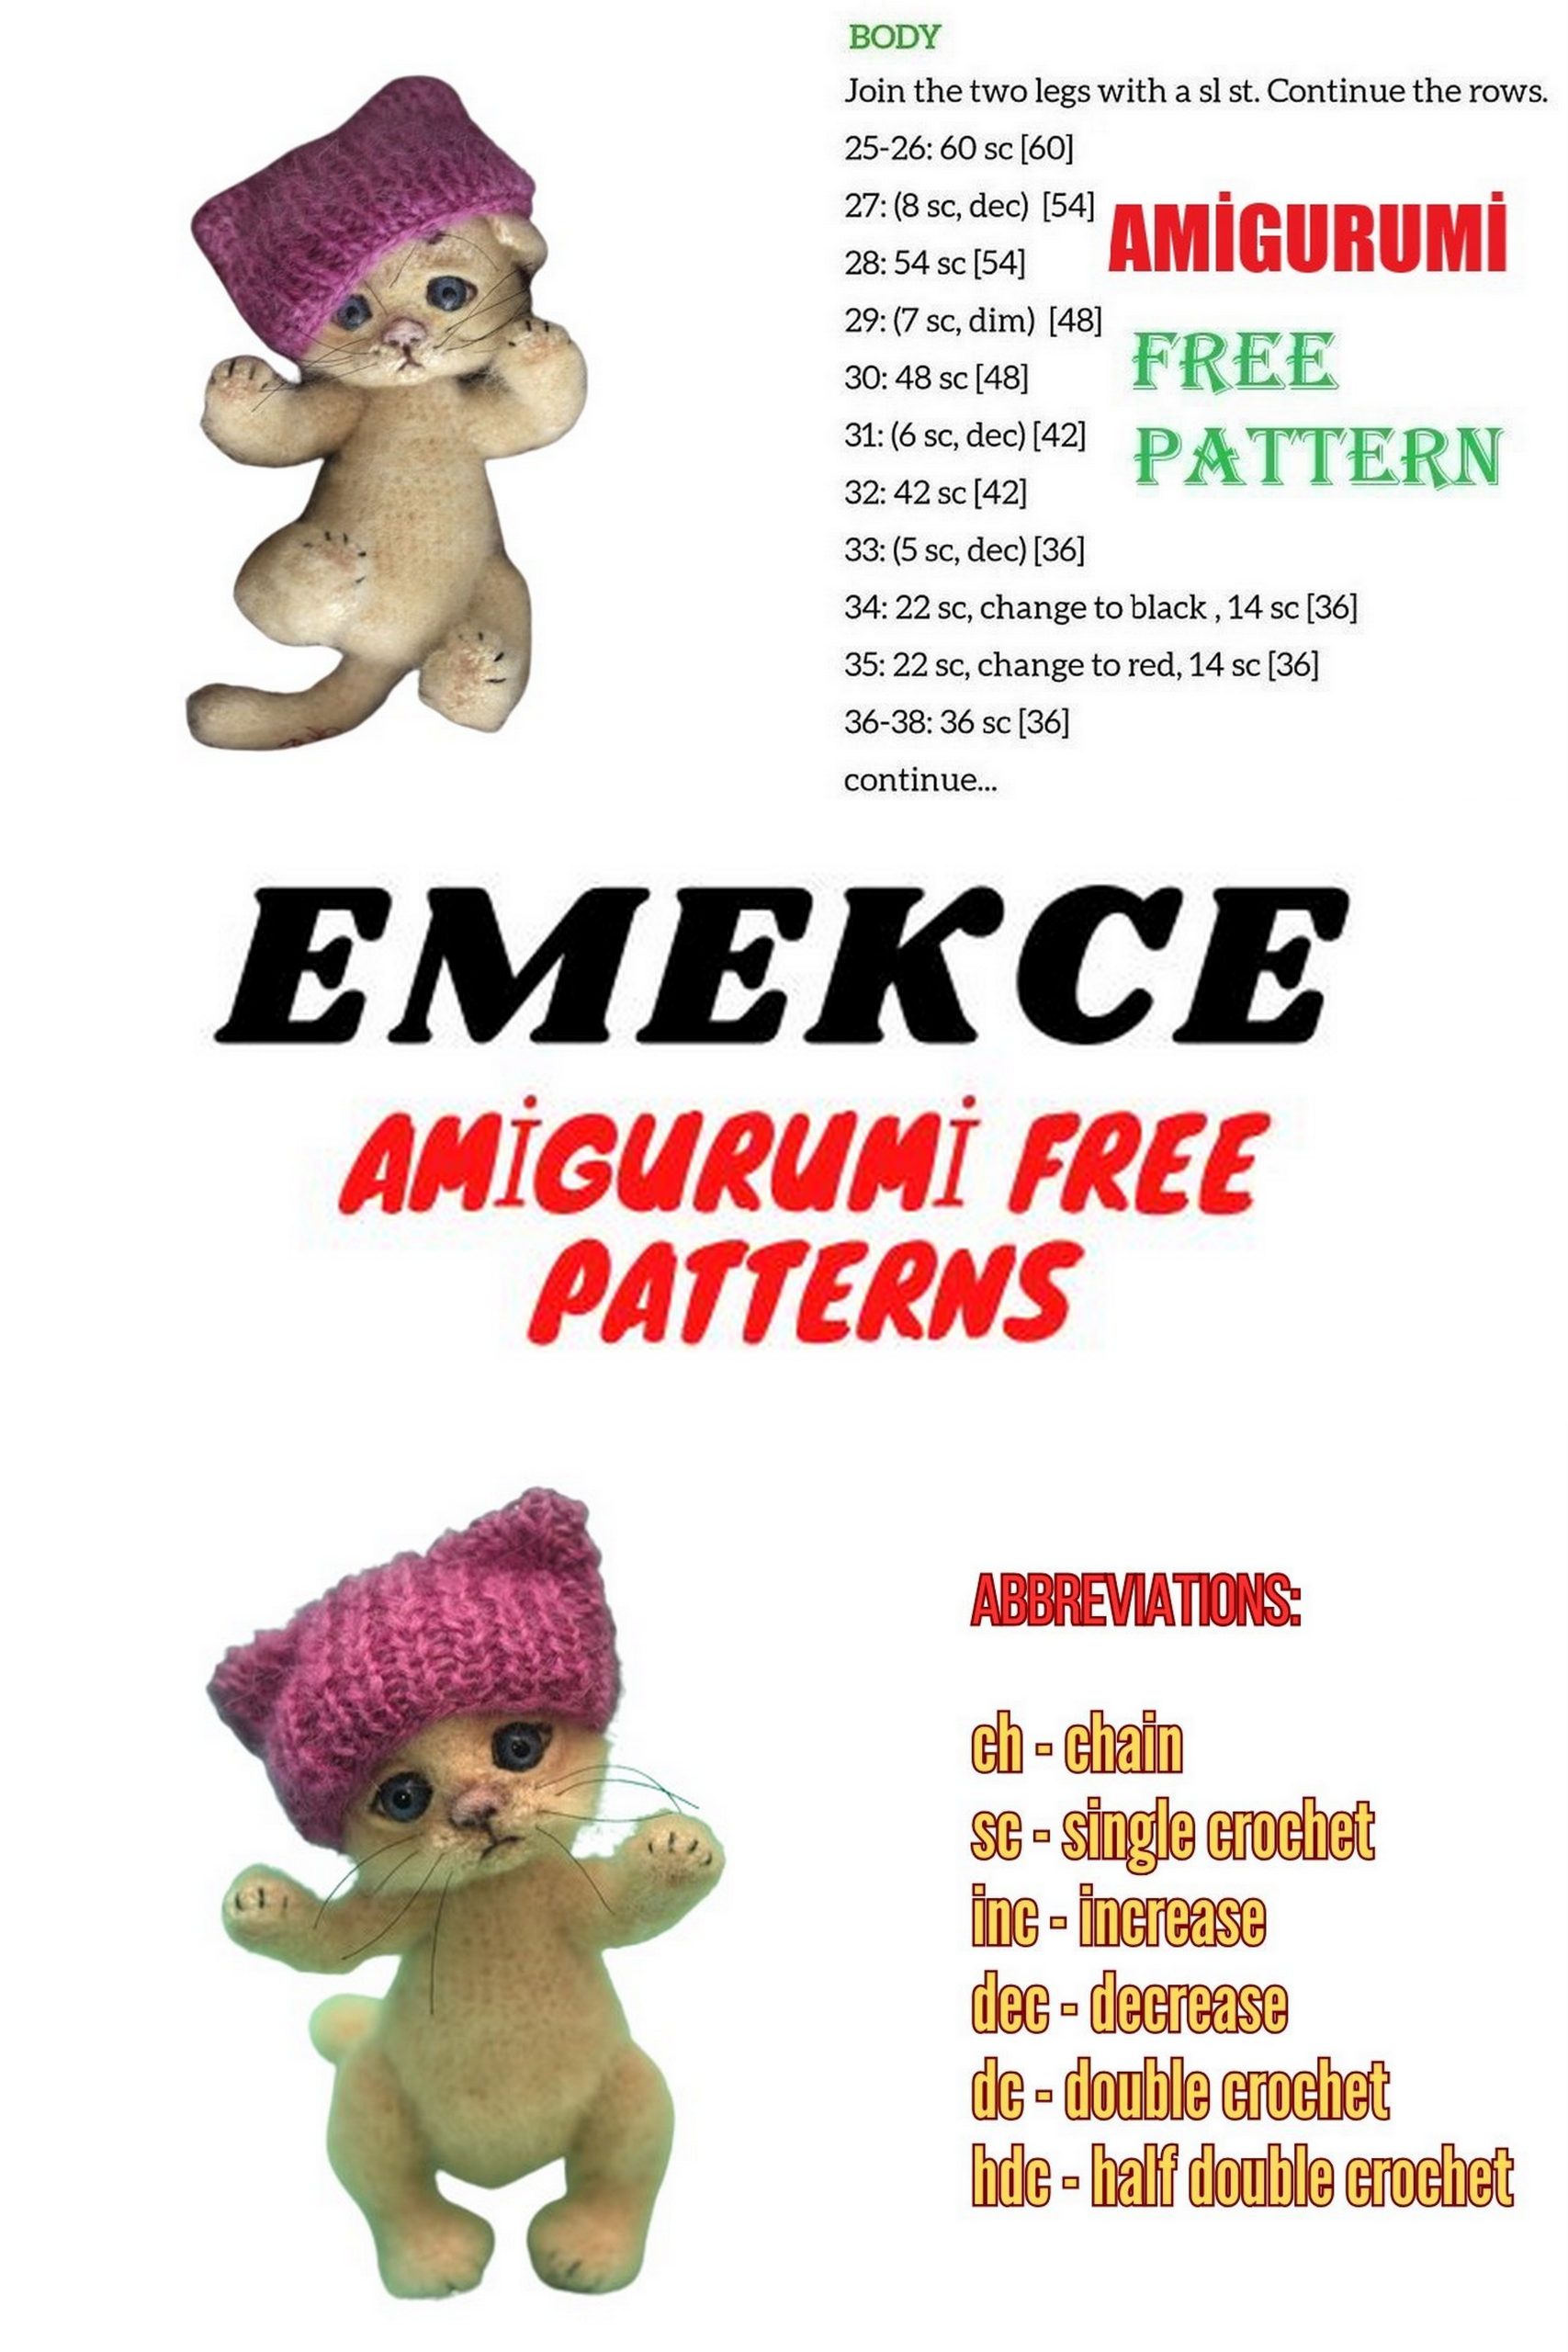
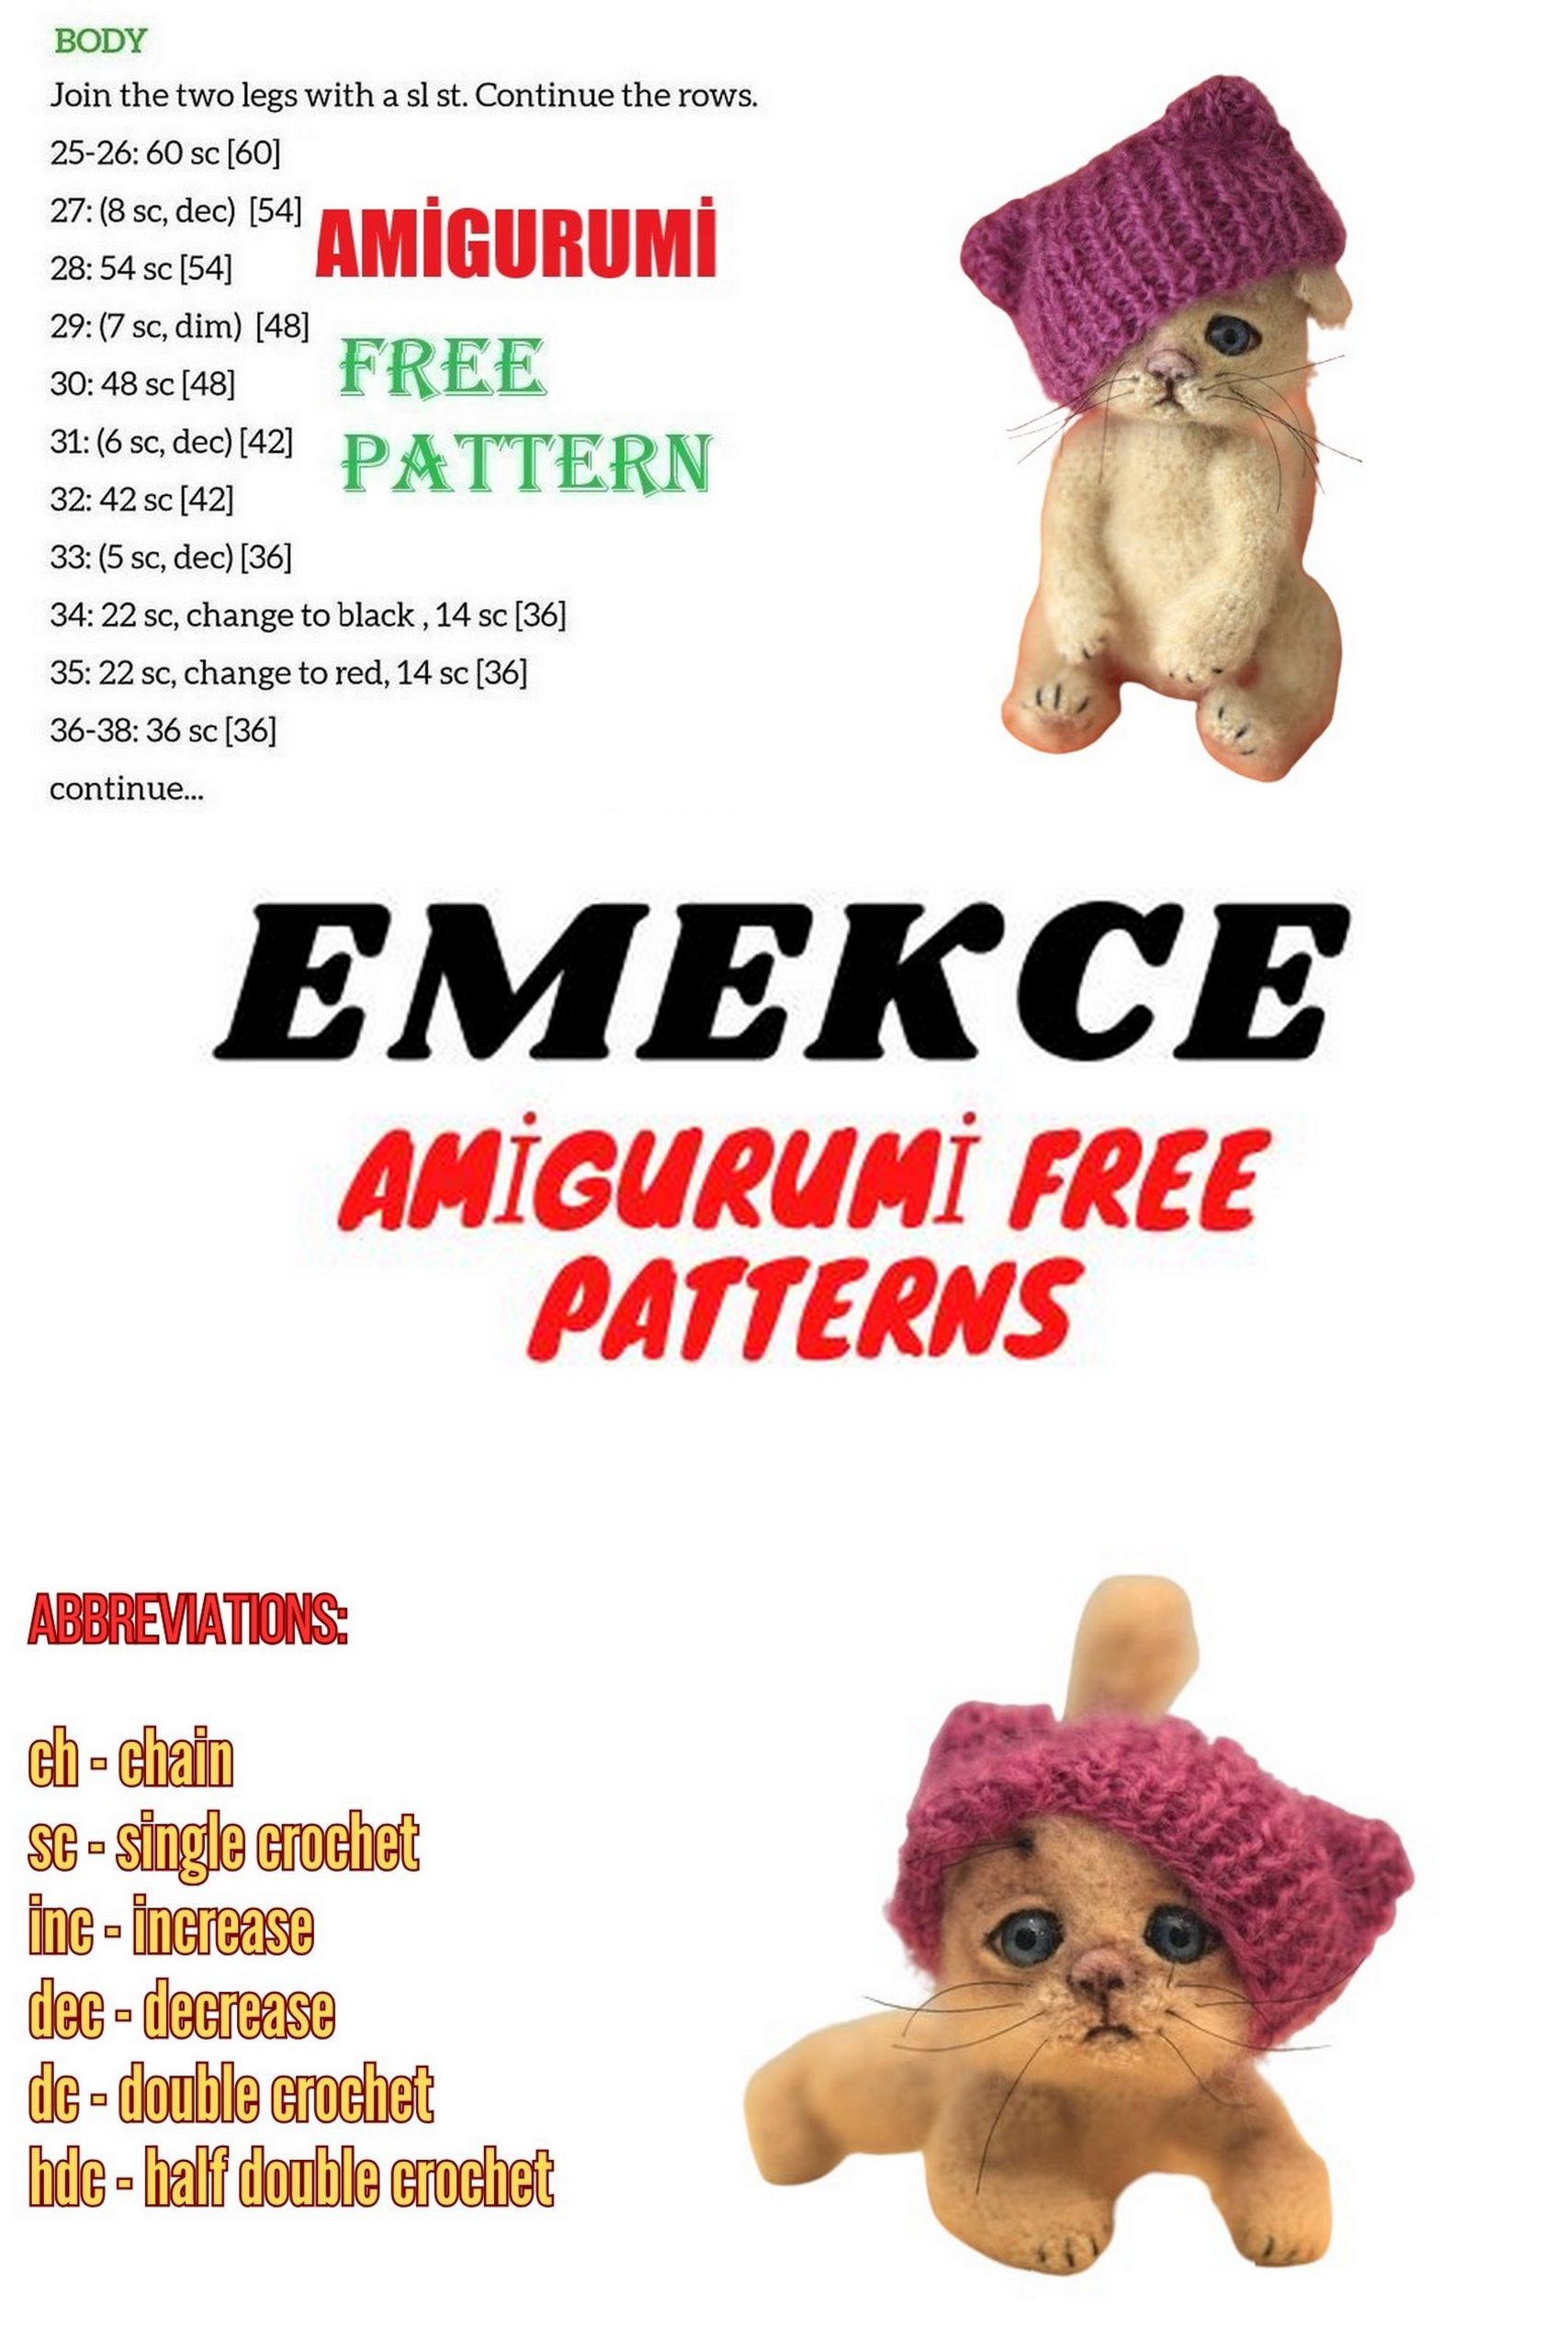
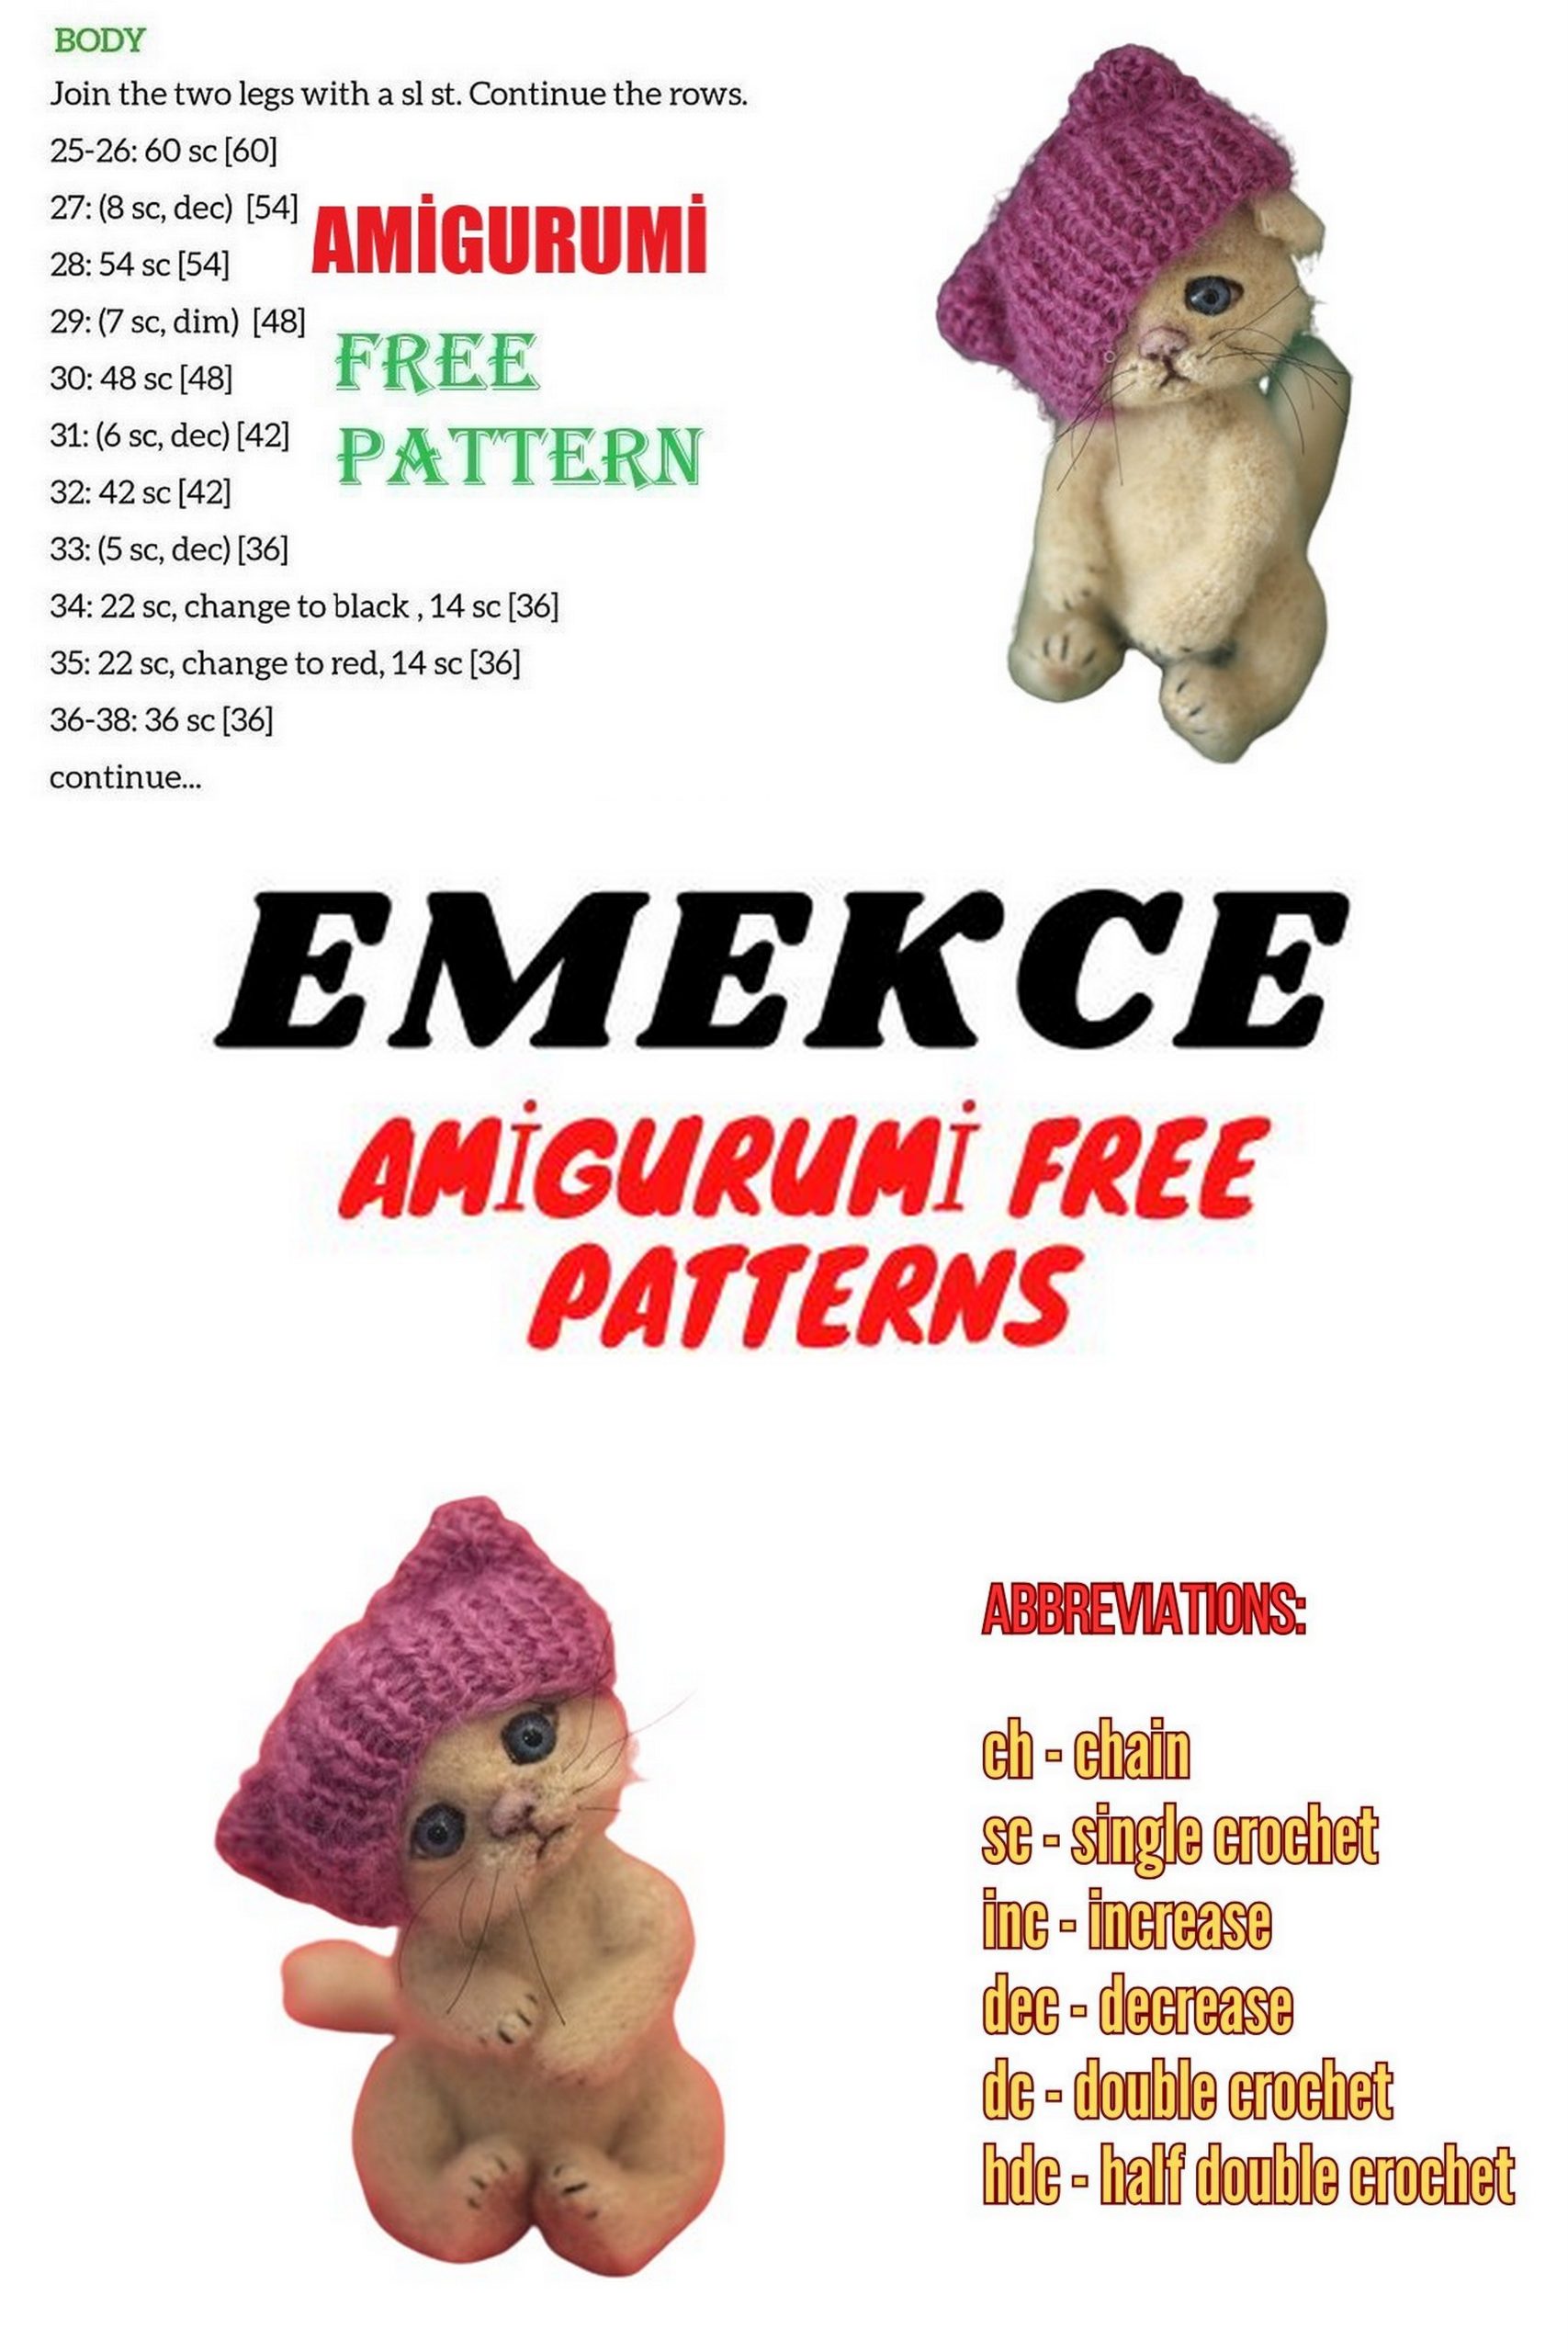
I decorate the muzzle using a felting needle, using sheep’s wool. In the eye areas, I apply white wool, shape the nose using pink and brown wool, glue on the eyes, and apply eyelids. You can sculpt the nose out of polymer clay and decorate the eyes as you like, it’s up to you.
Sew the ears to the head, and also sew on the tail, first forming a loop at its end. Stuff the tail with filler.
I embroidered the claws with black thread and used bead thread for the whiskers.
I knitted the hat with knitting needles, simply as a rectangle in rib stitch, then sewed the corners.
Craftswomen, enjoy crocheting and credit Olena Ivanova as the author of your kitty pattern.