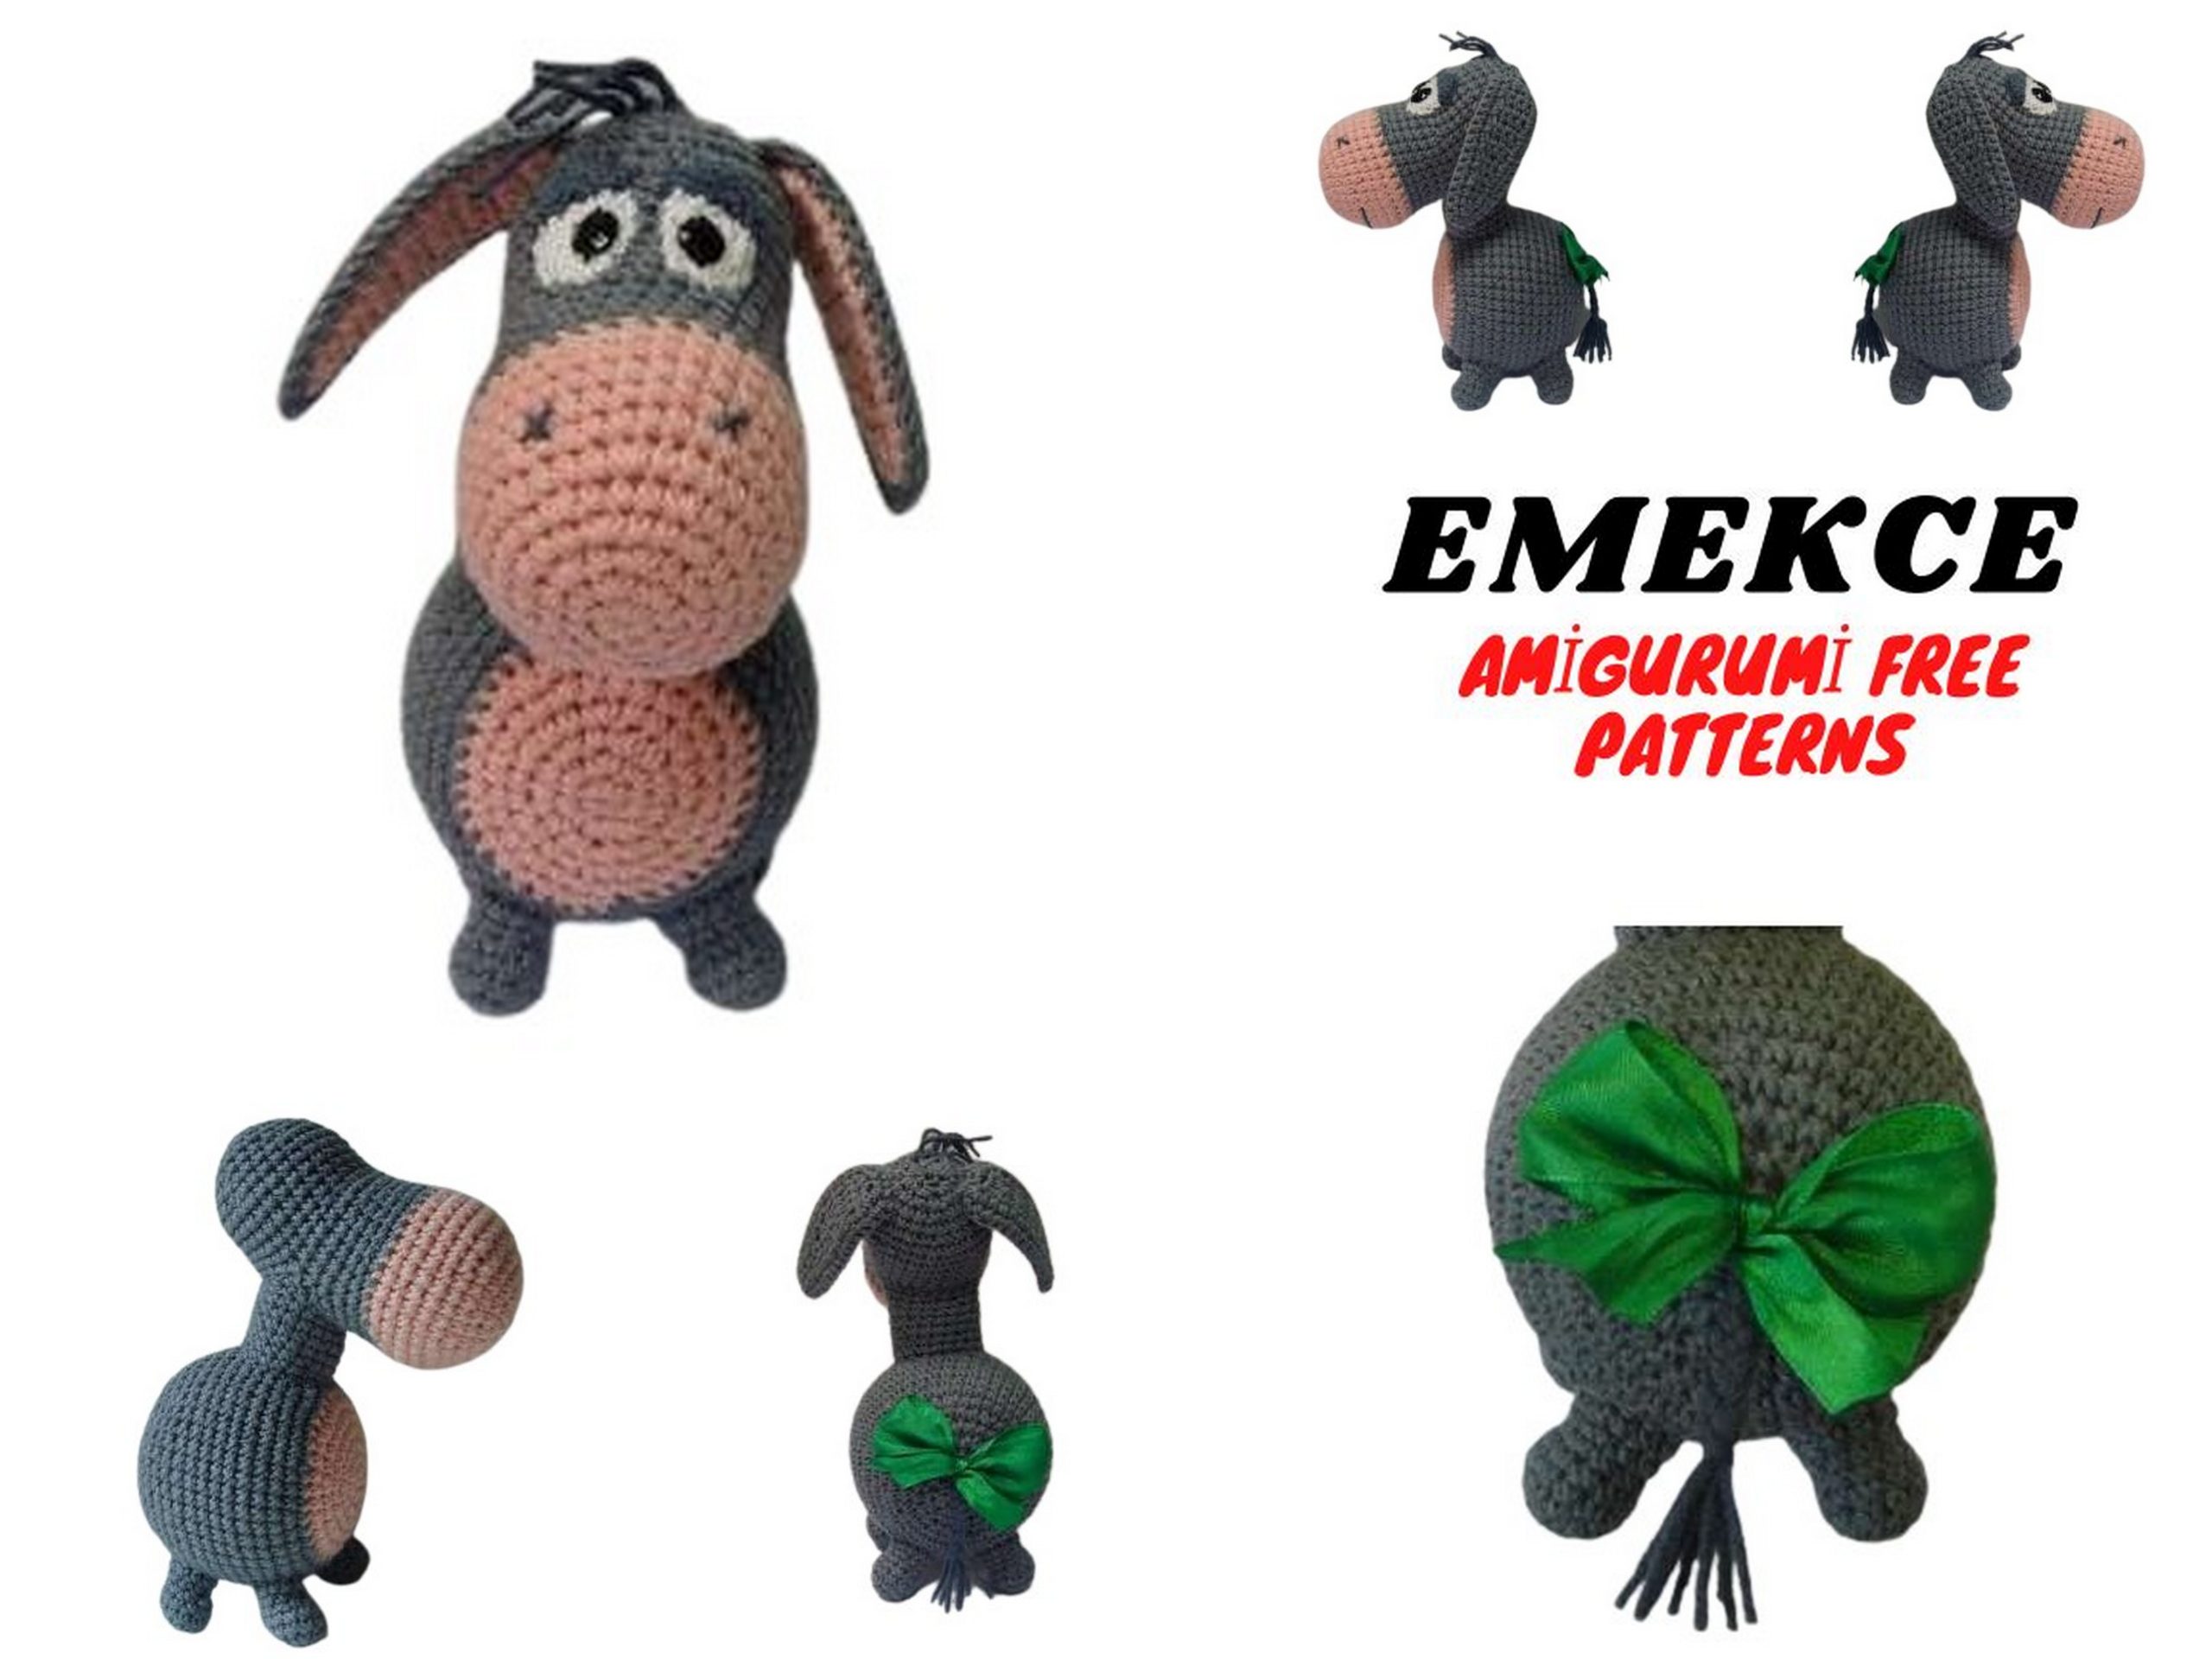
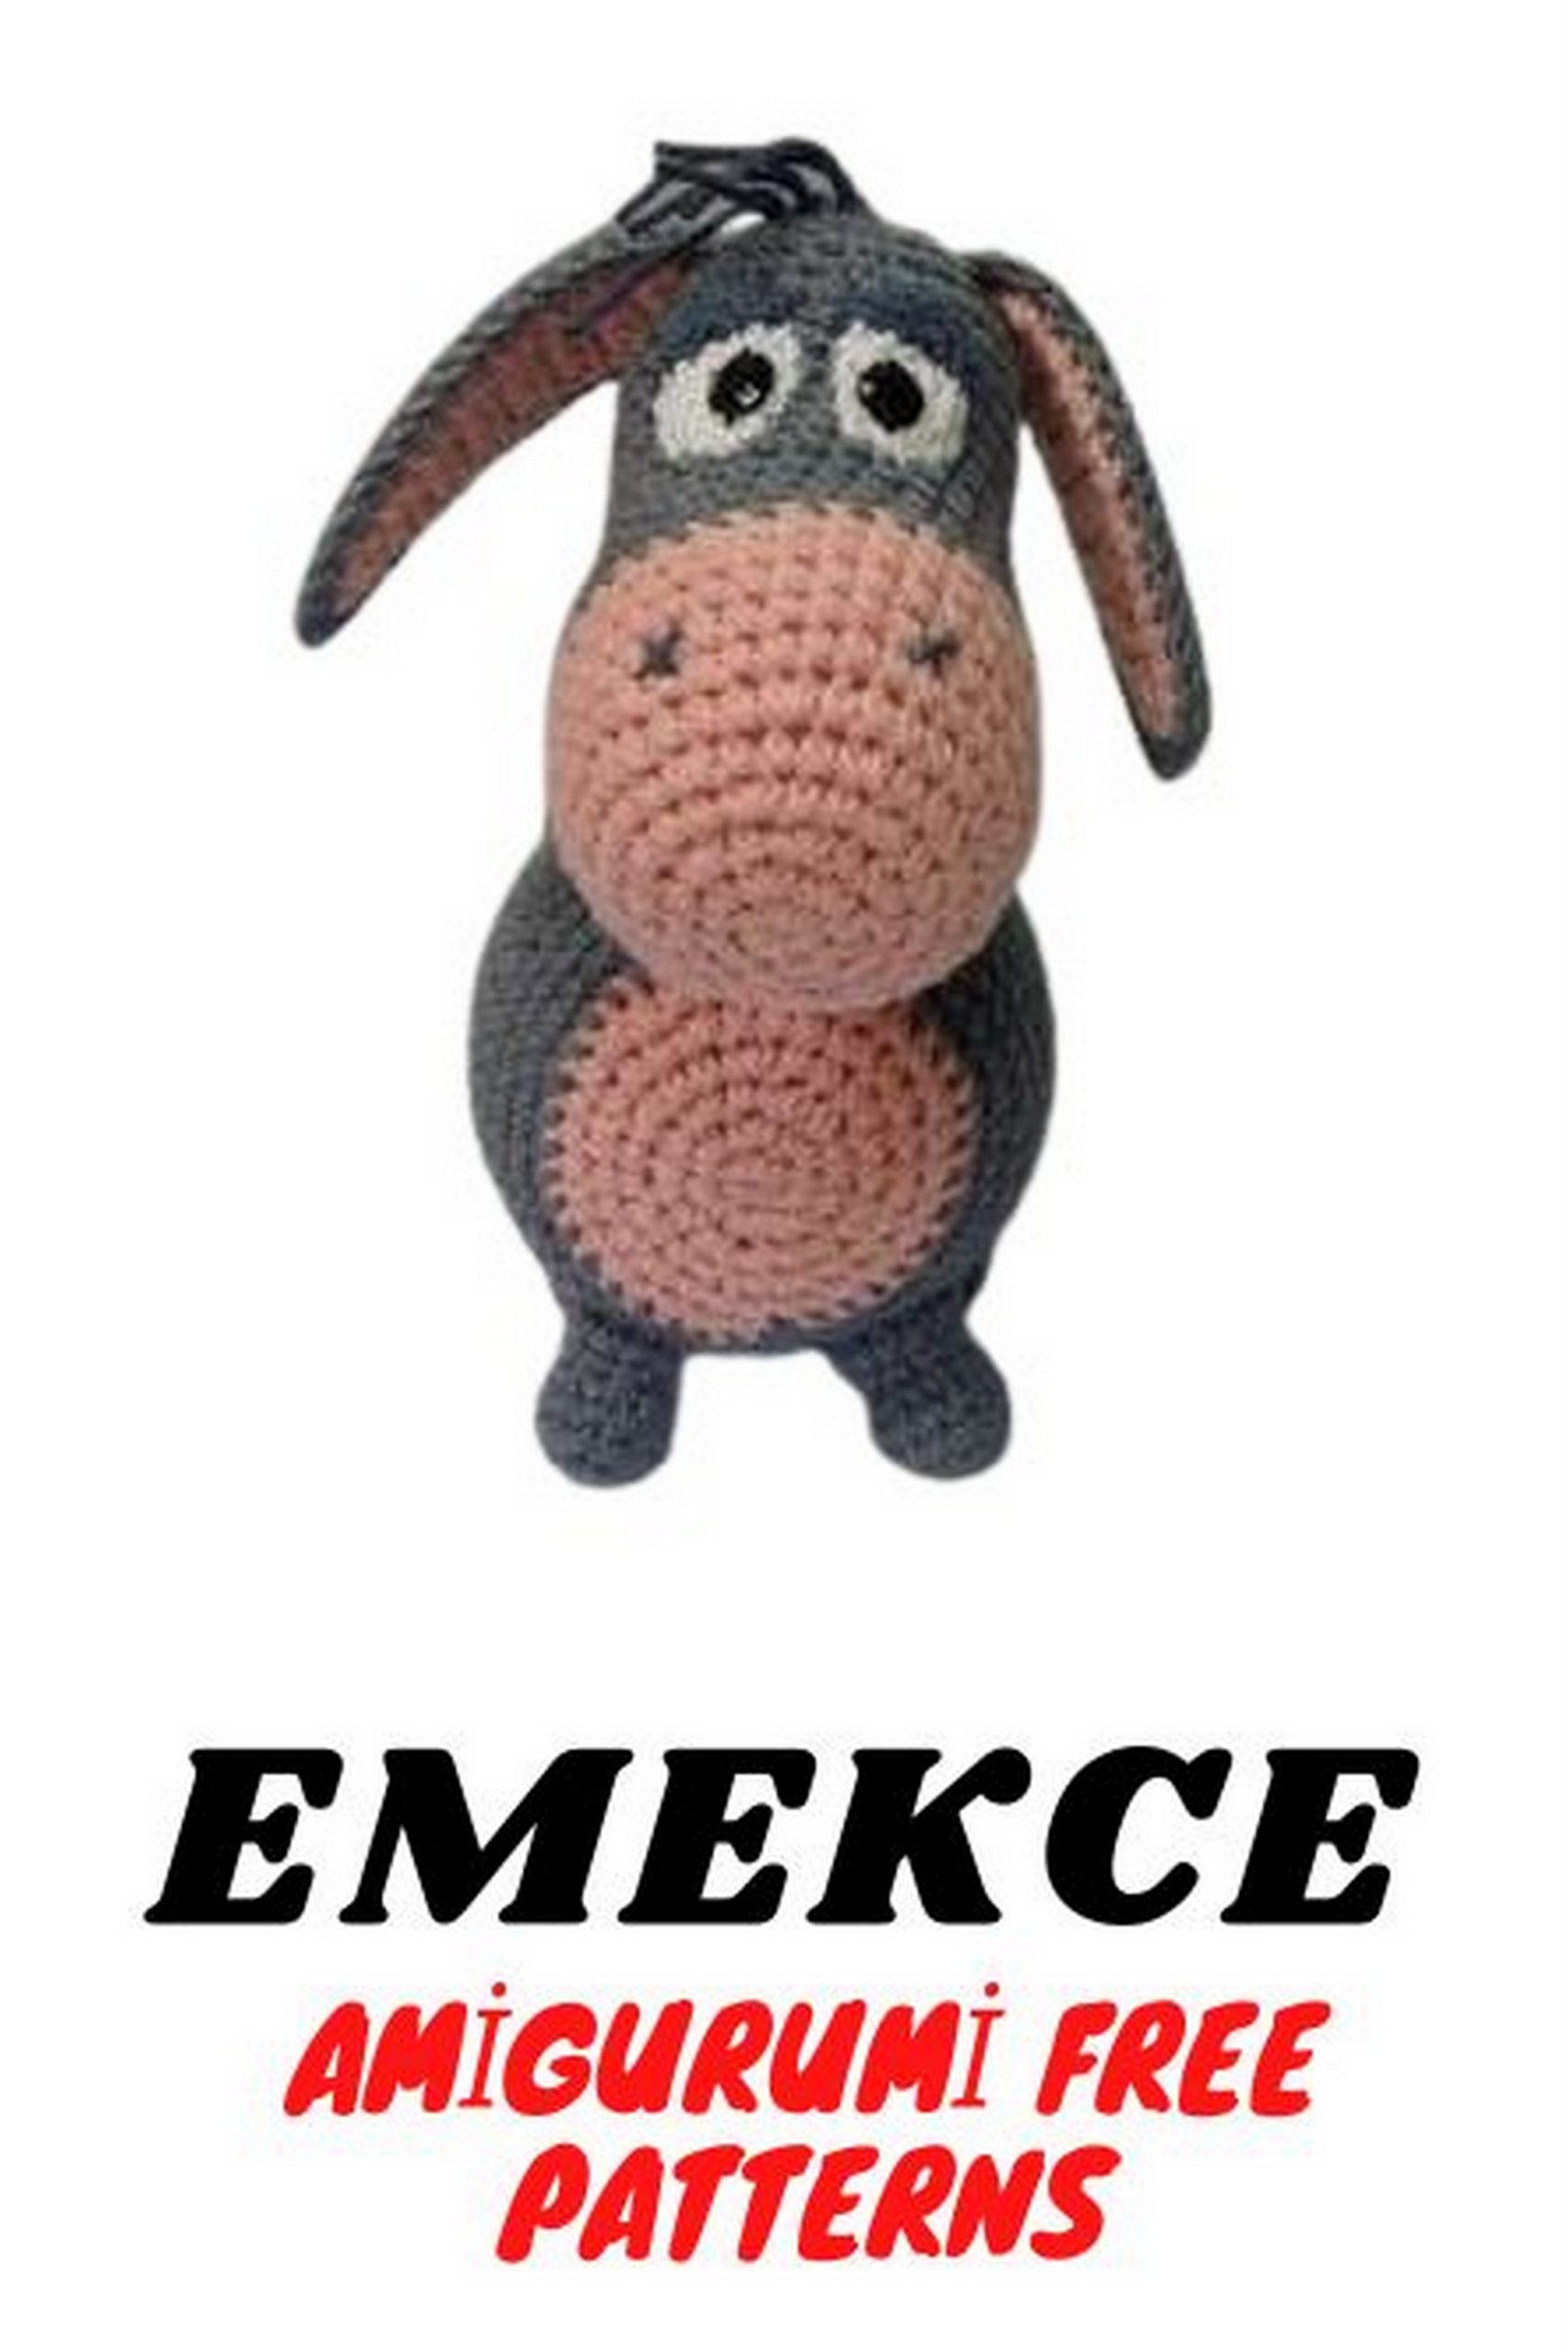
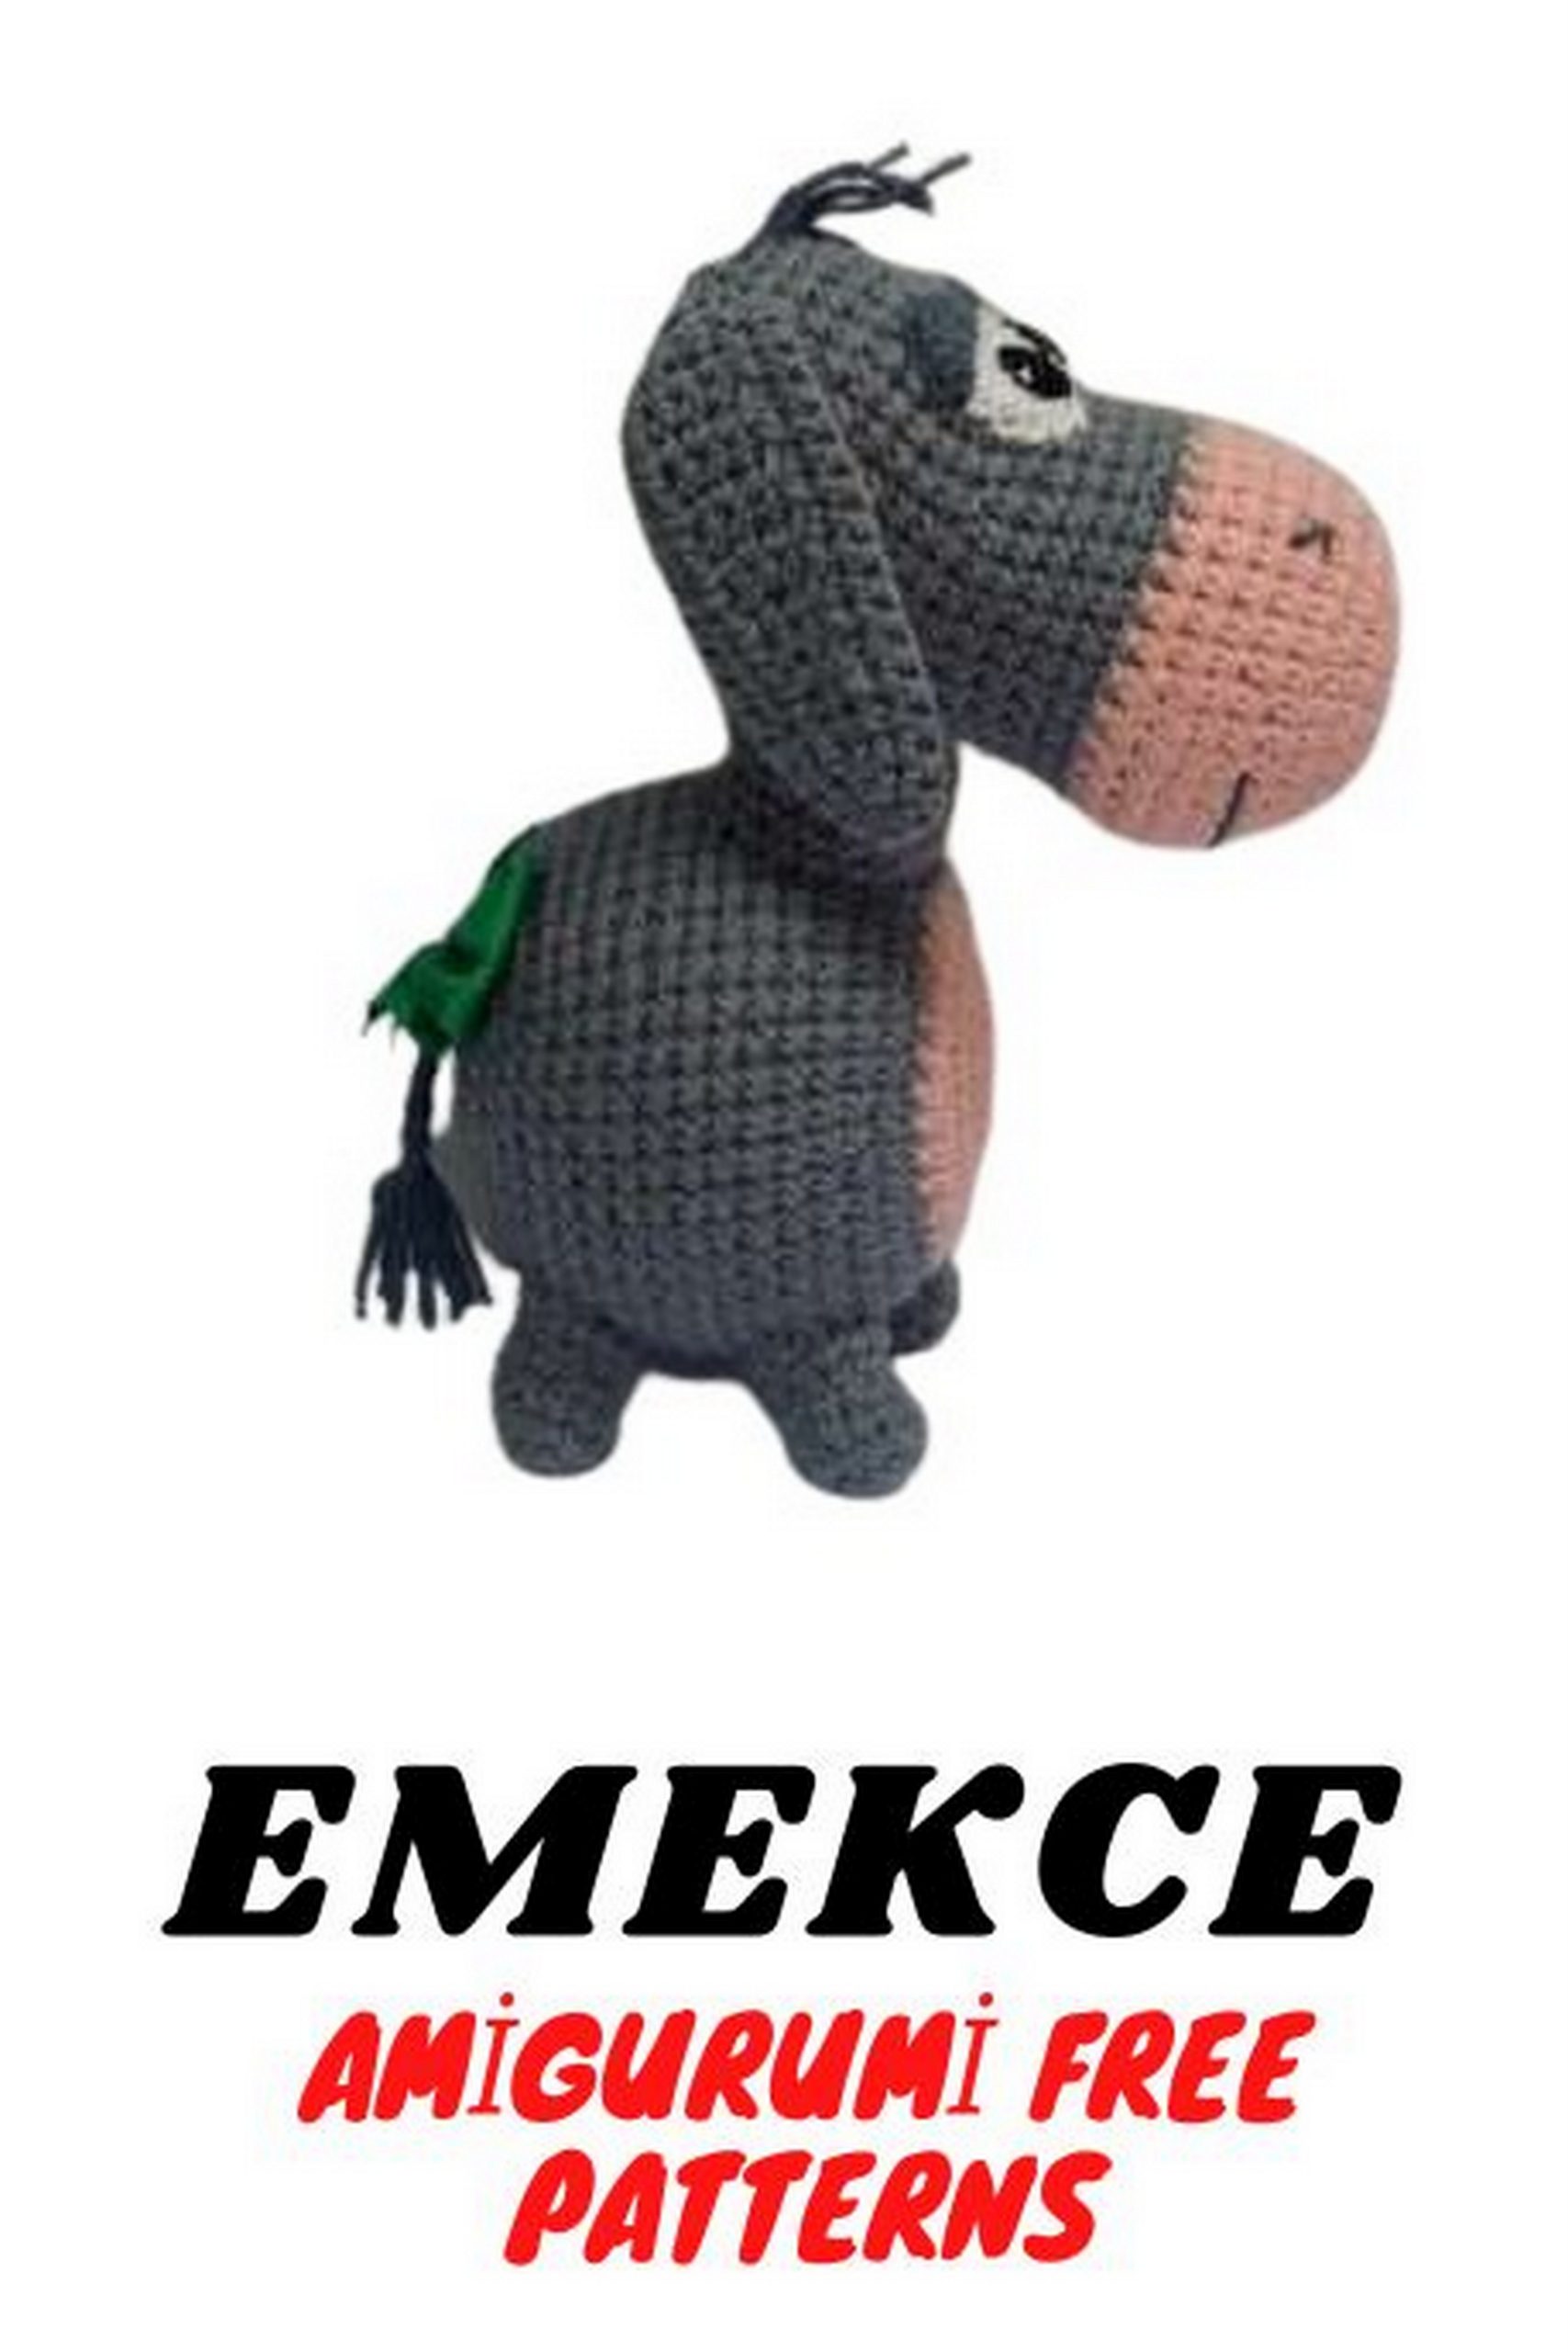
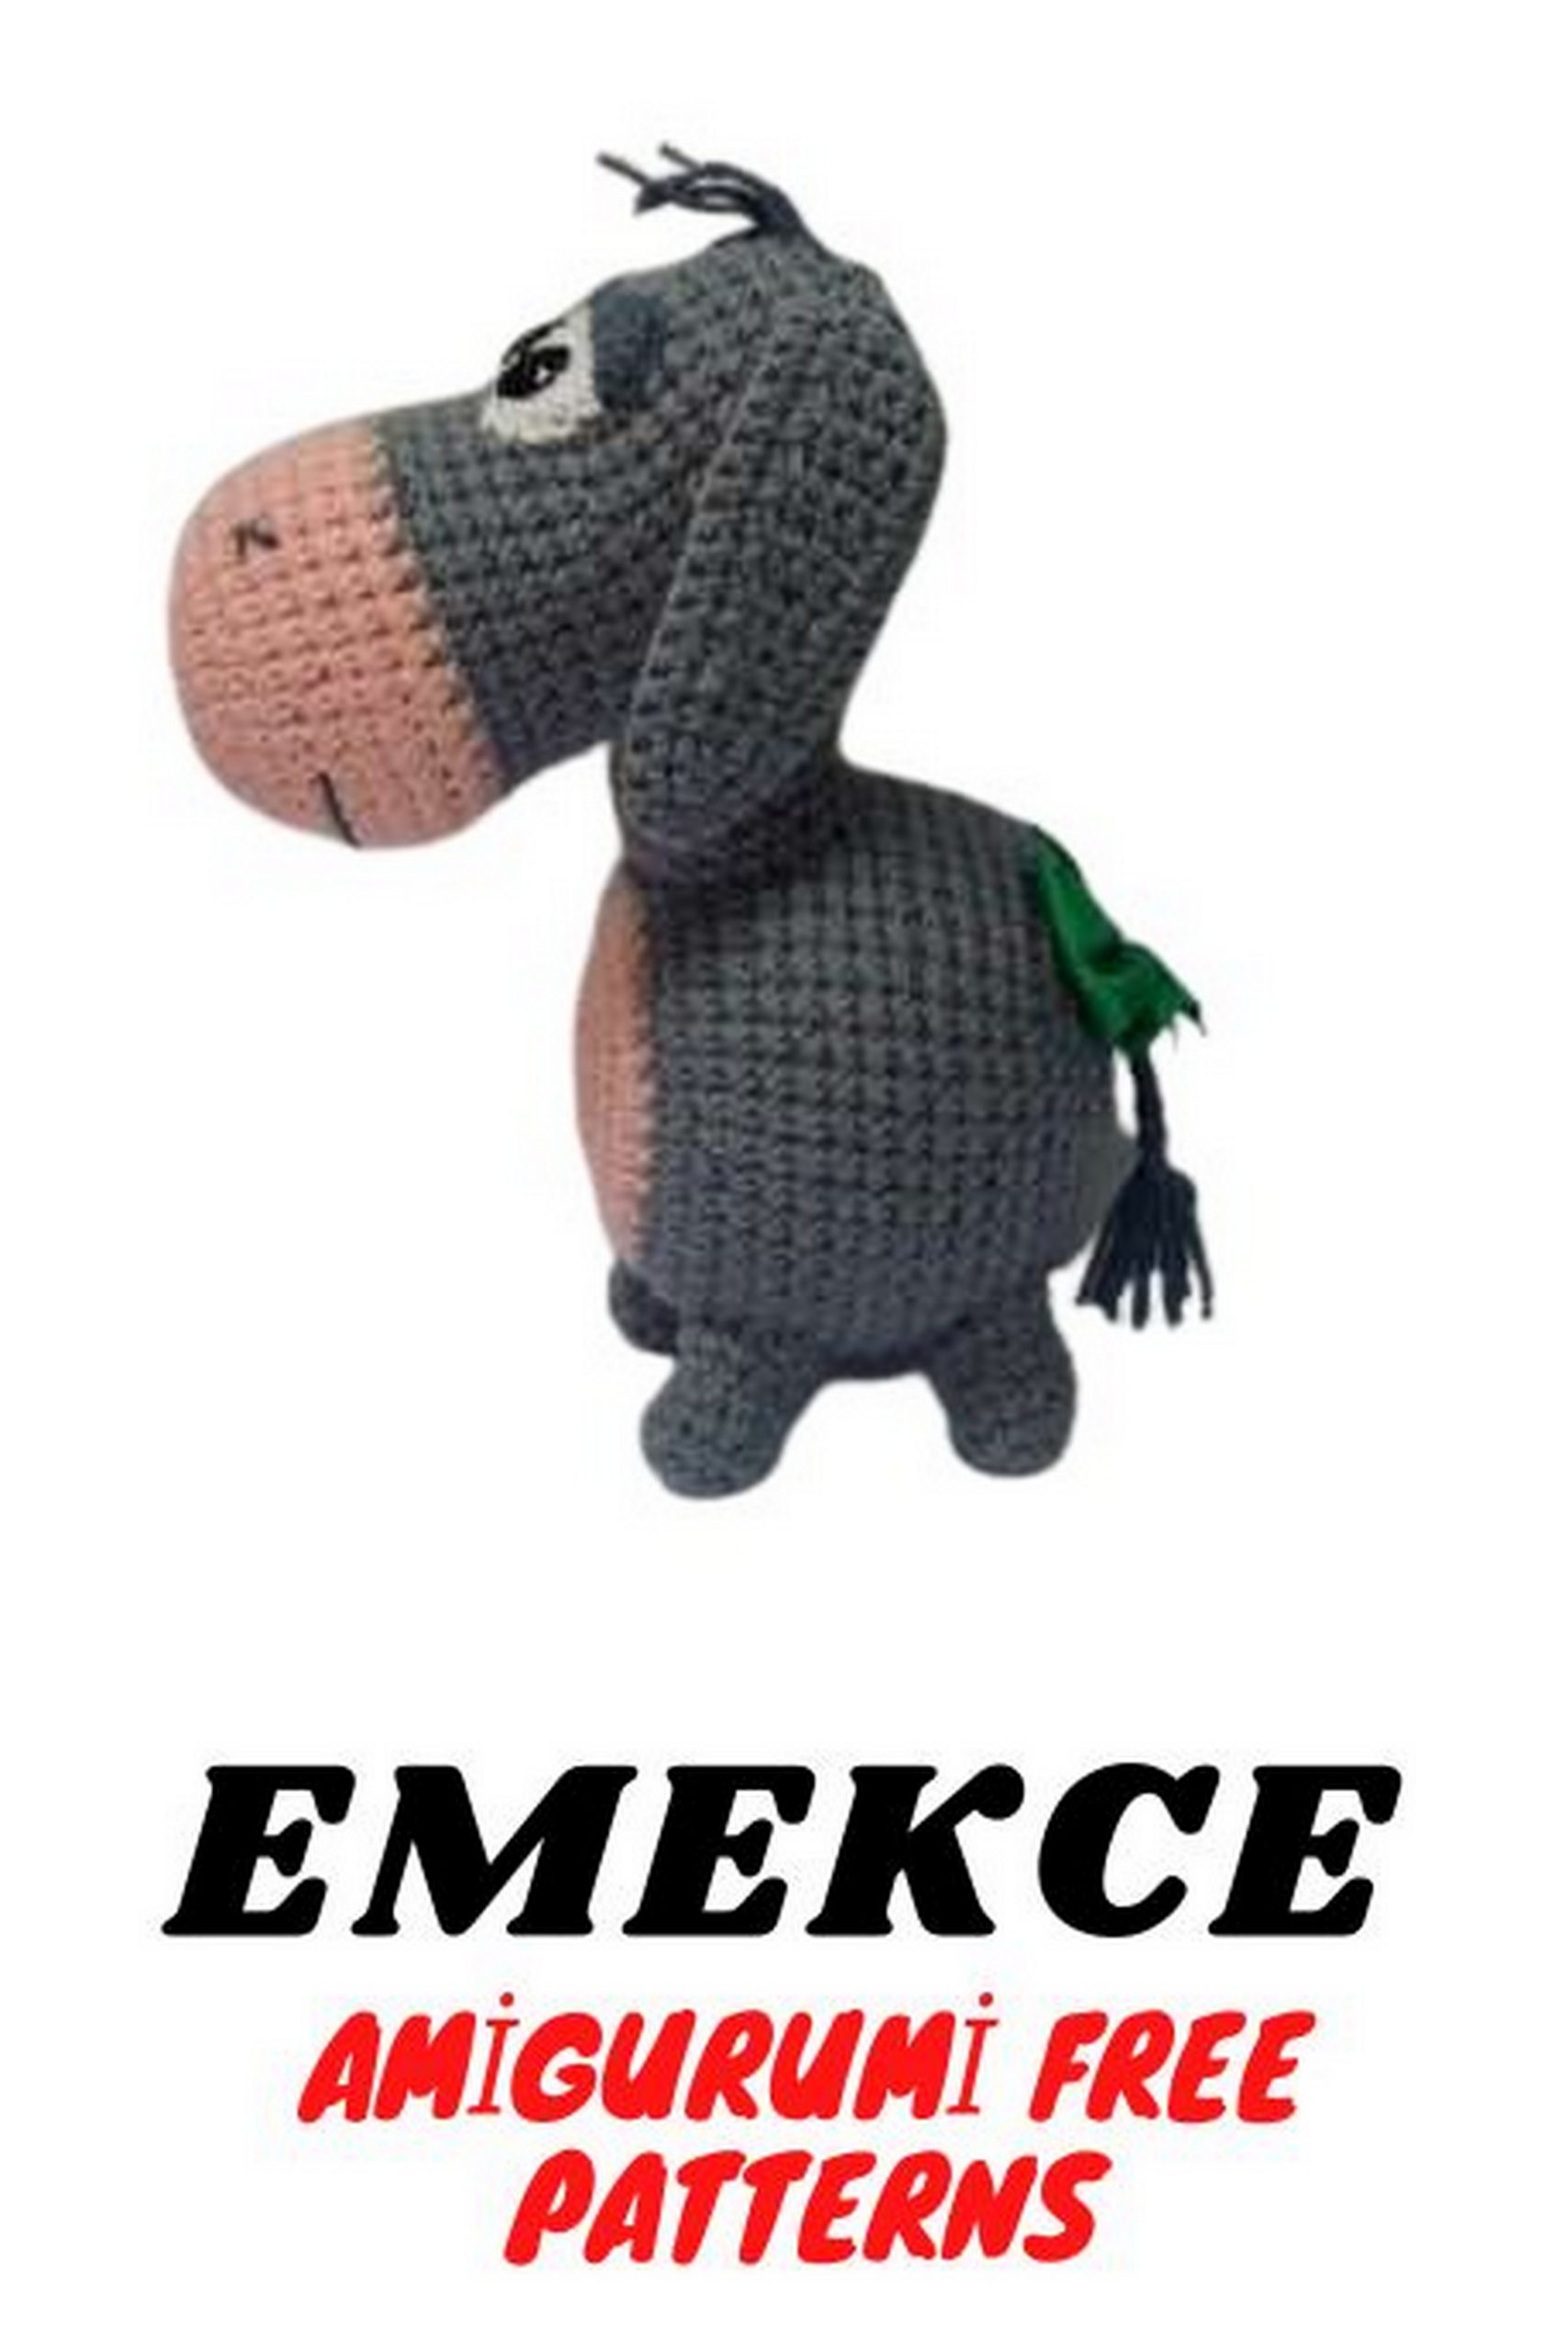
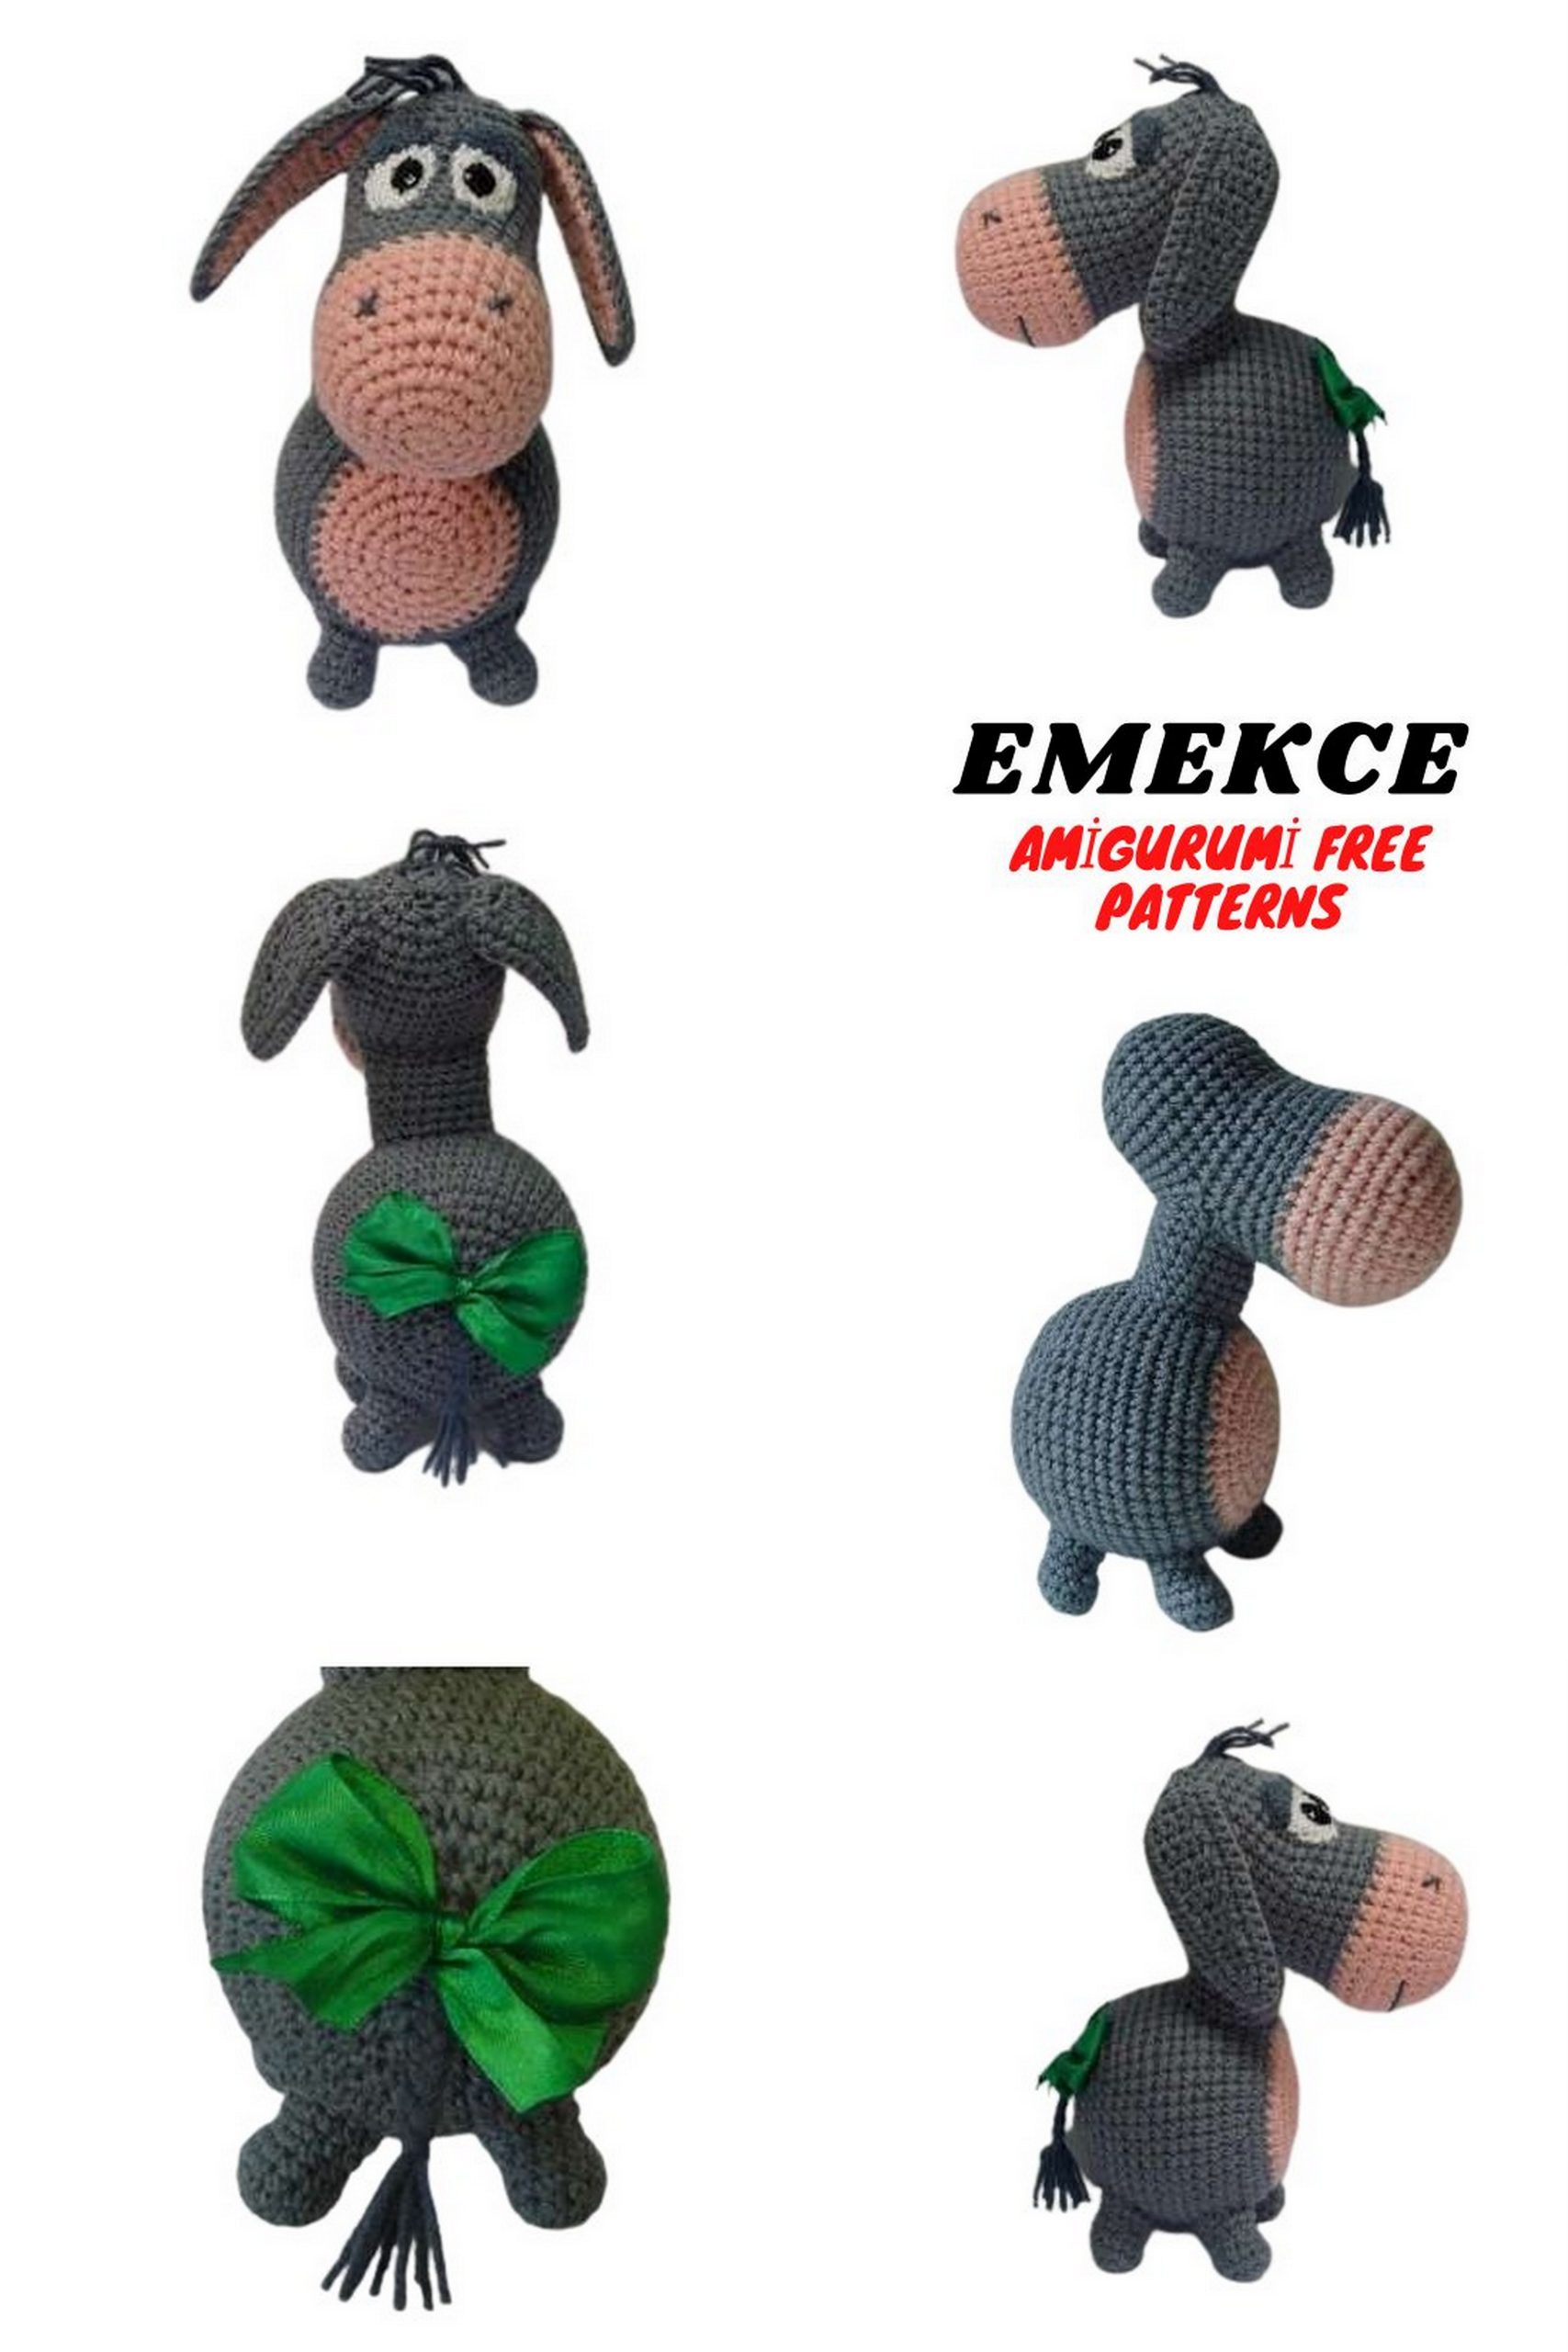
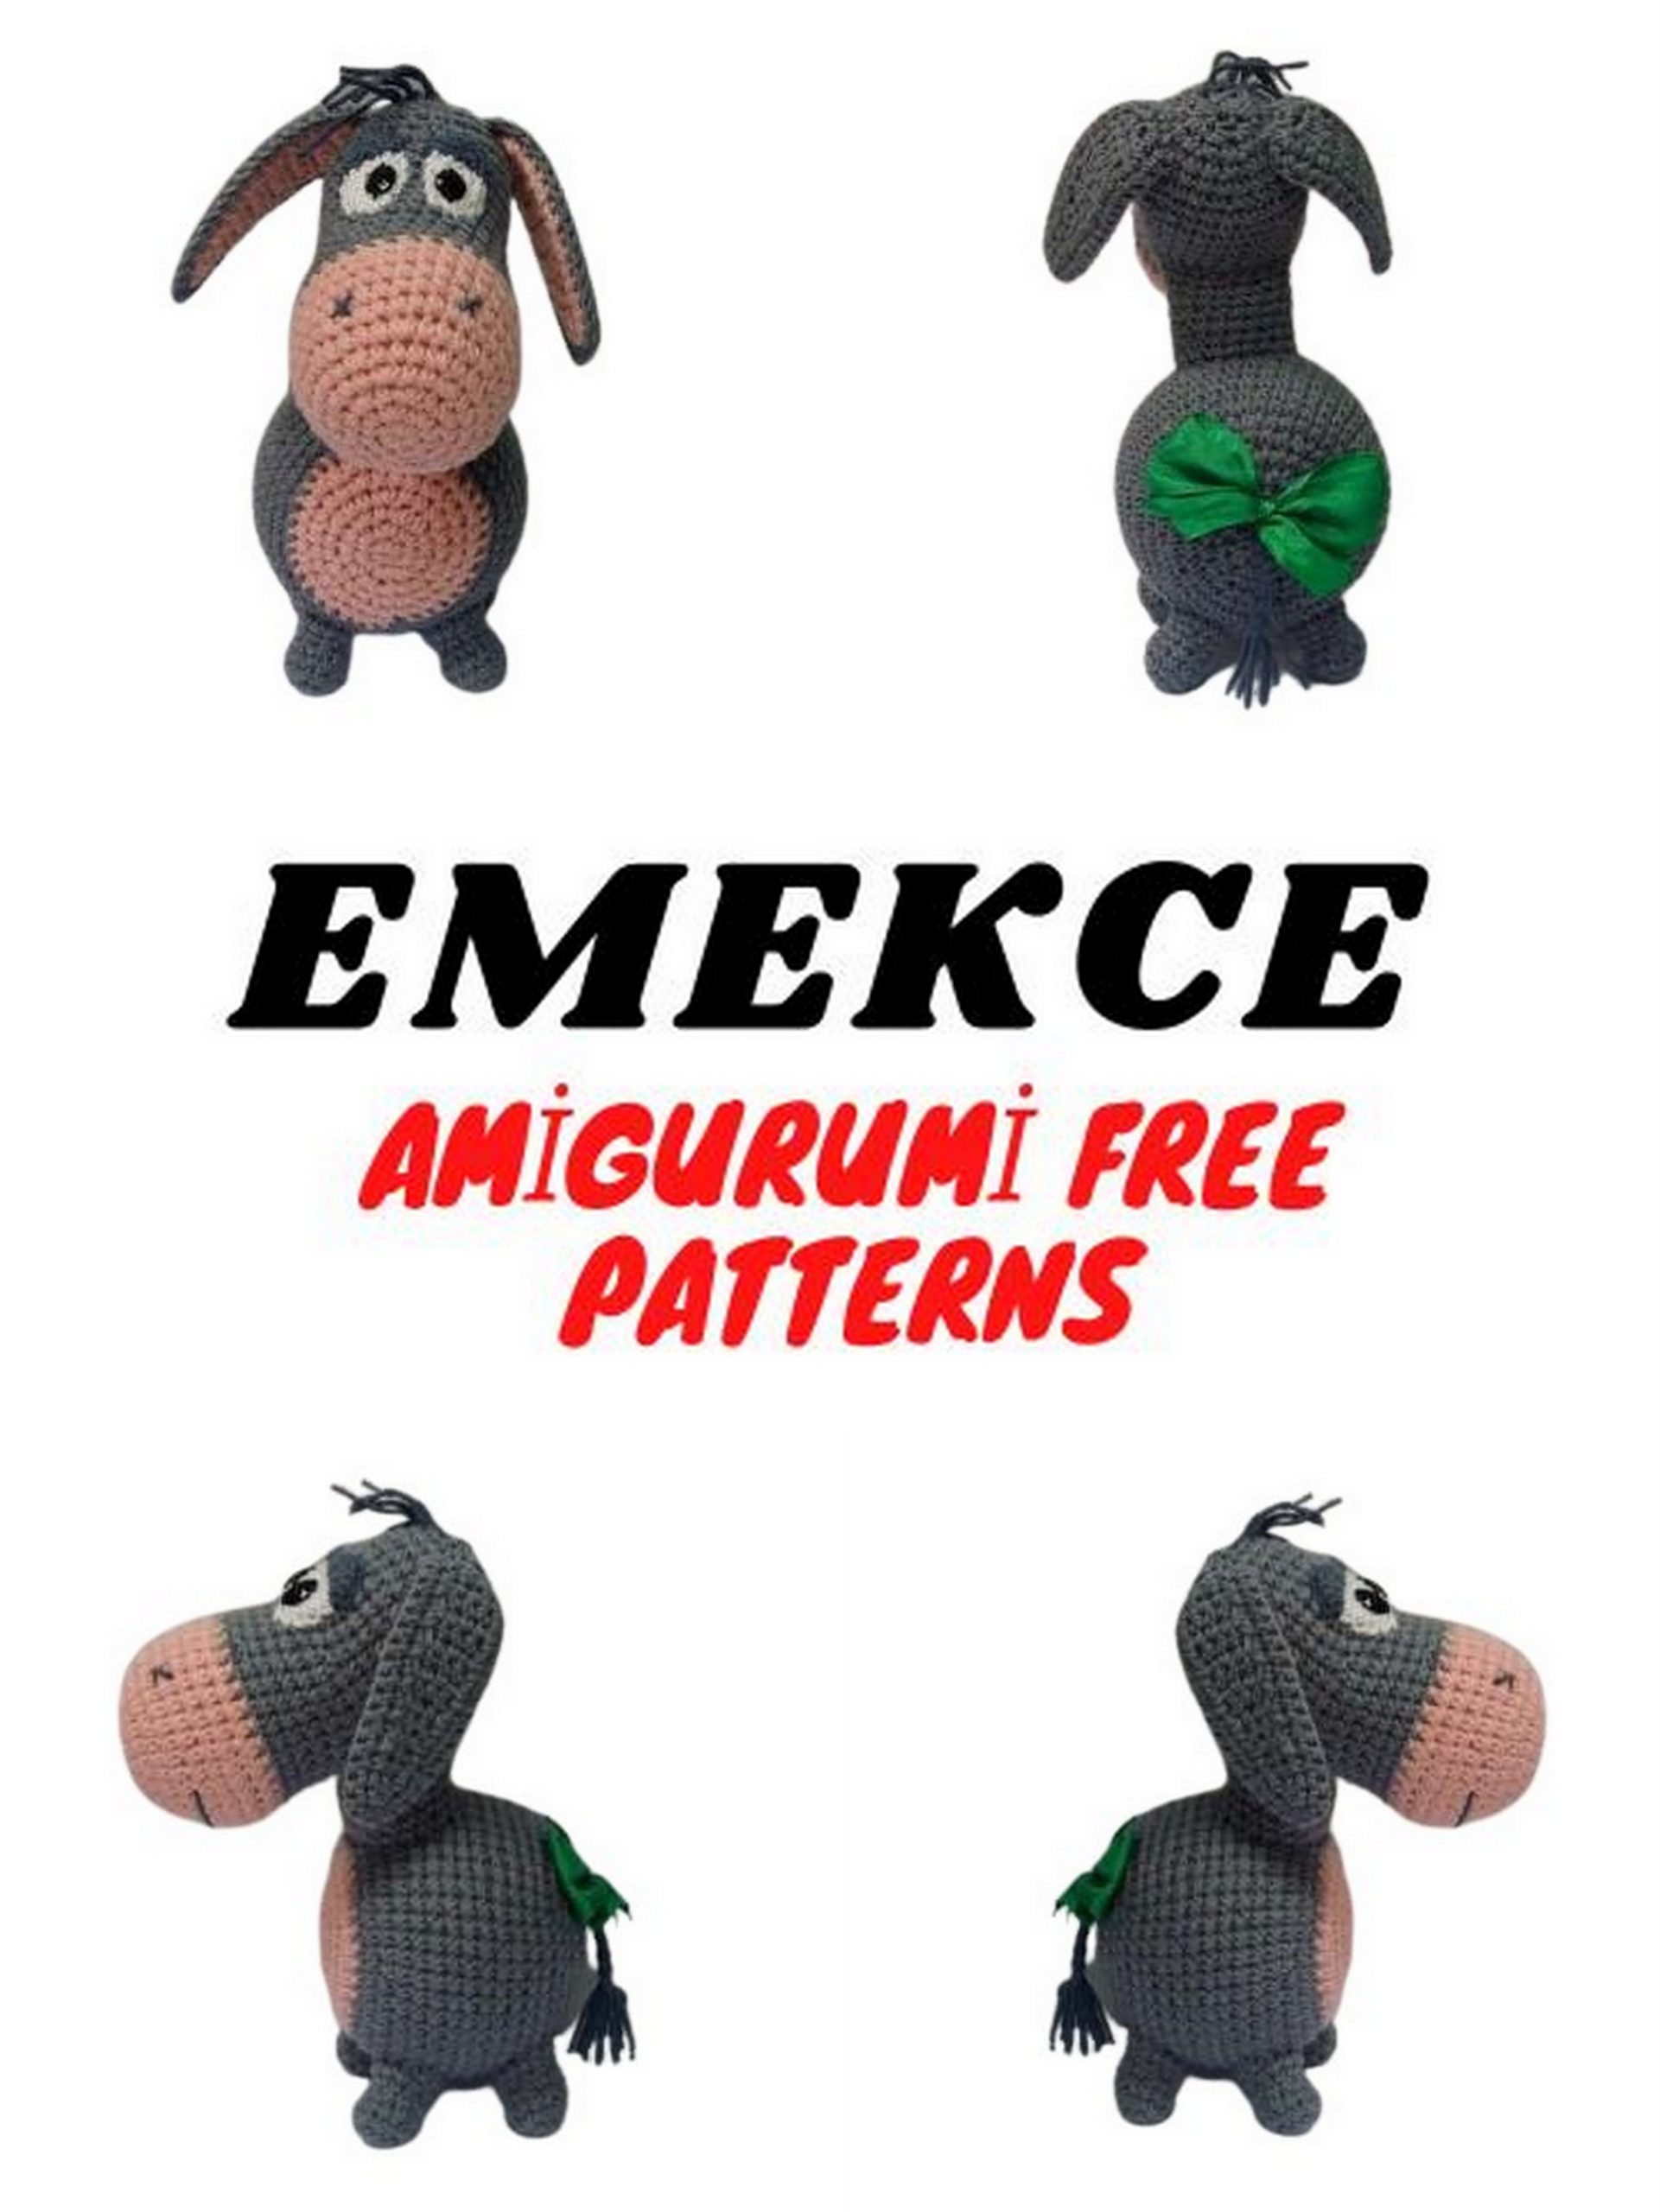
Free Cute Donkey Amigurumi Pattern – Craft Your Adorable Little Friend!
Step into the enchanting world of crochet and meet your new cuddly companion – the Cute Donkey Amigurumi! Whether you’re a crochet enthusiast looking for your next project or a beginner eager to try something new, this amigurumi free pattern is perfect for you. With its endearing charm and soft features, this little donkey is bound to steal your heart. From its floppy ears to its gentle eyes, every stitch is crafted with love and care. So, grab your crochet hook and some yarn, and let’s embark on a delightful journey of creativity and joy as we bring this adorable donkey to life!
Height: 16 cm.
Tools and materials:
Crochet hook 2.5 or 2 mm; 1.25-1.2 mm for eyelids.
Filling – polyester fiberfill.
Yarn ALIZE Cotton Gold, 55% cotton, 45% acrylic, 330 m/100 g. An alternative yarn is YarnArt Jeans.
Colors: gray, dark gray, beige, or pink.
A slightly smoother white yarn for eyes, in this case VITA cotton LIRA, you can use another (150-200 m/50 g).
Black sew-on rhinestones 8*10 mm.
Ribbon approximately 1.5 cm wide for the tail.
Abbreviations:
ch – chain
sc – single crochet
sl st – slip stitch
inc – increase
dec – decrease
inc 3 in 1 – three sc in the same st of the previous row
All parts, unless otherwise stated, are crocheted in a spiral.
PATTERN
Head (beige, gray):
Begin with beige yarn.
Rnd 1: 6 sc in magic ring.
Rnd 2: 6 inc = 12 sc.
Rnd 3: (inc, 1 sc)*6 = 18 sc.
Rnd 4: (2 sc, inc)*6 = 24 sc.
Rnd 5: (inc, 3 sc)*6 = 30 sc.
Rnd 6: (3 sc, inc, 1 sc)*6 = 36 sc.
Rnds 7-10: 36 sc.
Rnd 11: (dec, 10 sc)*3 = 33 sc.
Switch to gray yarn on the last stitch of the round.
( )*6 – repeat 6 times.
Rnd 12: 33 sc.
Rnd 13: (5 sc, dec, 4 sc)*3 = 30 sc.
Rnds 14-16: 30 sc.
Rnd 17: ch 12, skip 9 sts, starting from the 10th st, crochet 21 sc = 33.
Rnd 18: (5 sc, dec, 4 sc)*3 = 30 sc.
Crochet the chains of this round through the back loop, we will crochet the neck through the front loop later.
Rnds 19-23: 30 sc.
Rnd 24: (dec, 8 sc)*3 = 27 sc.
Rnd 25: (4 sc, dec, 3 sc)*3 = 24 sc.
Rnd 26: (dec, 6 sc)*3 = 21 sc.
Rnd 27: (3 sc, dec, 2 sc)*3 = 18 sc.
Skip 9 sts.
Rnd 28: (1 sc, dec)*6 = 12 sc.
Rnd 29: 6 dec = 6 sc.
Cut yarn, pull the tail through all loops and tighten the hole.
Neck (gray):
Rnd 1: Crochet 23 sc around the hole.
Attach yarn anywhere from the nose side, make ch (to raise the st, otherwise it will disappear), crochet to the end of the lower part, sc into the gap between upper and lower parts*, 12 sc around the upper part, sc into the gap on the other side, and finish the lower part until the round is closed = 23 sc.
*In such cases, the gaps are usually quite large to avoid forming holes in this area. It’s better to catch the yarn in two places but make only one sc. Since this part is between the rows, there’s no specific place to catch, just insert the hook wherever it fits.
Rnd 2: dec on each side where the gaps were caught and 1 dec somewhere in the middle of the lower part (where the round begins) = 20 sc.
Rnds 3-8: 20 sc.
Make sl st, cut yarn, leaving a tail for sewing, fasten off.
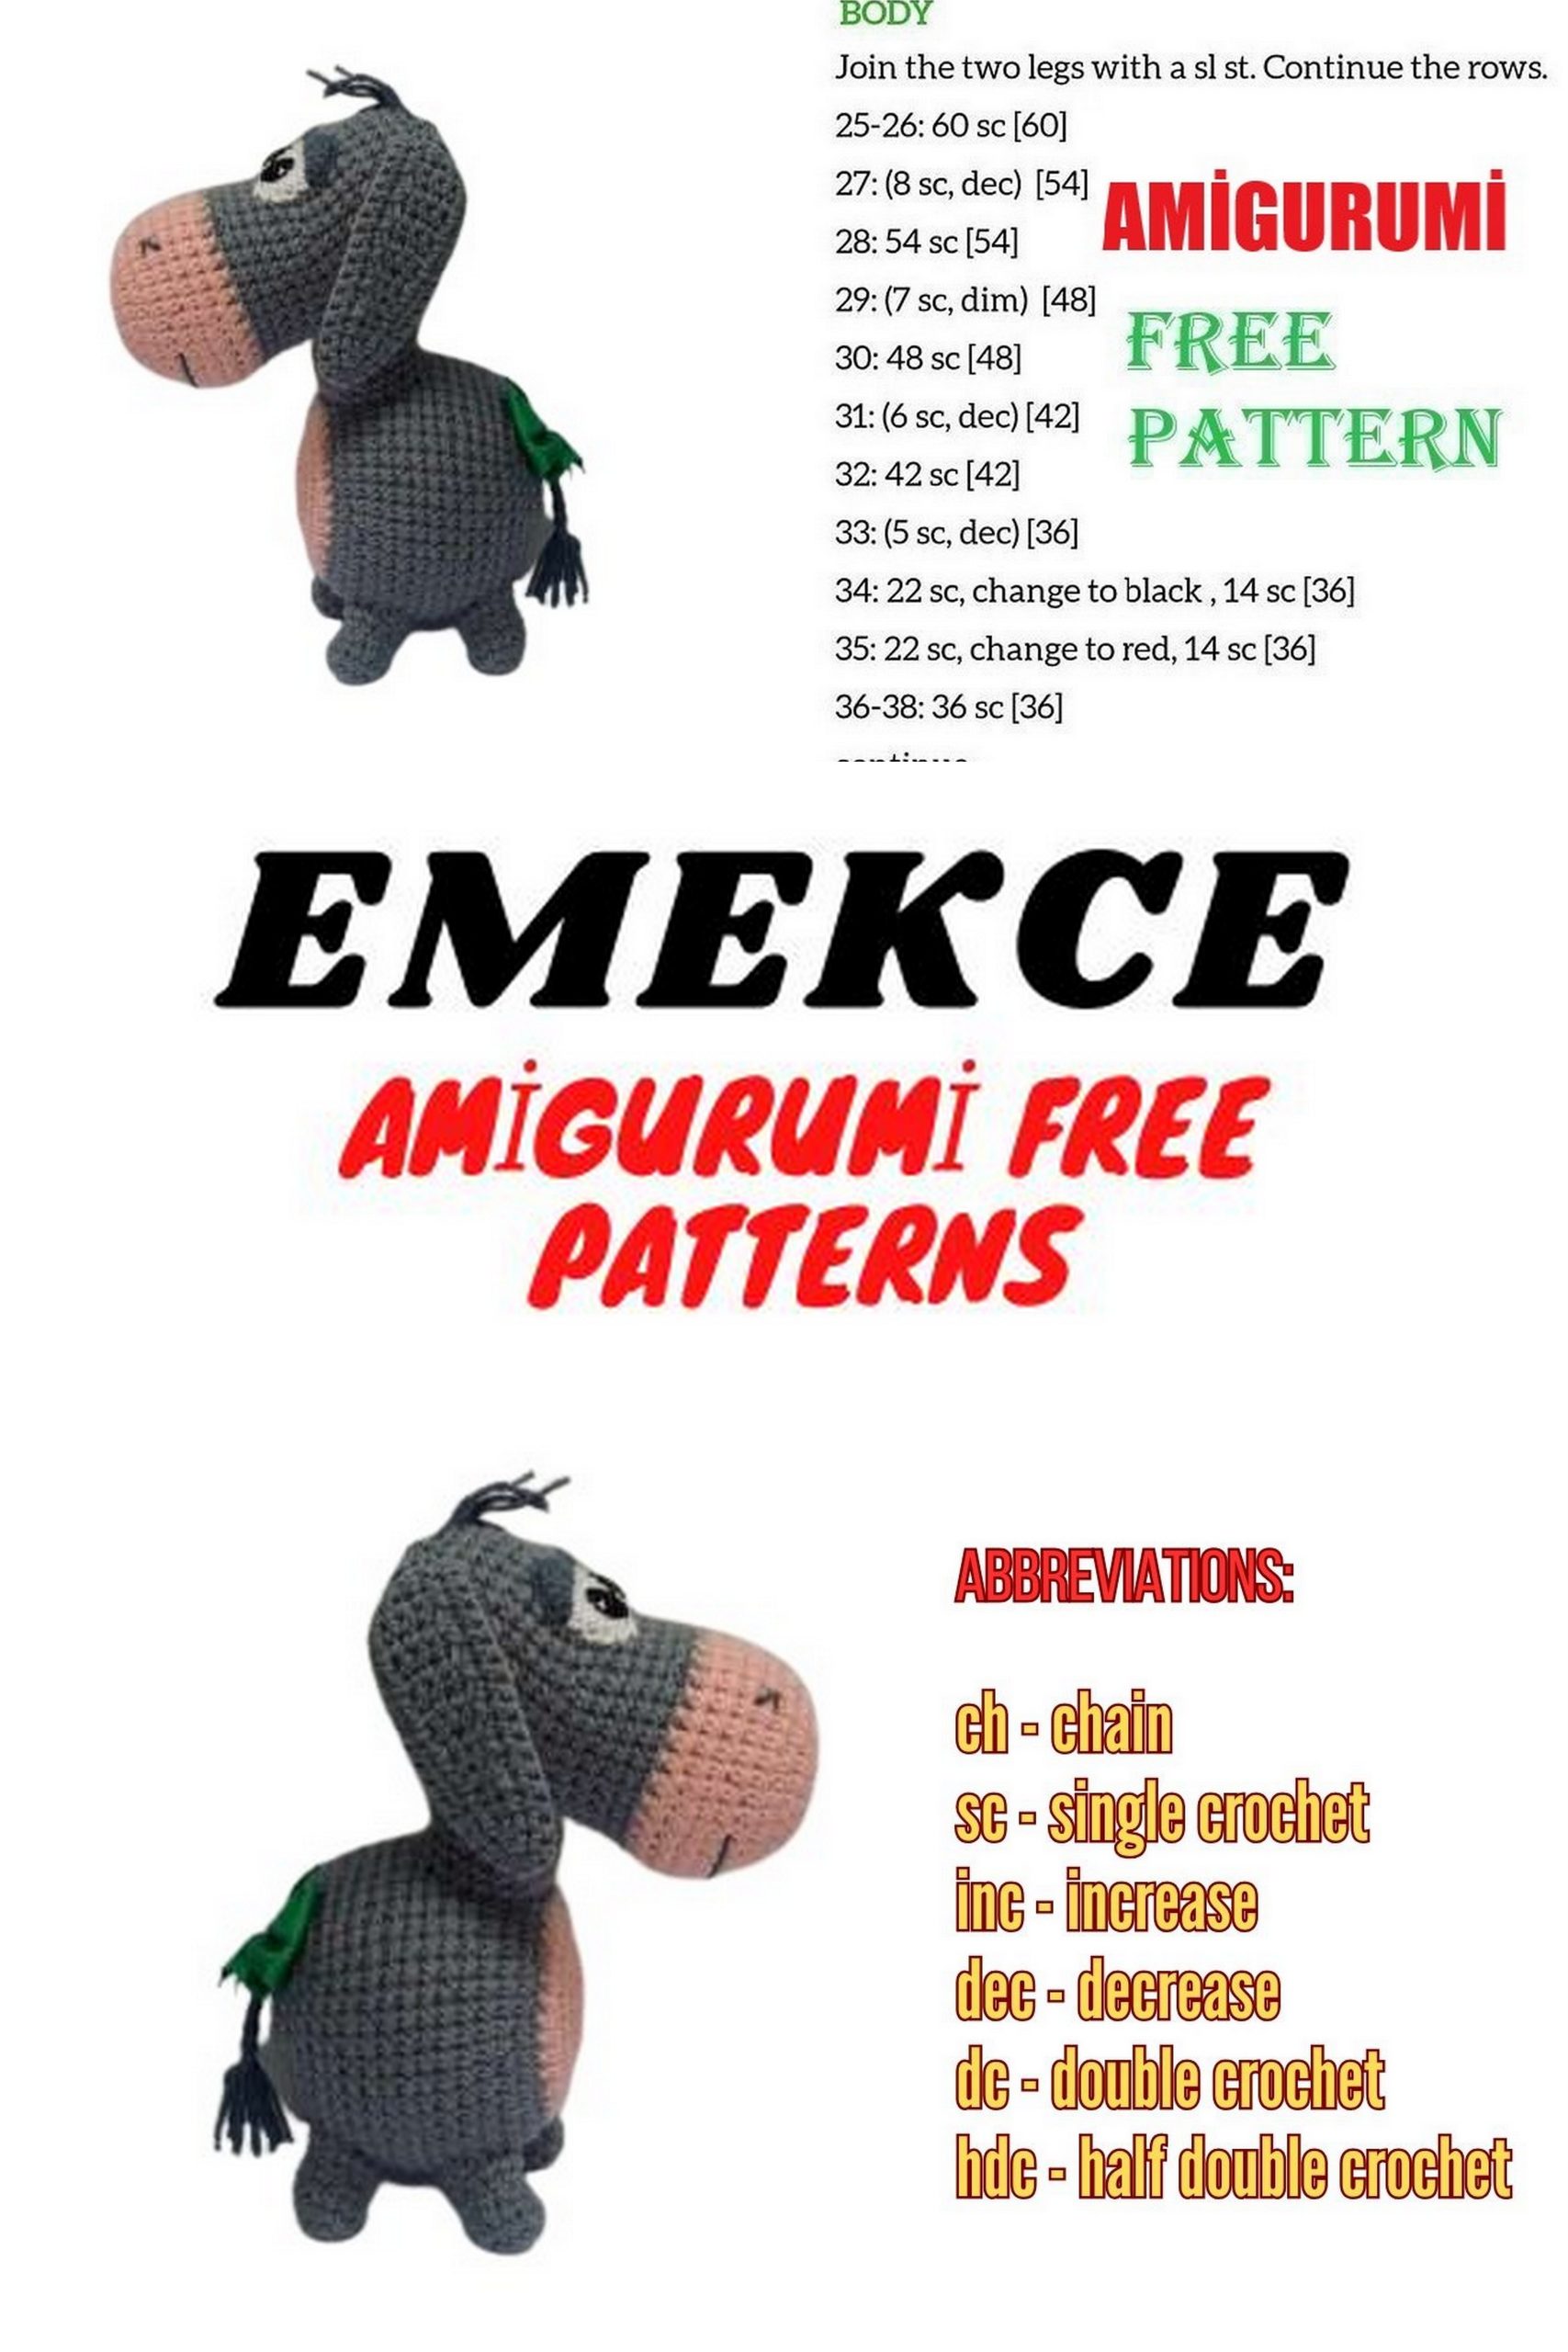
Body (beige, gray):
Begin with beige yarn.
Rnd 1: 6 sc in magic ring.
Rnd 2: 6 inc = 12 sc.
Rnd 3: (inc, 1 sc)*6 = 18 sc.
Rnd 4: (2 sc, inc)*6 = 24 sc.
Rnd 5: (inc, 3 sc)*6 = 30 sc.
Rnd 6: (3 sc, inc, 1 sc)*6 = 36 sc.
Switch to gray yarn on the last stitch of the round.
Rnd 7: (inc, 5 sc)*6 = 42 sc.
Rnd 8: (4 sc, inc, 2 sc)*6 = 48 sc.
Rnds 9-19: 48 sc.
Rnd 20: (dec, 6 sc)*6 = 42 sc.
Rnd 21: (3 sc, dec, 2 sc)*6 = 36 sc.
Rnd 22: (dec, 4 sc)*6 = 30 sc.
Rnd 23: (2 sc, dec, 1 sc)*6 = 24 sc.
Rnd 24: (dec, 2 sc)*6 = 18 sc.
Stuff the body.
Rnd 25: (1 sc, dec)*6 = 12 sc.
Rnd 26: 6 dec = 6 sc.
Make sl st, finish stuffing, cut yarn, pull tail through all loops and tighten the hole.
Legs (gray), make 4:
Rnd 1: 6 sc in magic ring.
Rnd 2: 6 inc = 12 sc.
Rnds 3-4: 12 sc.
Rnd 5: 3 dec, 6 sc = 9 sc.
Rnd 6: (1 sc, inc, 1 sc)*3 = 12 sc.
Rnd 7: 12 sc.
Make sl st, cut yarn, leaving a tail for sewing, fasten off.
Stuff the legs and sew them on, slightly to the sides. Sew until there’s a small hole left, add more stuffing, then finish sewing. The front and back legs shouldn’t be very close to each other, otherwise the big head will make our donkey fall forward.
Stuff the head and sew it onto the body from the light belly to the back. Sew until there’s a small hole left, stuff it more firmly, then finish sewing.
Eyes (white), 2 pieces:
Chain 4 stitches (loop on the hook is not counted).
Make a slip stitch, cut the thread, leaving a tail for sewing, secure.
Row 1: Starting from the 2nd stitch from the hook, 2 single crochets, 3 single crochets in one stitch (the outer loop of the chain), continue around: 1 single crochet, 2 single crochets in one stitch (the outer loop of the chain where the row started) = 8 single crochets.
Row 2: Increase, 1 single crochet, 3 increases, 1 single crochet, 2 increases = 14 single crochets.
Sew the eyes at a distance of 4 rows from the light muzzle, with approximately 1 stitch between the eyes.
≈ 2 rows
Rows 3-4
4 rows
Ears (flesh-colored, gray), 2 pieces:
Ears will be crocheted in rows back and forth. At the end of each row, make a chain stitch, turn; start each subsequent row in the 2nd stitch from the hook (loop on the hook is not counted). Crochet with flesh-colored yarn:
Row 1: 2 single crochets into the magic ring, do not close the ring.
Rows 2-3: 2 single crochets.
Row 4: Increase, 1 single crochet = 3 single crochets.
Rows 5-6: 3 single crochets.
Row 7: 1 single crochet, increase, 1 single crochet = 4 single crochets.
Rows 8-14: 4 single crochets.
Row 15: 2 decreases = 2 single crochets.
Row 16: 2 single crochets.
Finish off in the round. In the last stitch made, do another increase, resulting in a 3-in-1 increase. Also make a 3-in-1 increase at the corner of the piece, all other stitches are single crochets.
At the end, make a slip stitch. Leave the base of the ear unfinished. Cut the thread, leaving a tail for sewing, and secure.
Crochet another identical piece in gray. Do not cut the thread; we will join them together.
Fold the pieces with the wrong sides facing each other, with the working yarn in between. Tuck all thread ends inside the ear during crocheting. Begin crocheting, holding the light piece towards you. Insert the hook into the 2nd stitch from the end of the thread for the light piece. For the gray piece, insert the hook into the second stitch from the hook (loop on the hook is not counted). Crochet a row of single crochets, going through both edges. Make a 3-in-1 increase at the corner of the ear. Finish with a slip stitch. The base of the ear remains unfinished. Cut the thread, leaving a tail for sewing, and secure.
Crochet another identical ear.
Sew the ears on the sides, at a distance of 2-3 rows from the back of the head (where the head is tightened). Where the pieces are not connected, when sewing, catch both edges at once.
Eyelids (dark gray), 2 pieces:
Take a thin hook, divide the thread (which consists of four strands) in half.
We will crochet in rows back and forth. At the end of each row, make a chain stitch, turn; start each subsequent row in the 2nd stitch from the hook (loop on the hook is not counted).
Row 1: 5 single crochets in the magic ring, do not close the ring.
Row 2: Increase, 3 single crochets, increase = 7 single crochets.
Row 3: 3 single crochets, increase, 3 single crochets = 8 single crochets.
Cut the thread, leaving a tail for sewing, and secure.
Place the eyelids at the top of the eyes, slightly lowering the outer corners downward. Tuck the starting end inside the head and sew.
Rows 2-3
Sew rhinestone pupils closer to the inner side of the eyes. Sew with two stitches using doubled sewing thread, after each stitch, pull the thread tightly but evenly to make the rhinestone fit snugly. Secure the end of the thread somewhere under the ear.
With dark gray thread, embroider the nostrils in cross-stitch.
With the same thread, embroider the mouth with one large stitch. It can be attached in the middle.
Cut 3 dark gray threads, each 14 cm long. Insert them (doubled) into the head and trim as desired.
6 stitches between 3 rows
4 rows
7 stitches
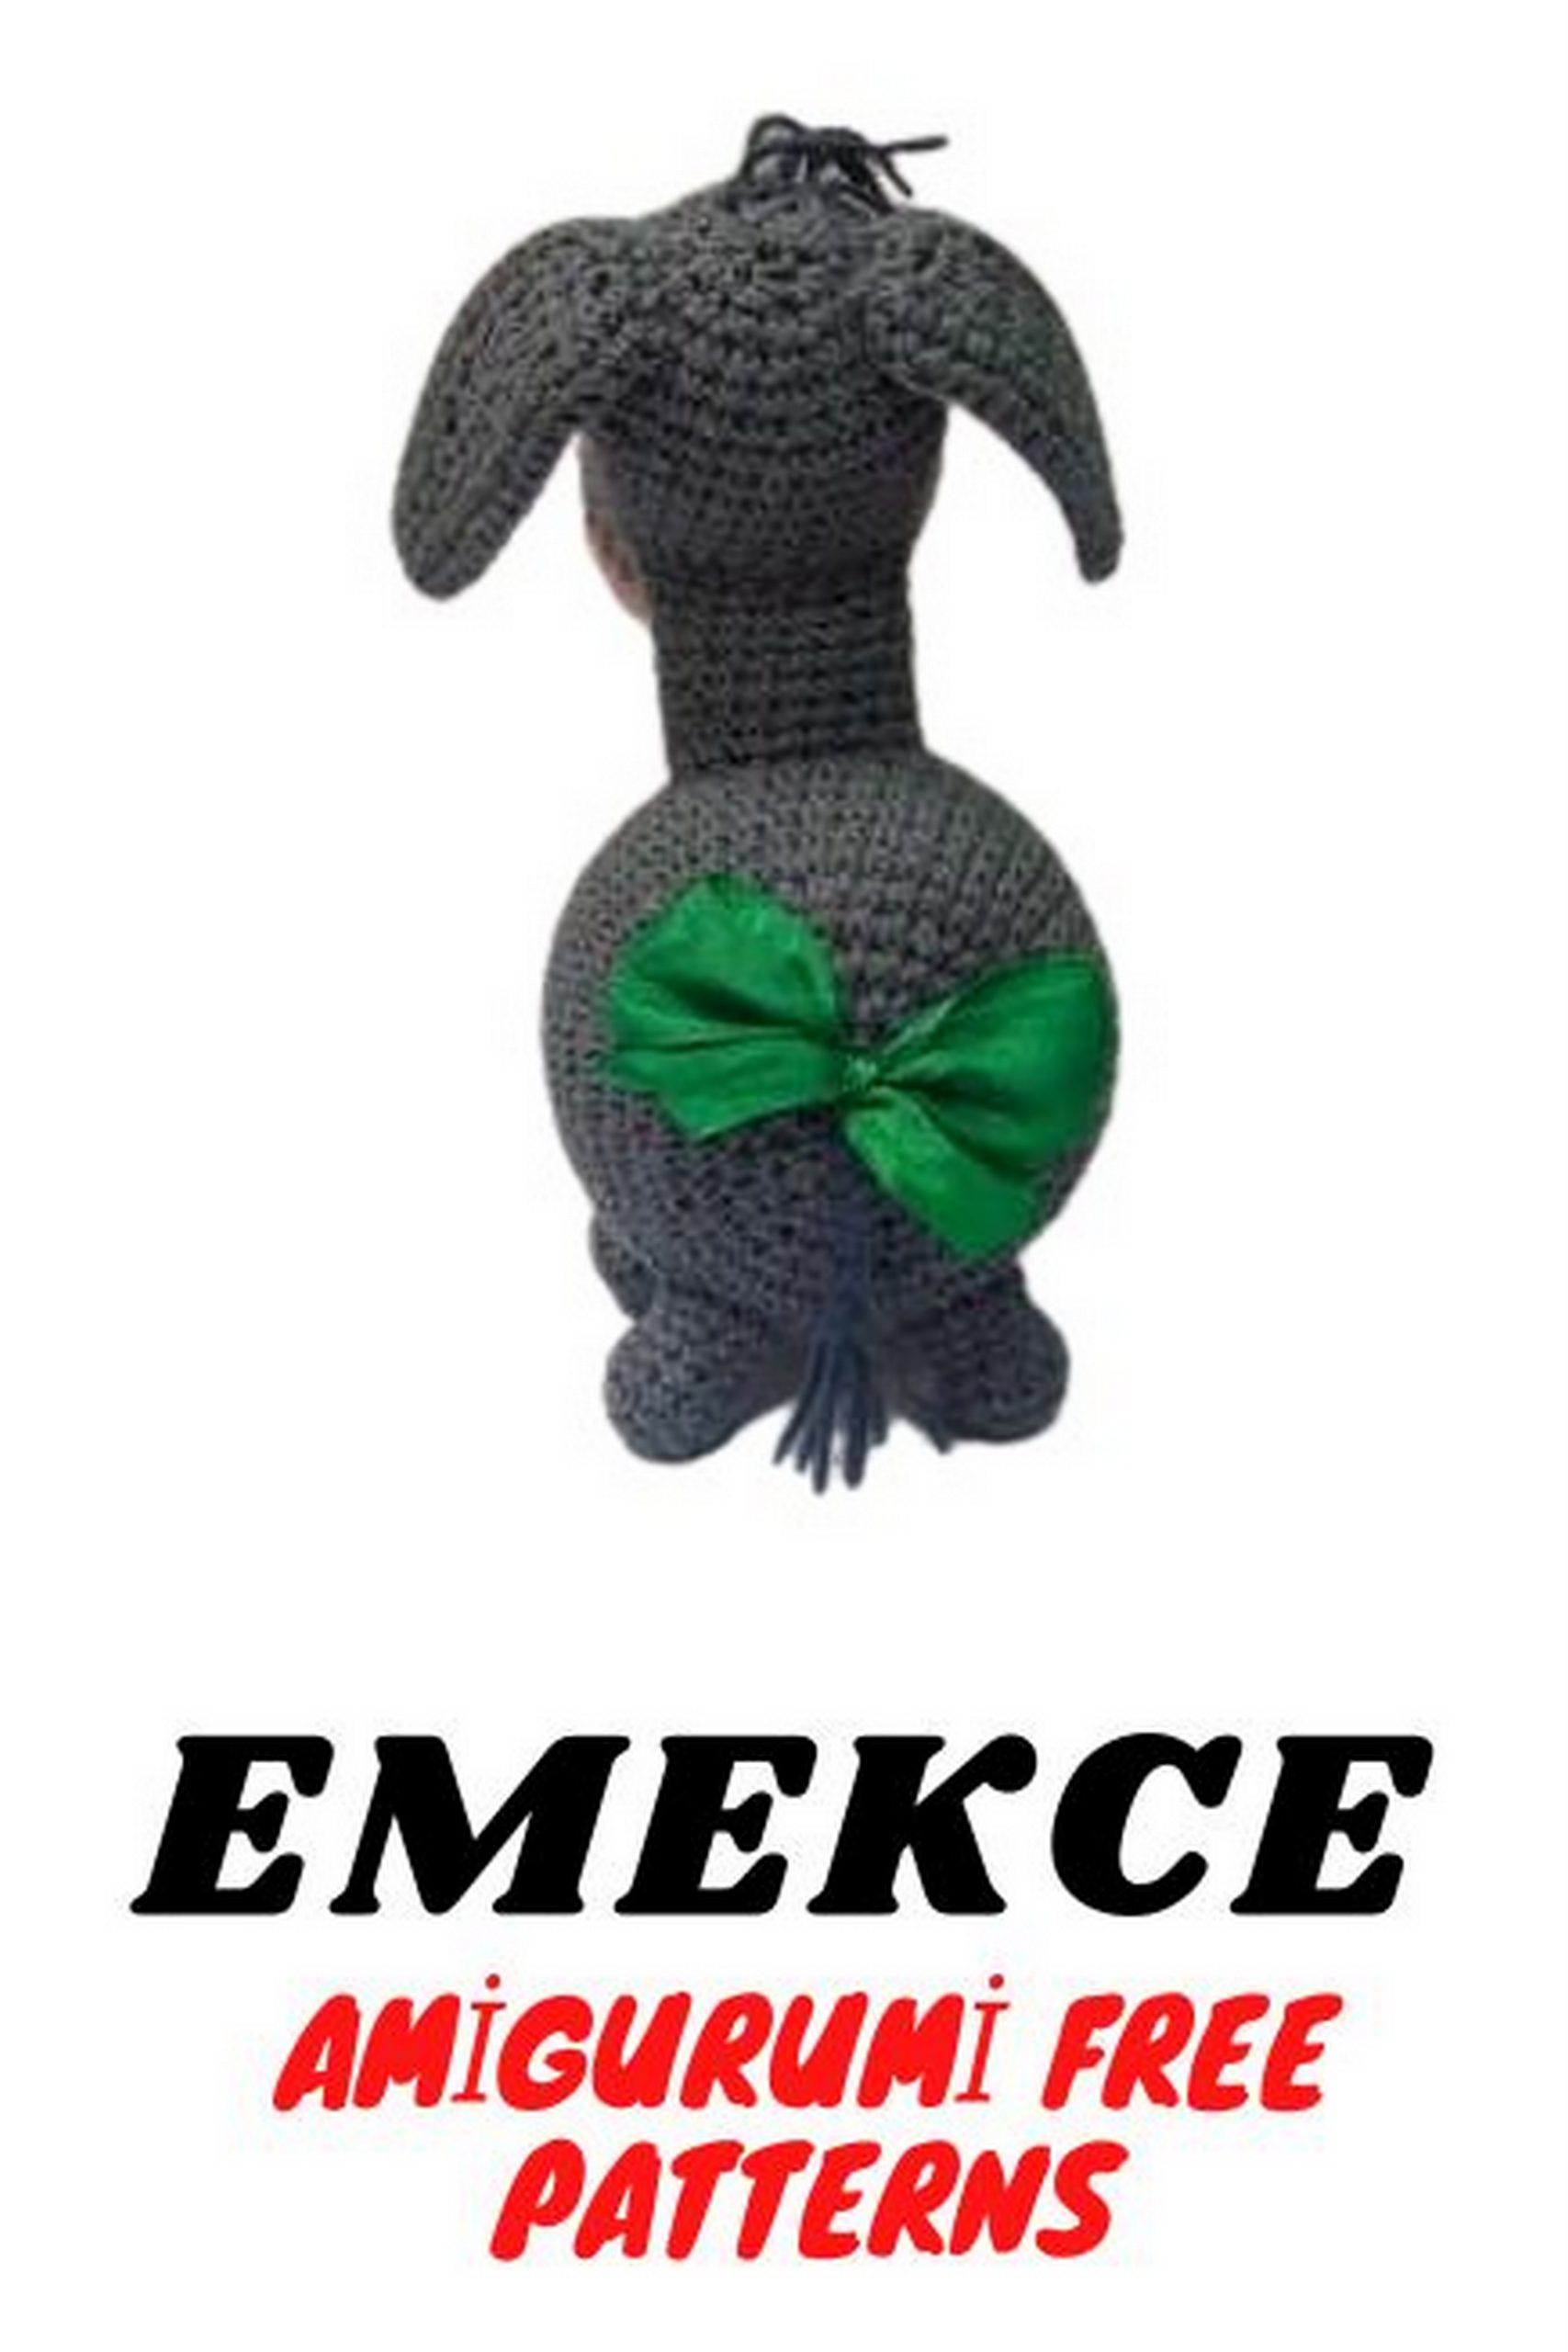
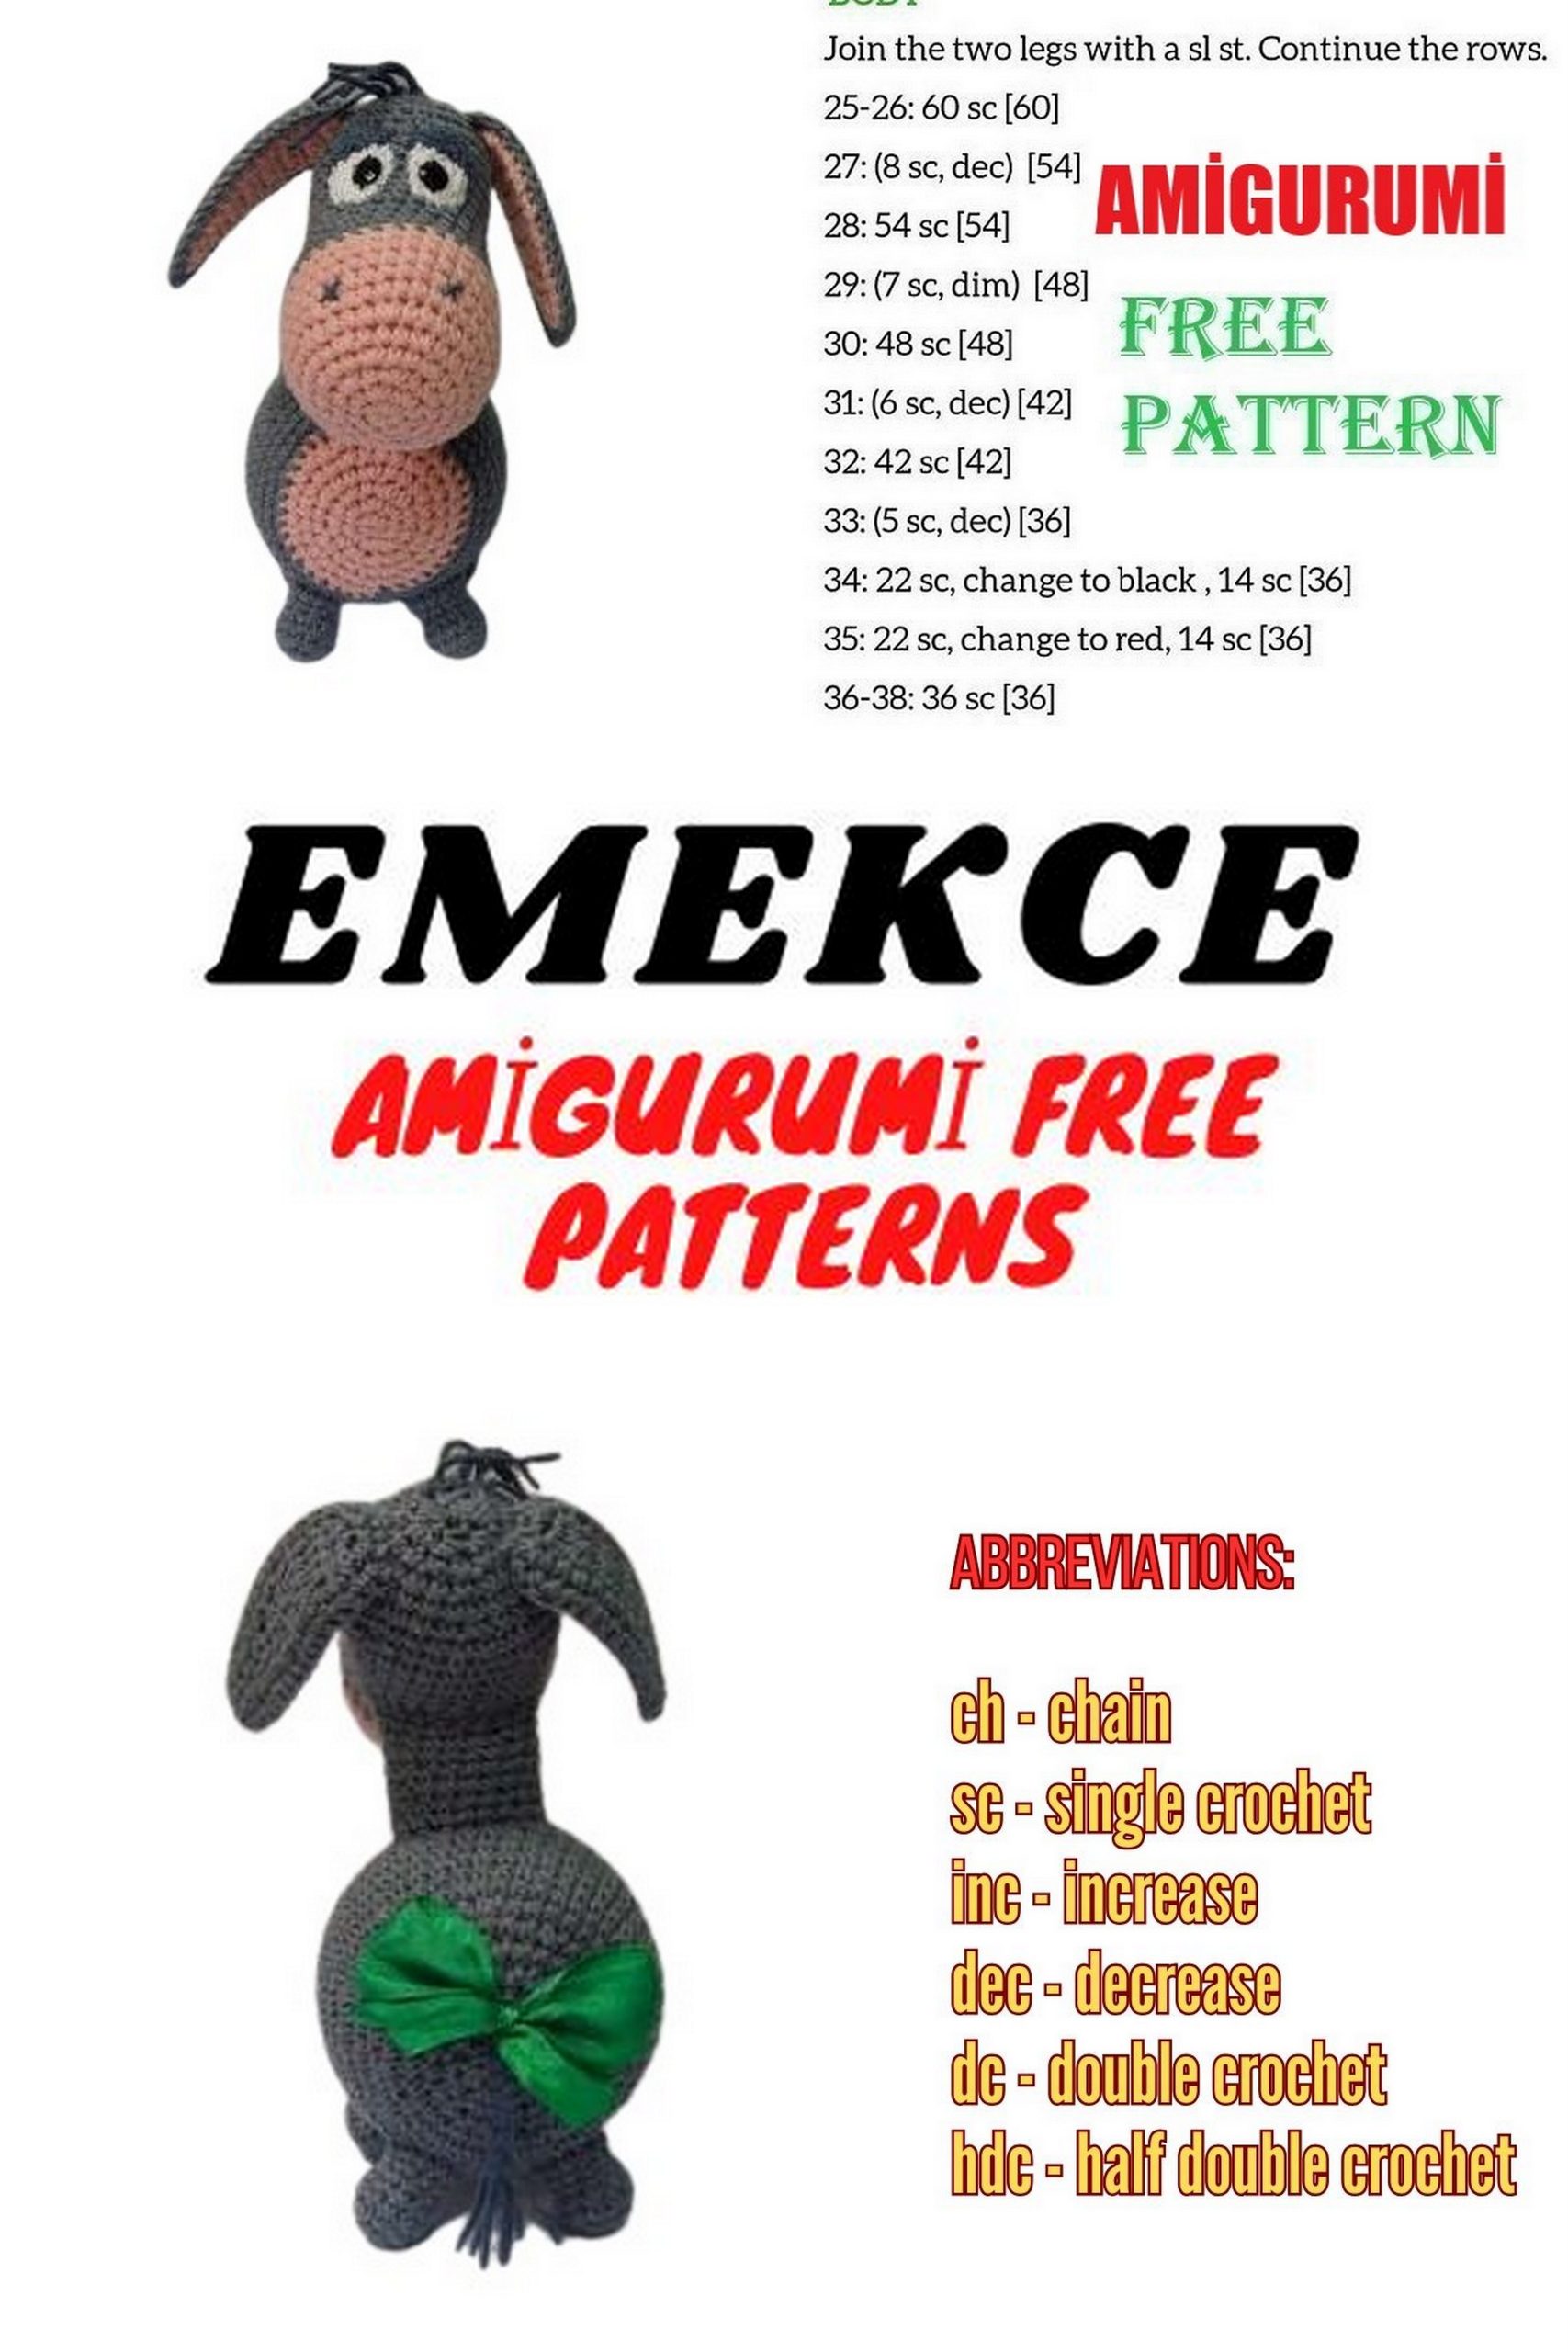
Tail (dark gray):
Cut 6 threads, each 40 cm long. Insert bunches of 2-3 threads into the buttocks so that the ends are of equal length.
Braid approximately 2 cm, secure one of the threads, trim the remaining ends to form a tassel.
Tie a bow at the top of the tail. Attach the ribbon not to the tail itself, but pass it through the buttocks just above the tail, and tie it, it looks much better.
THE DONKEY IS READY!