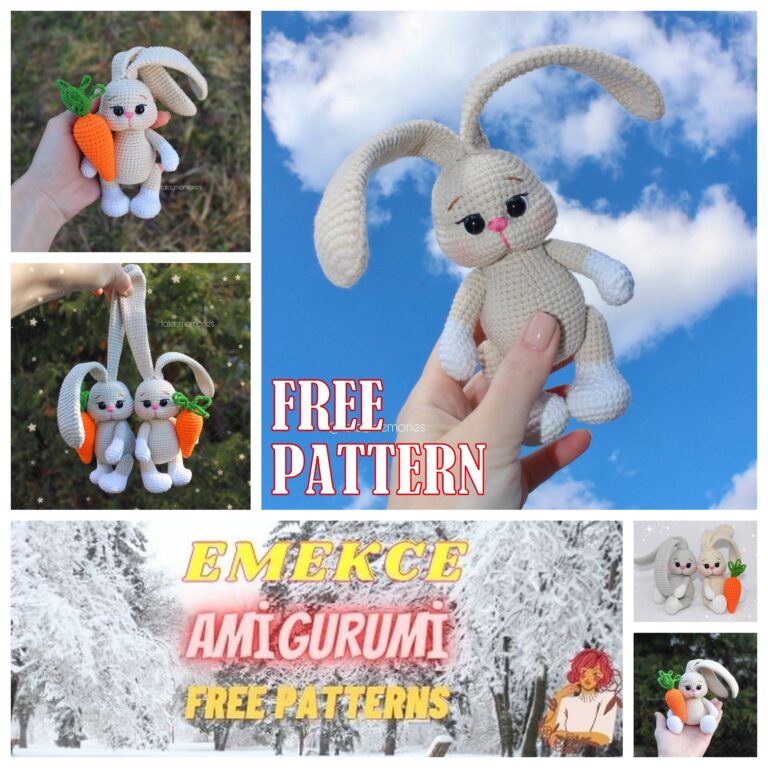
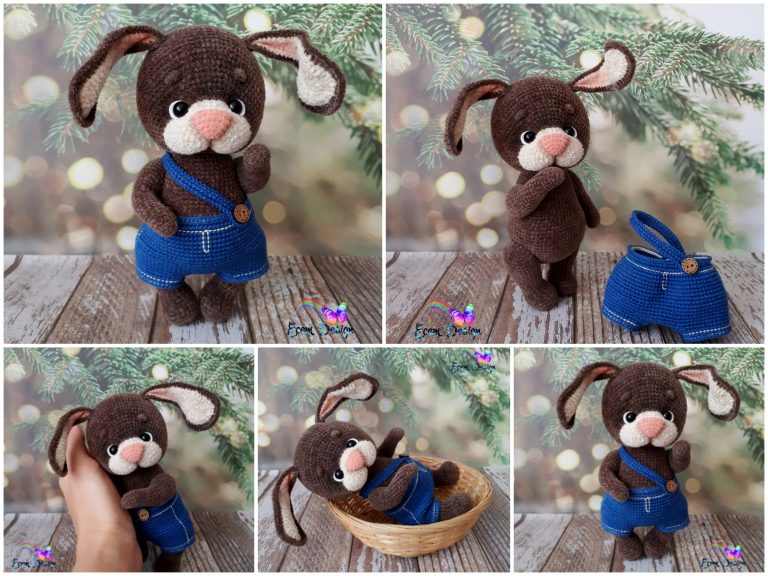
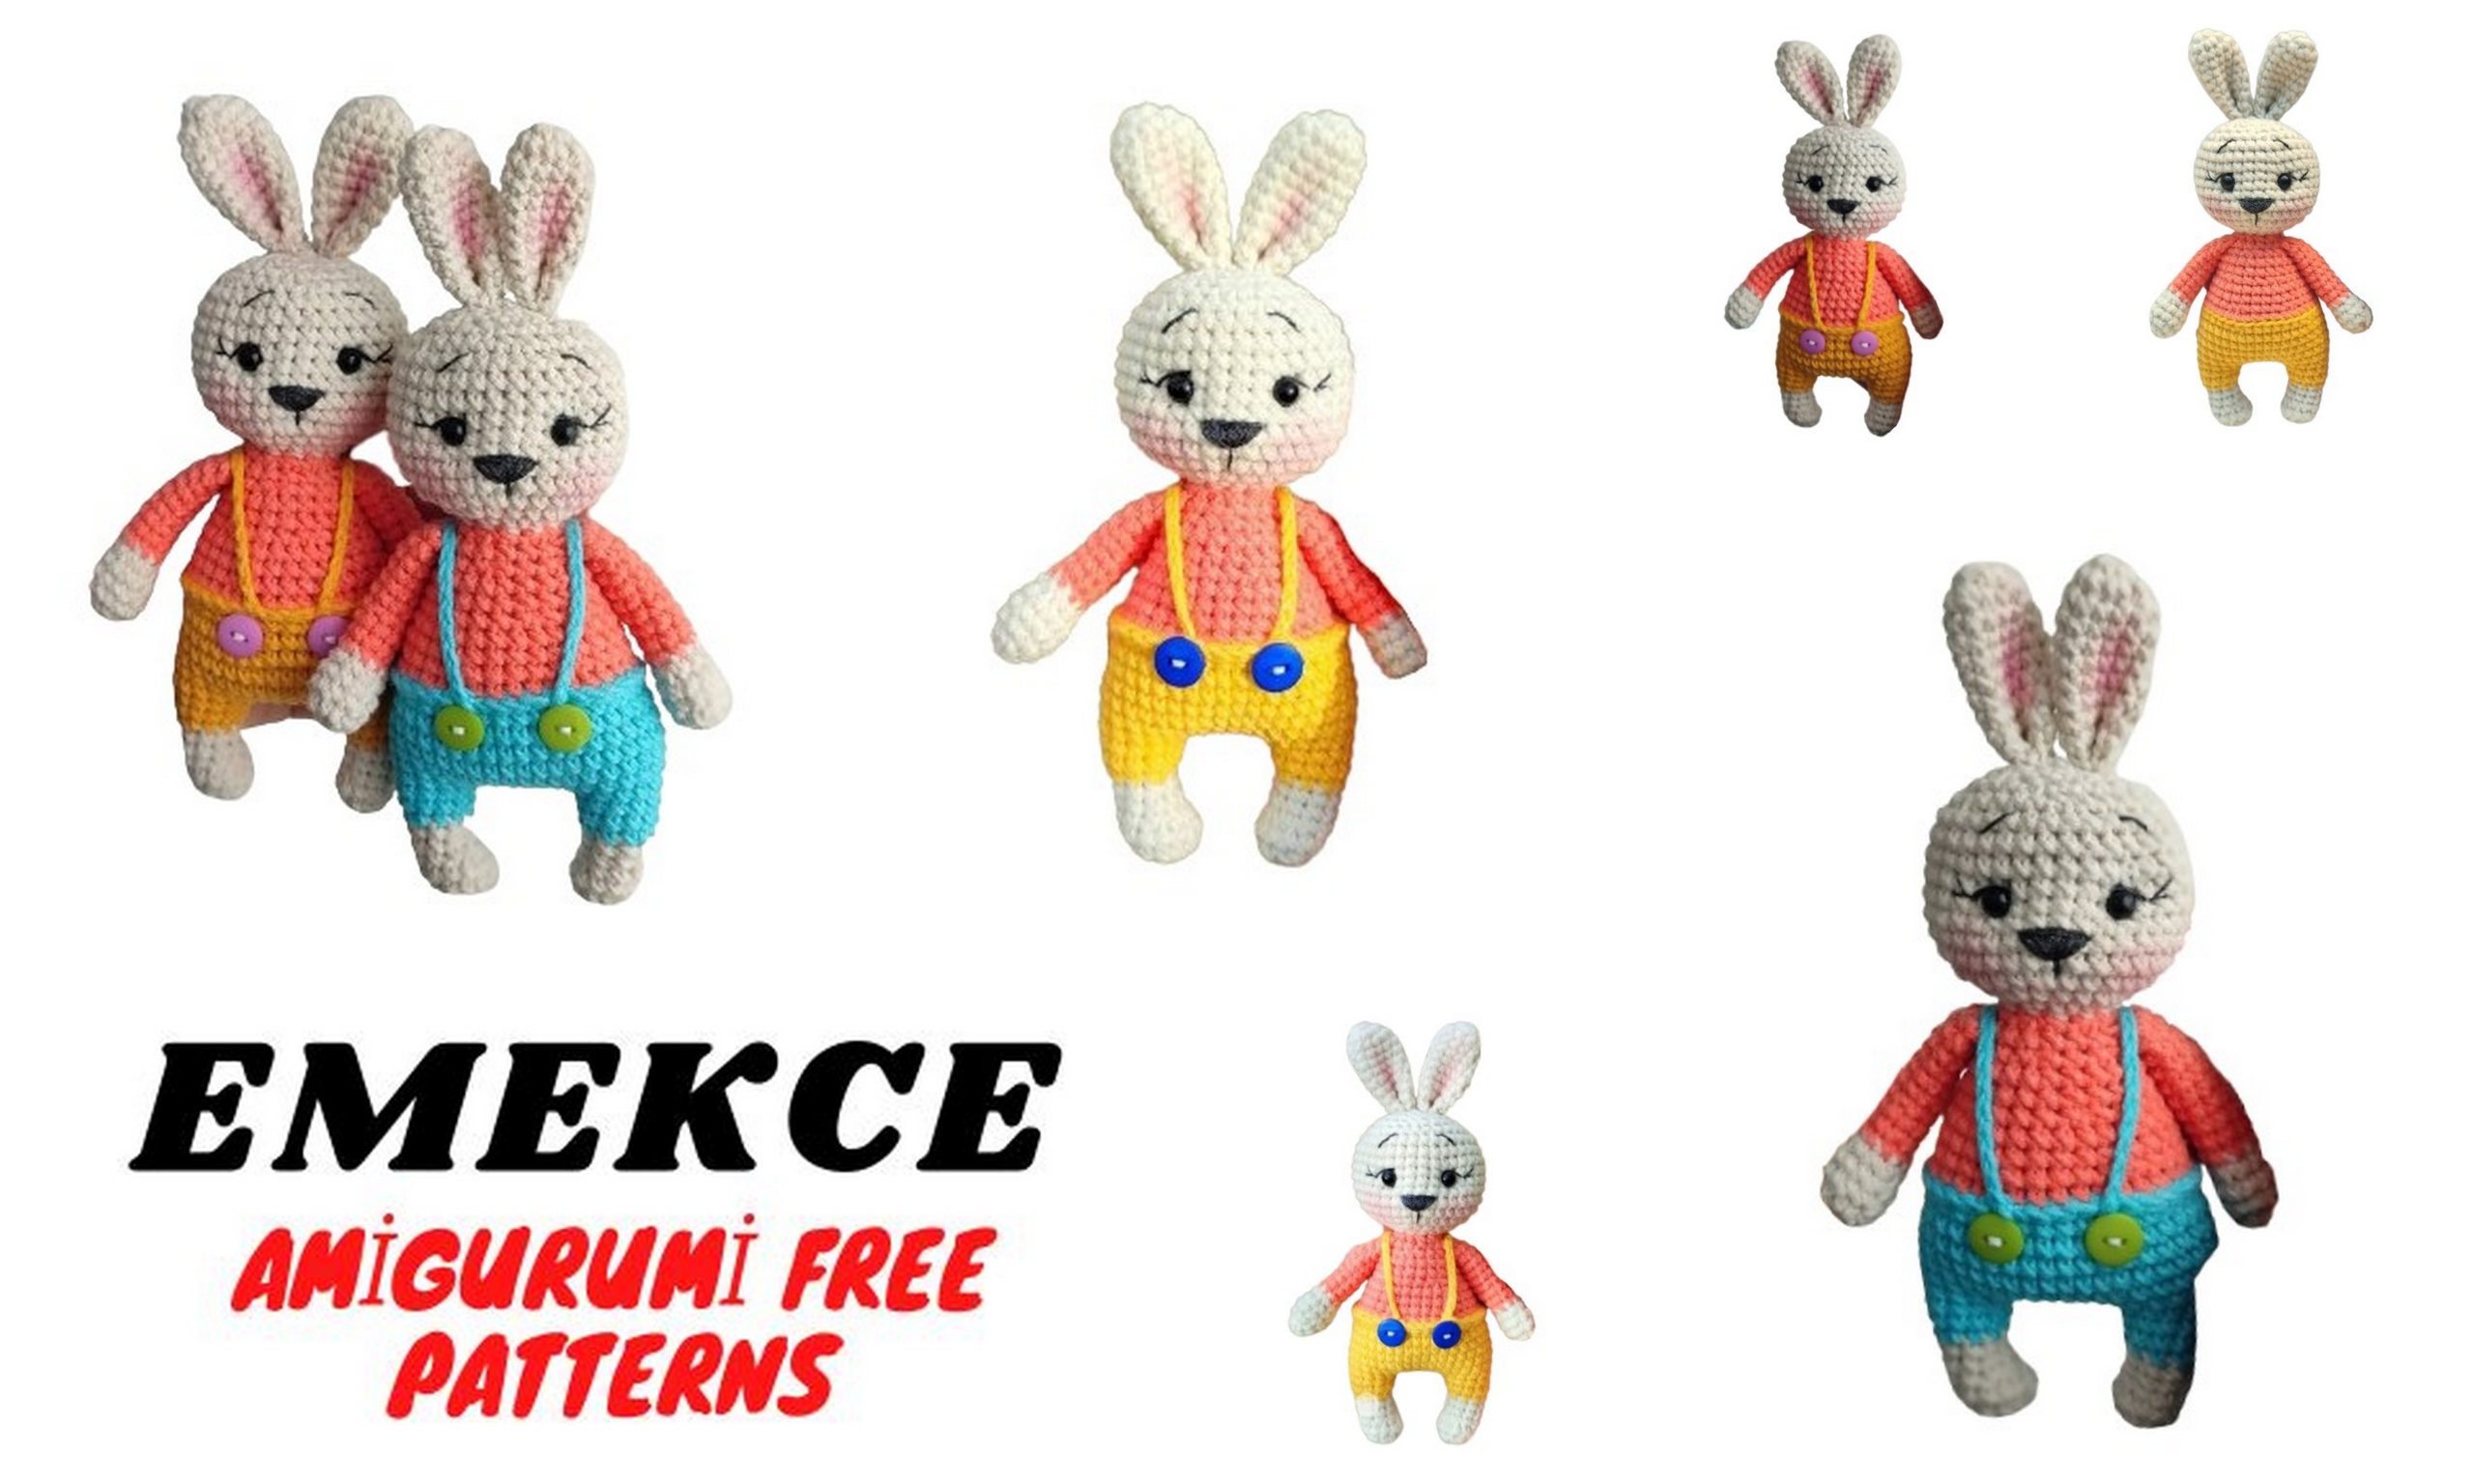
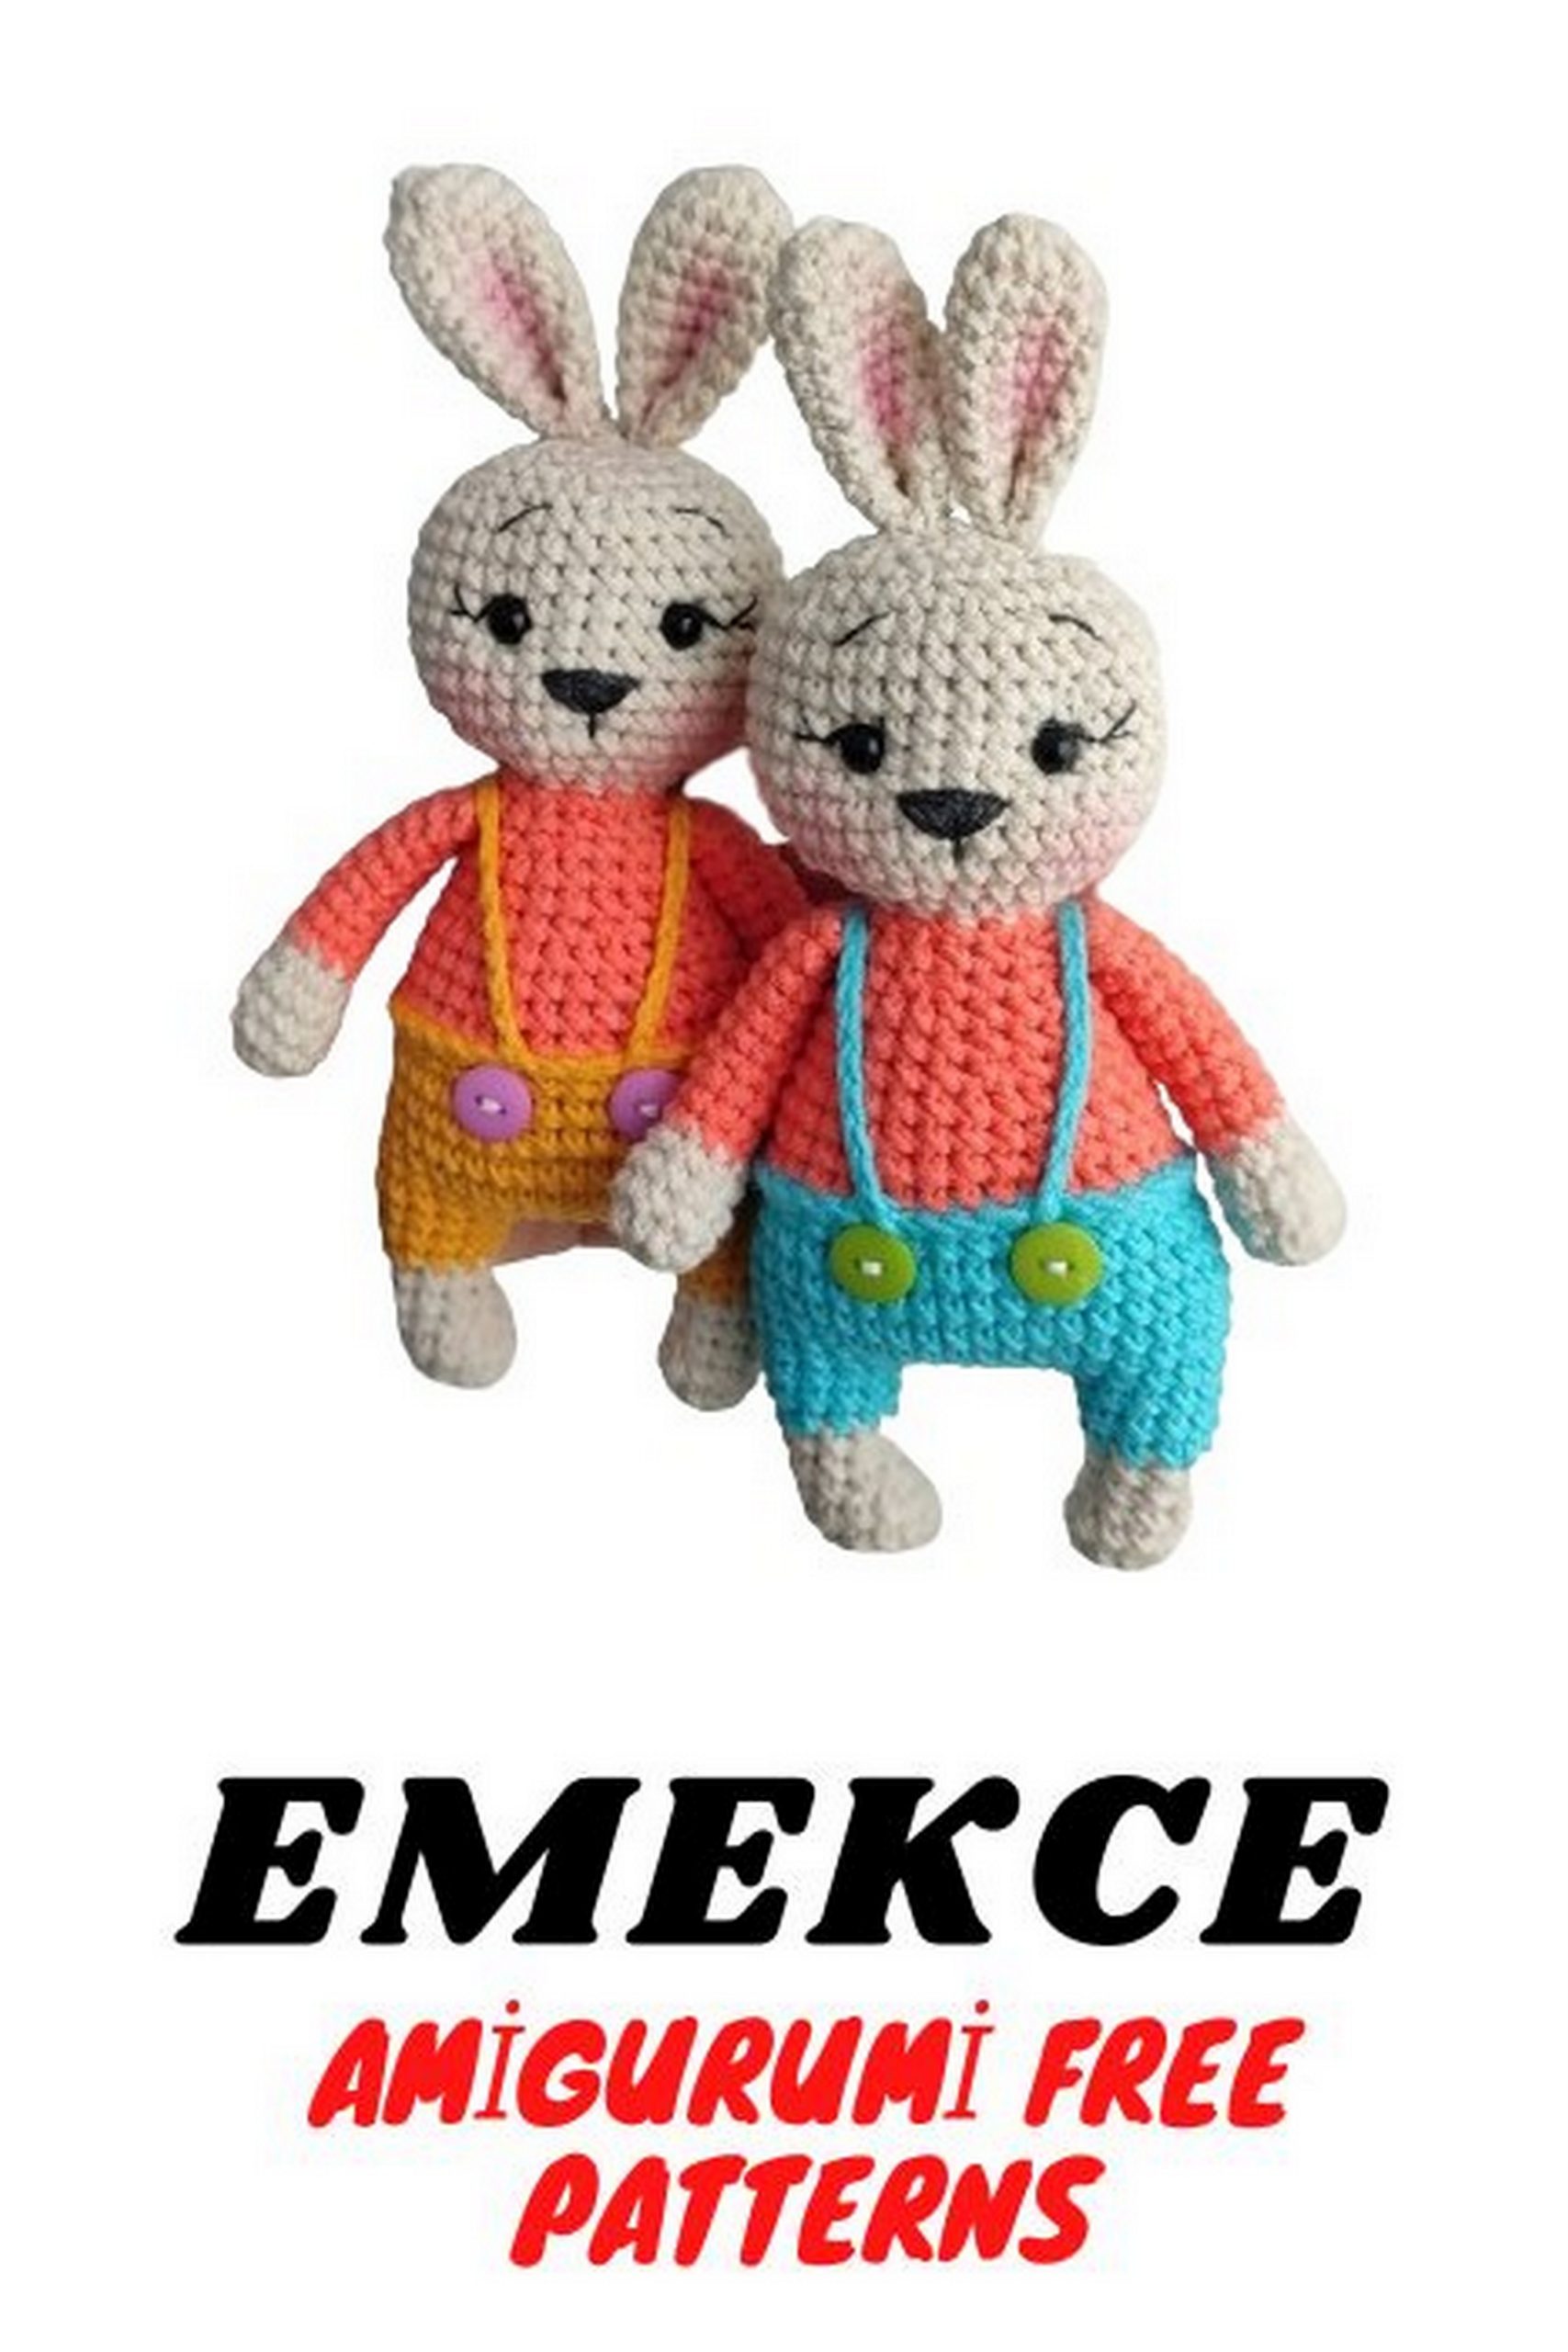
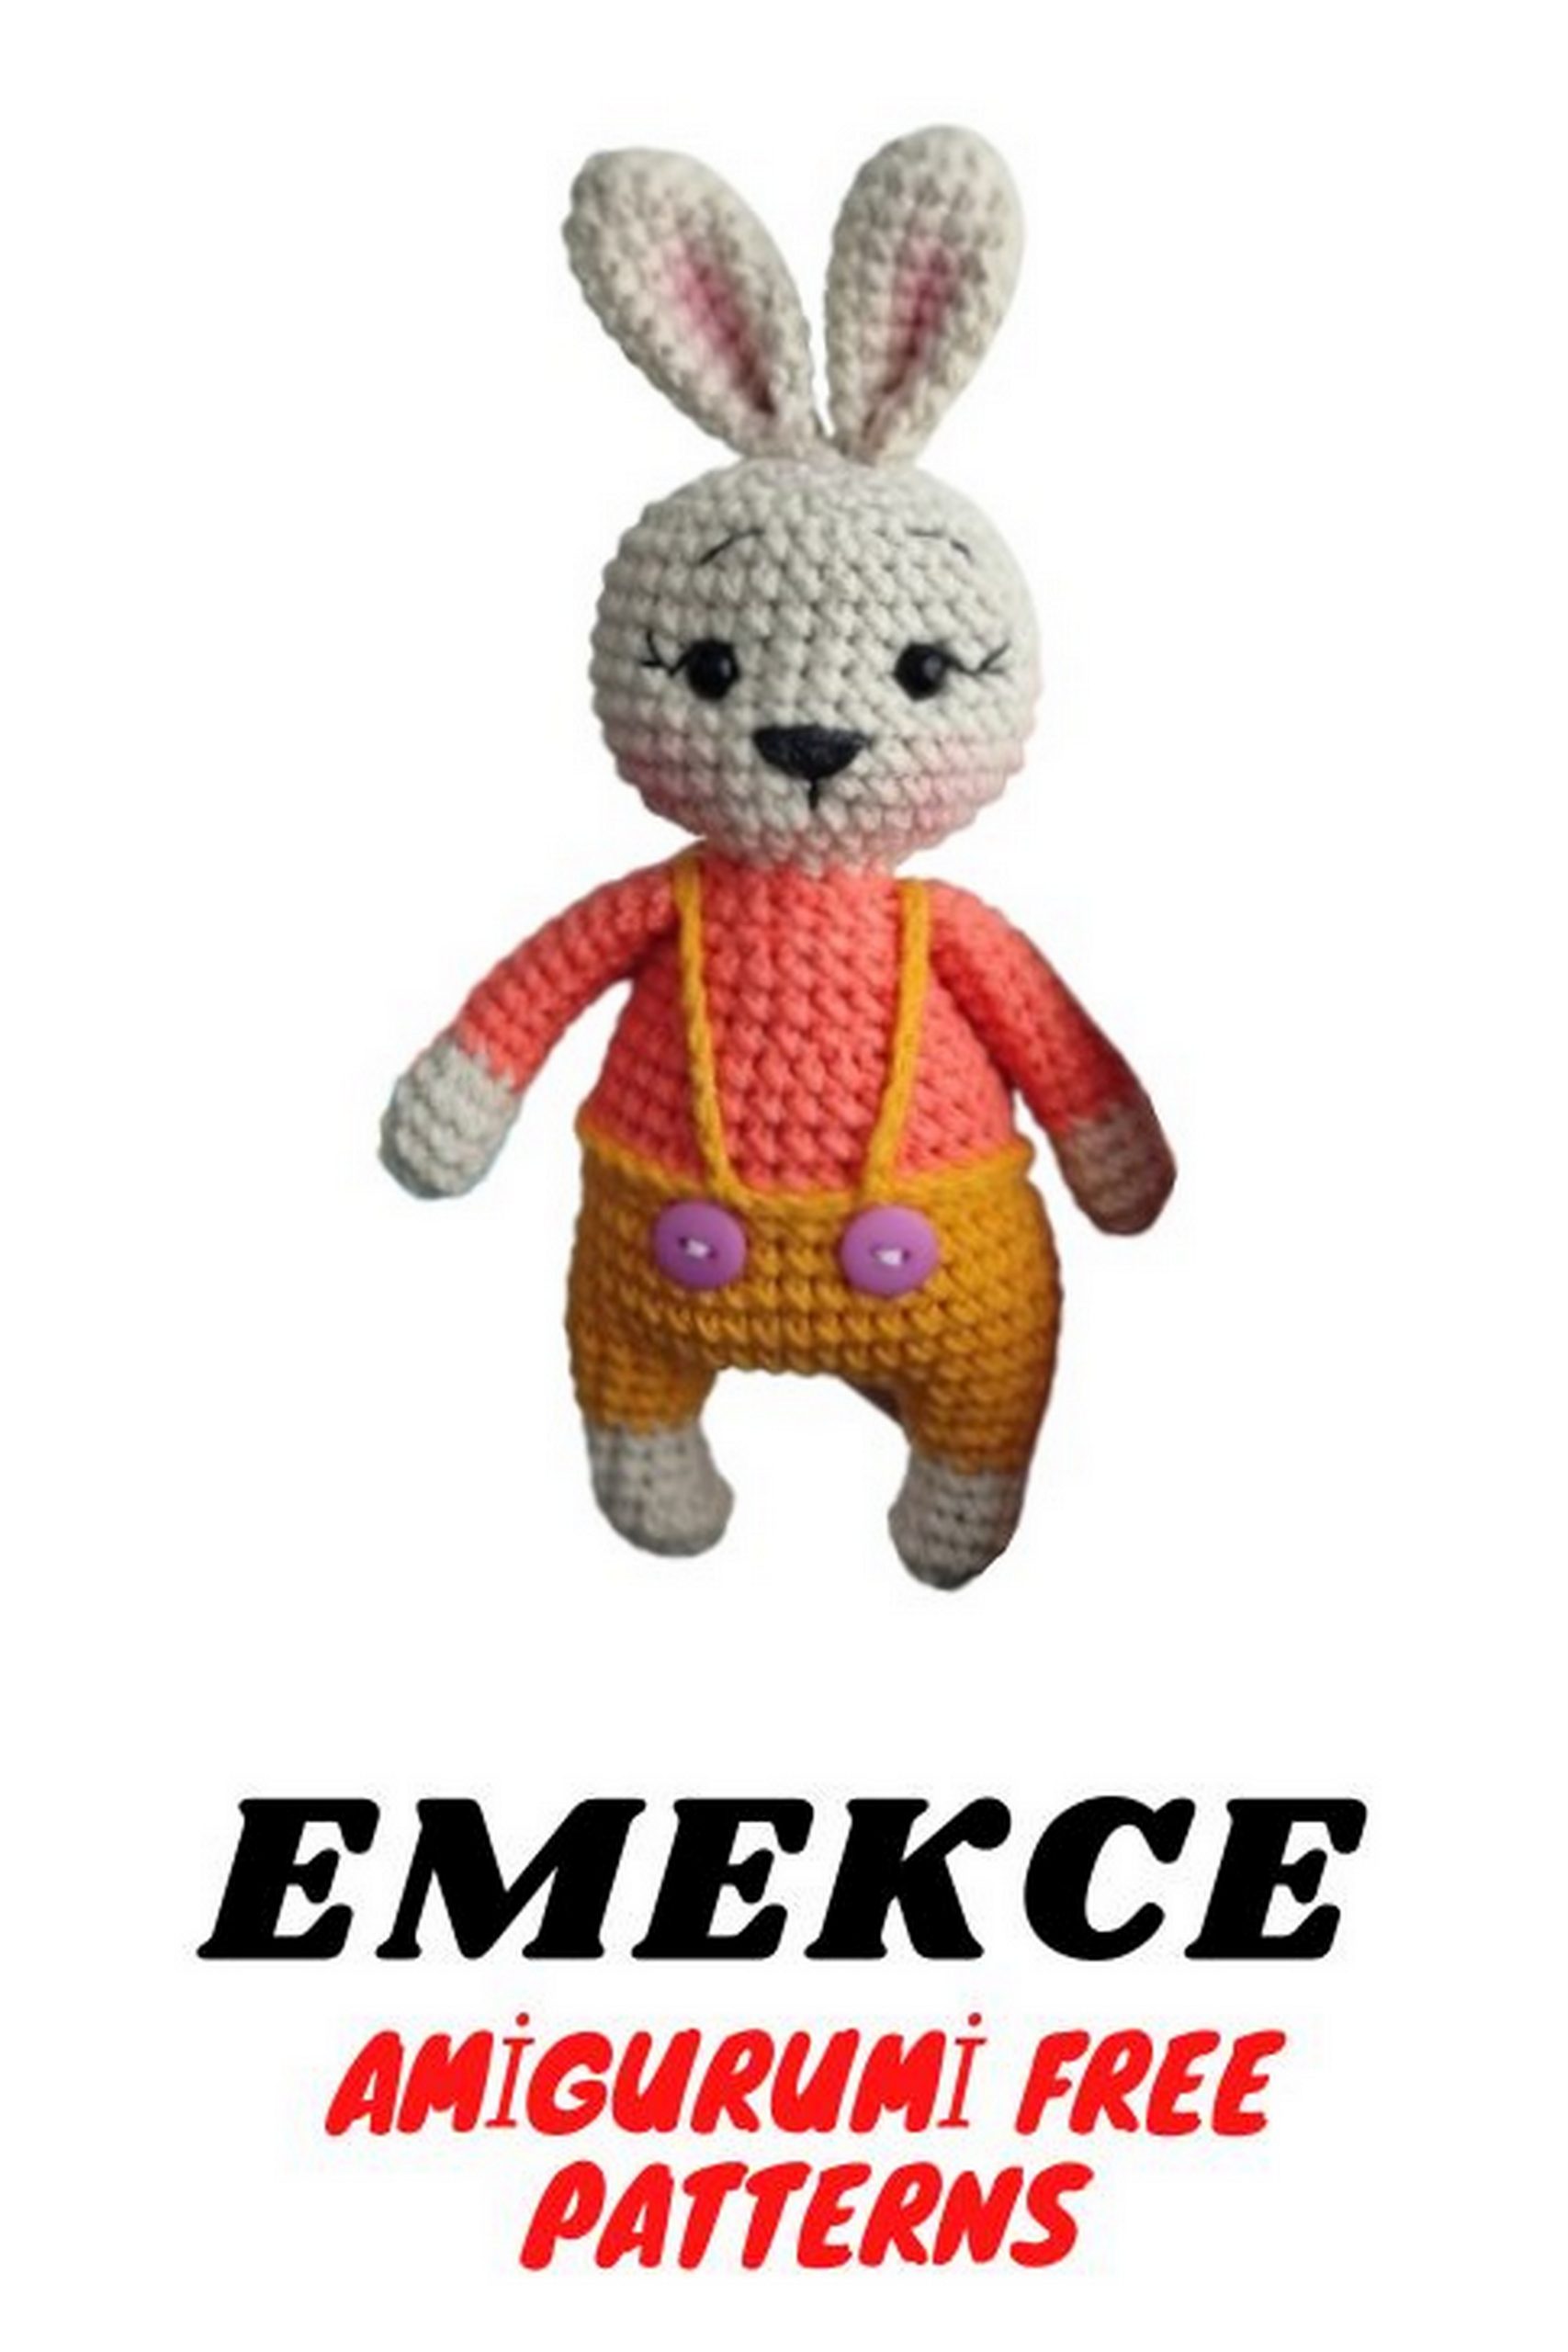
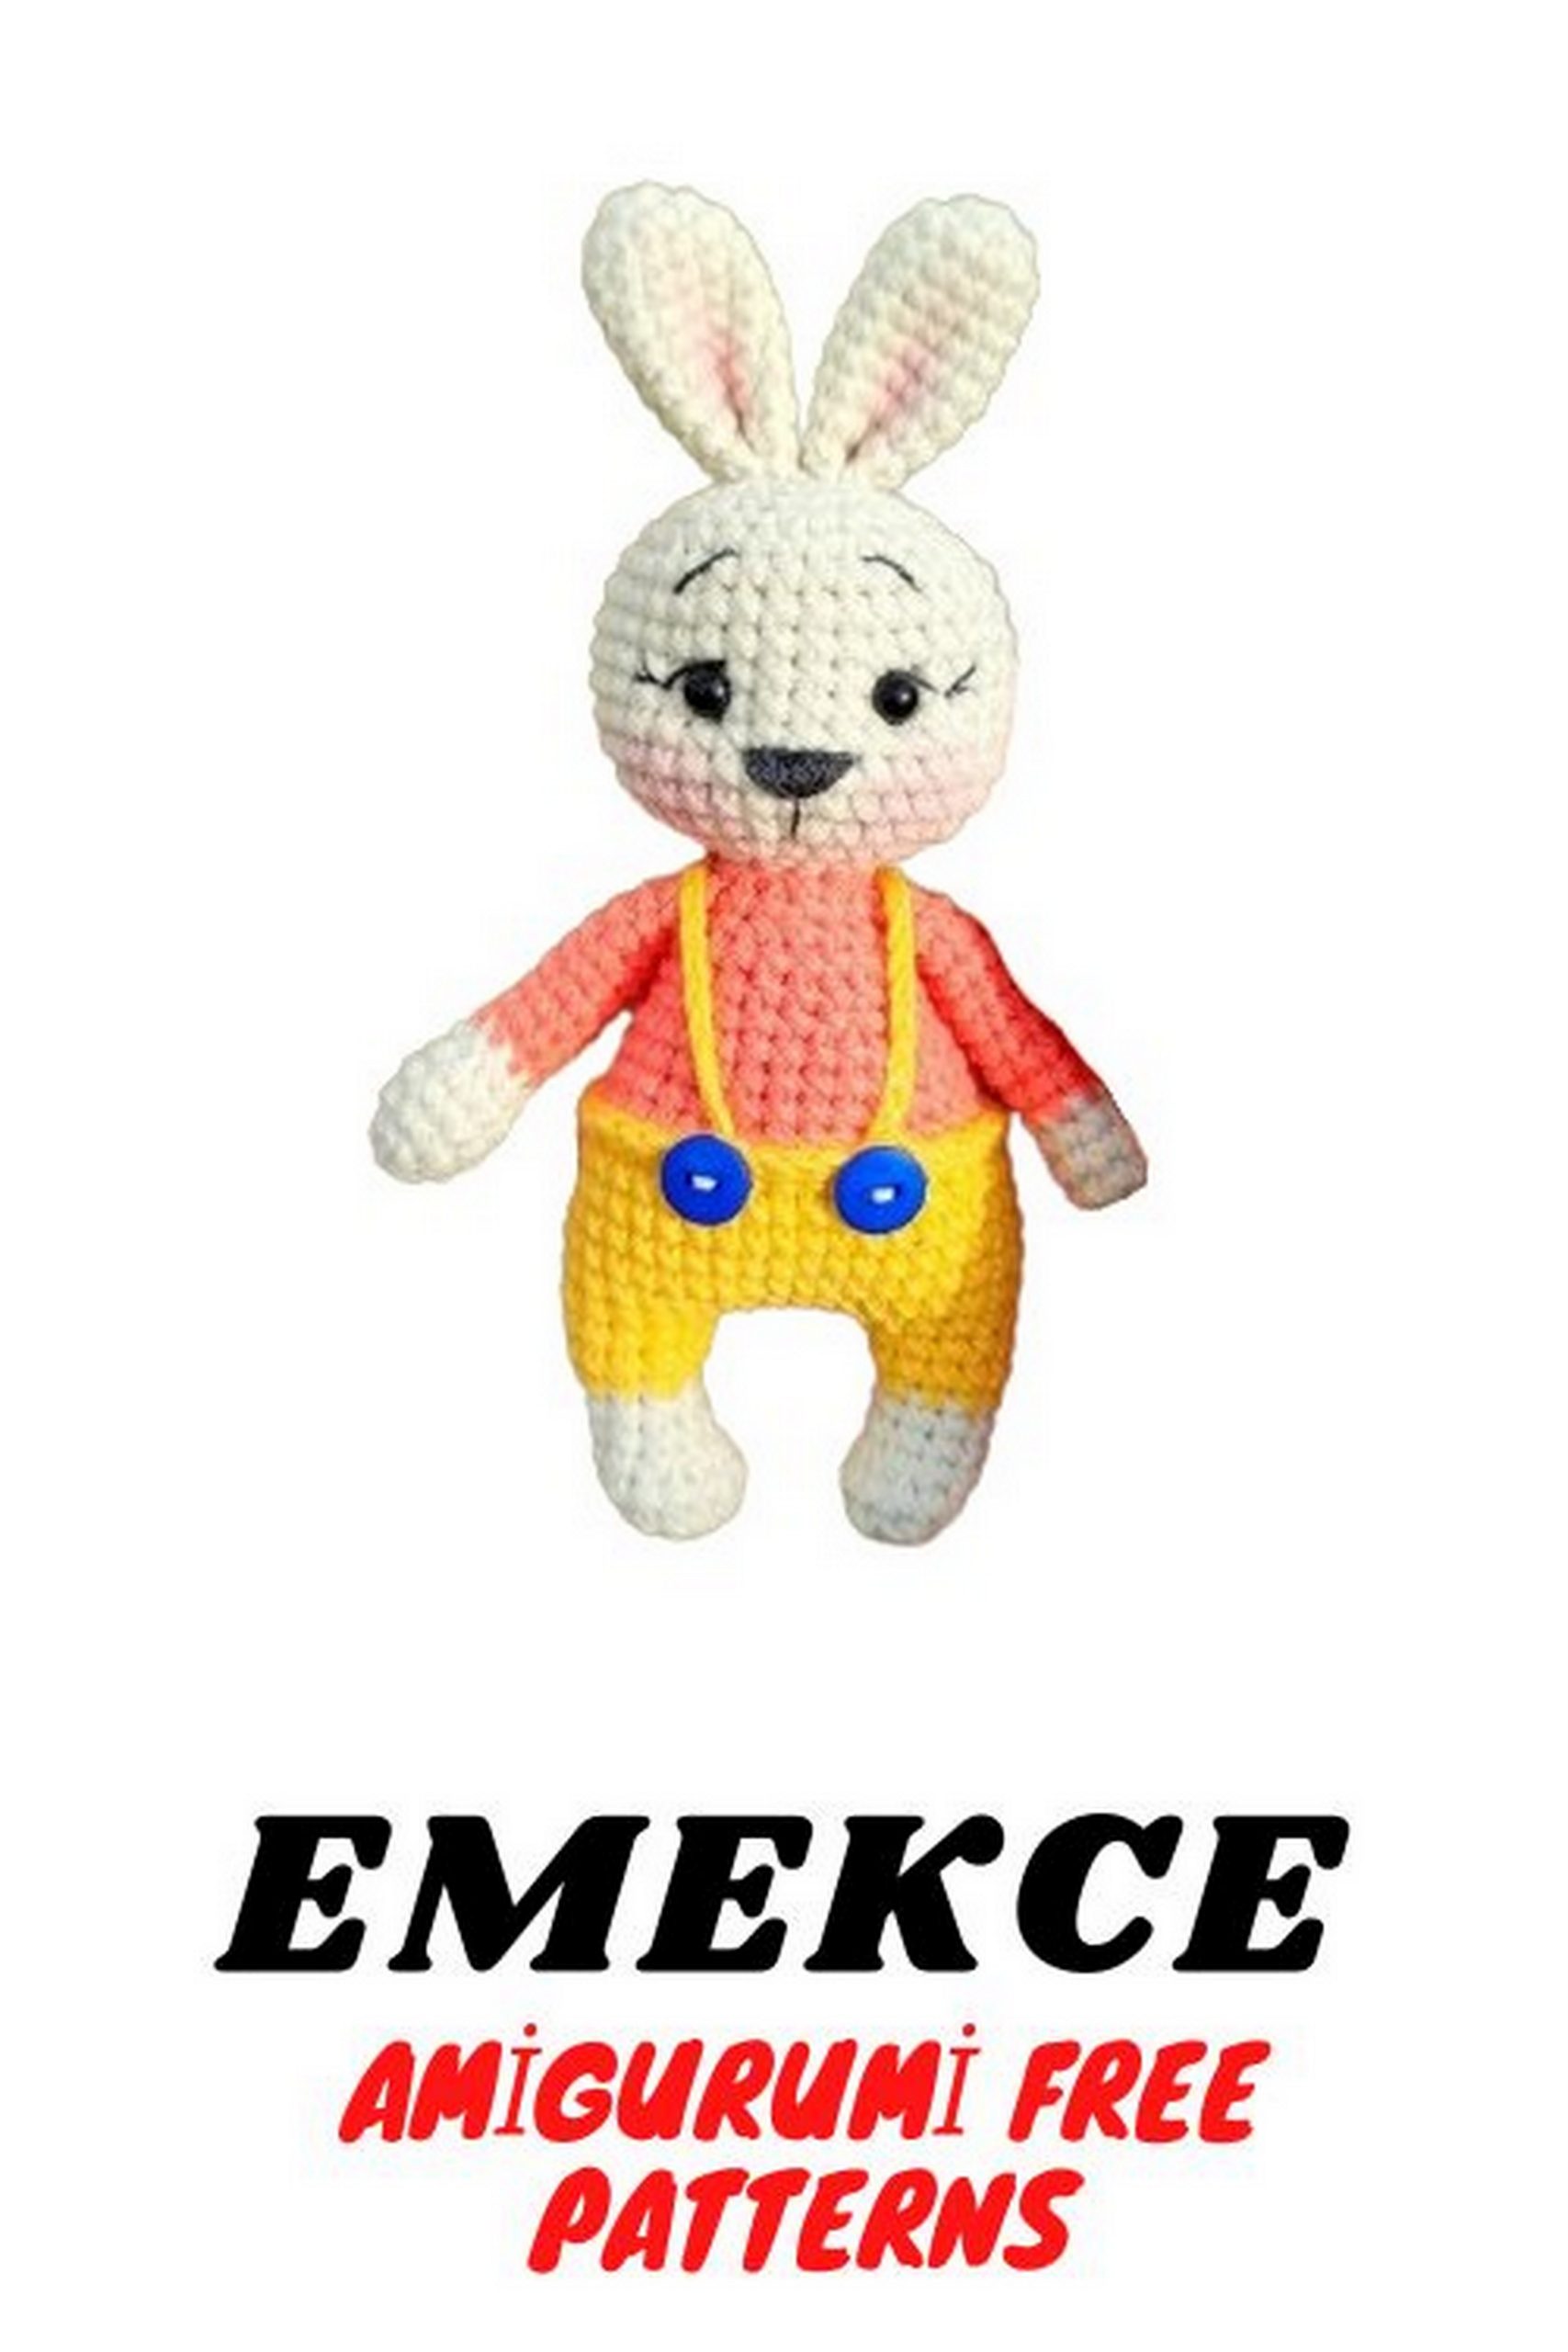
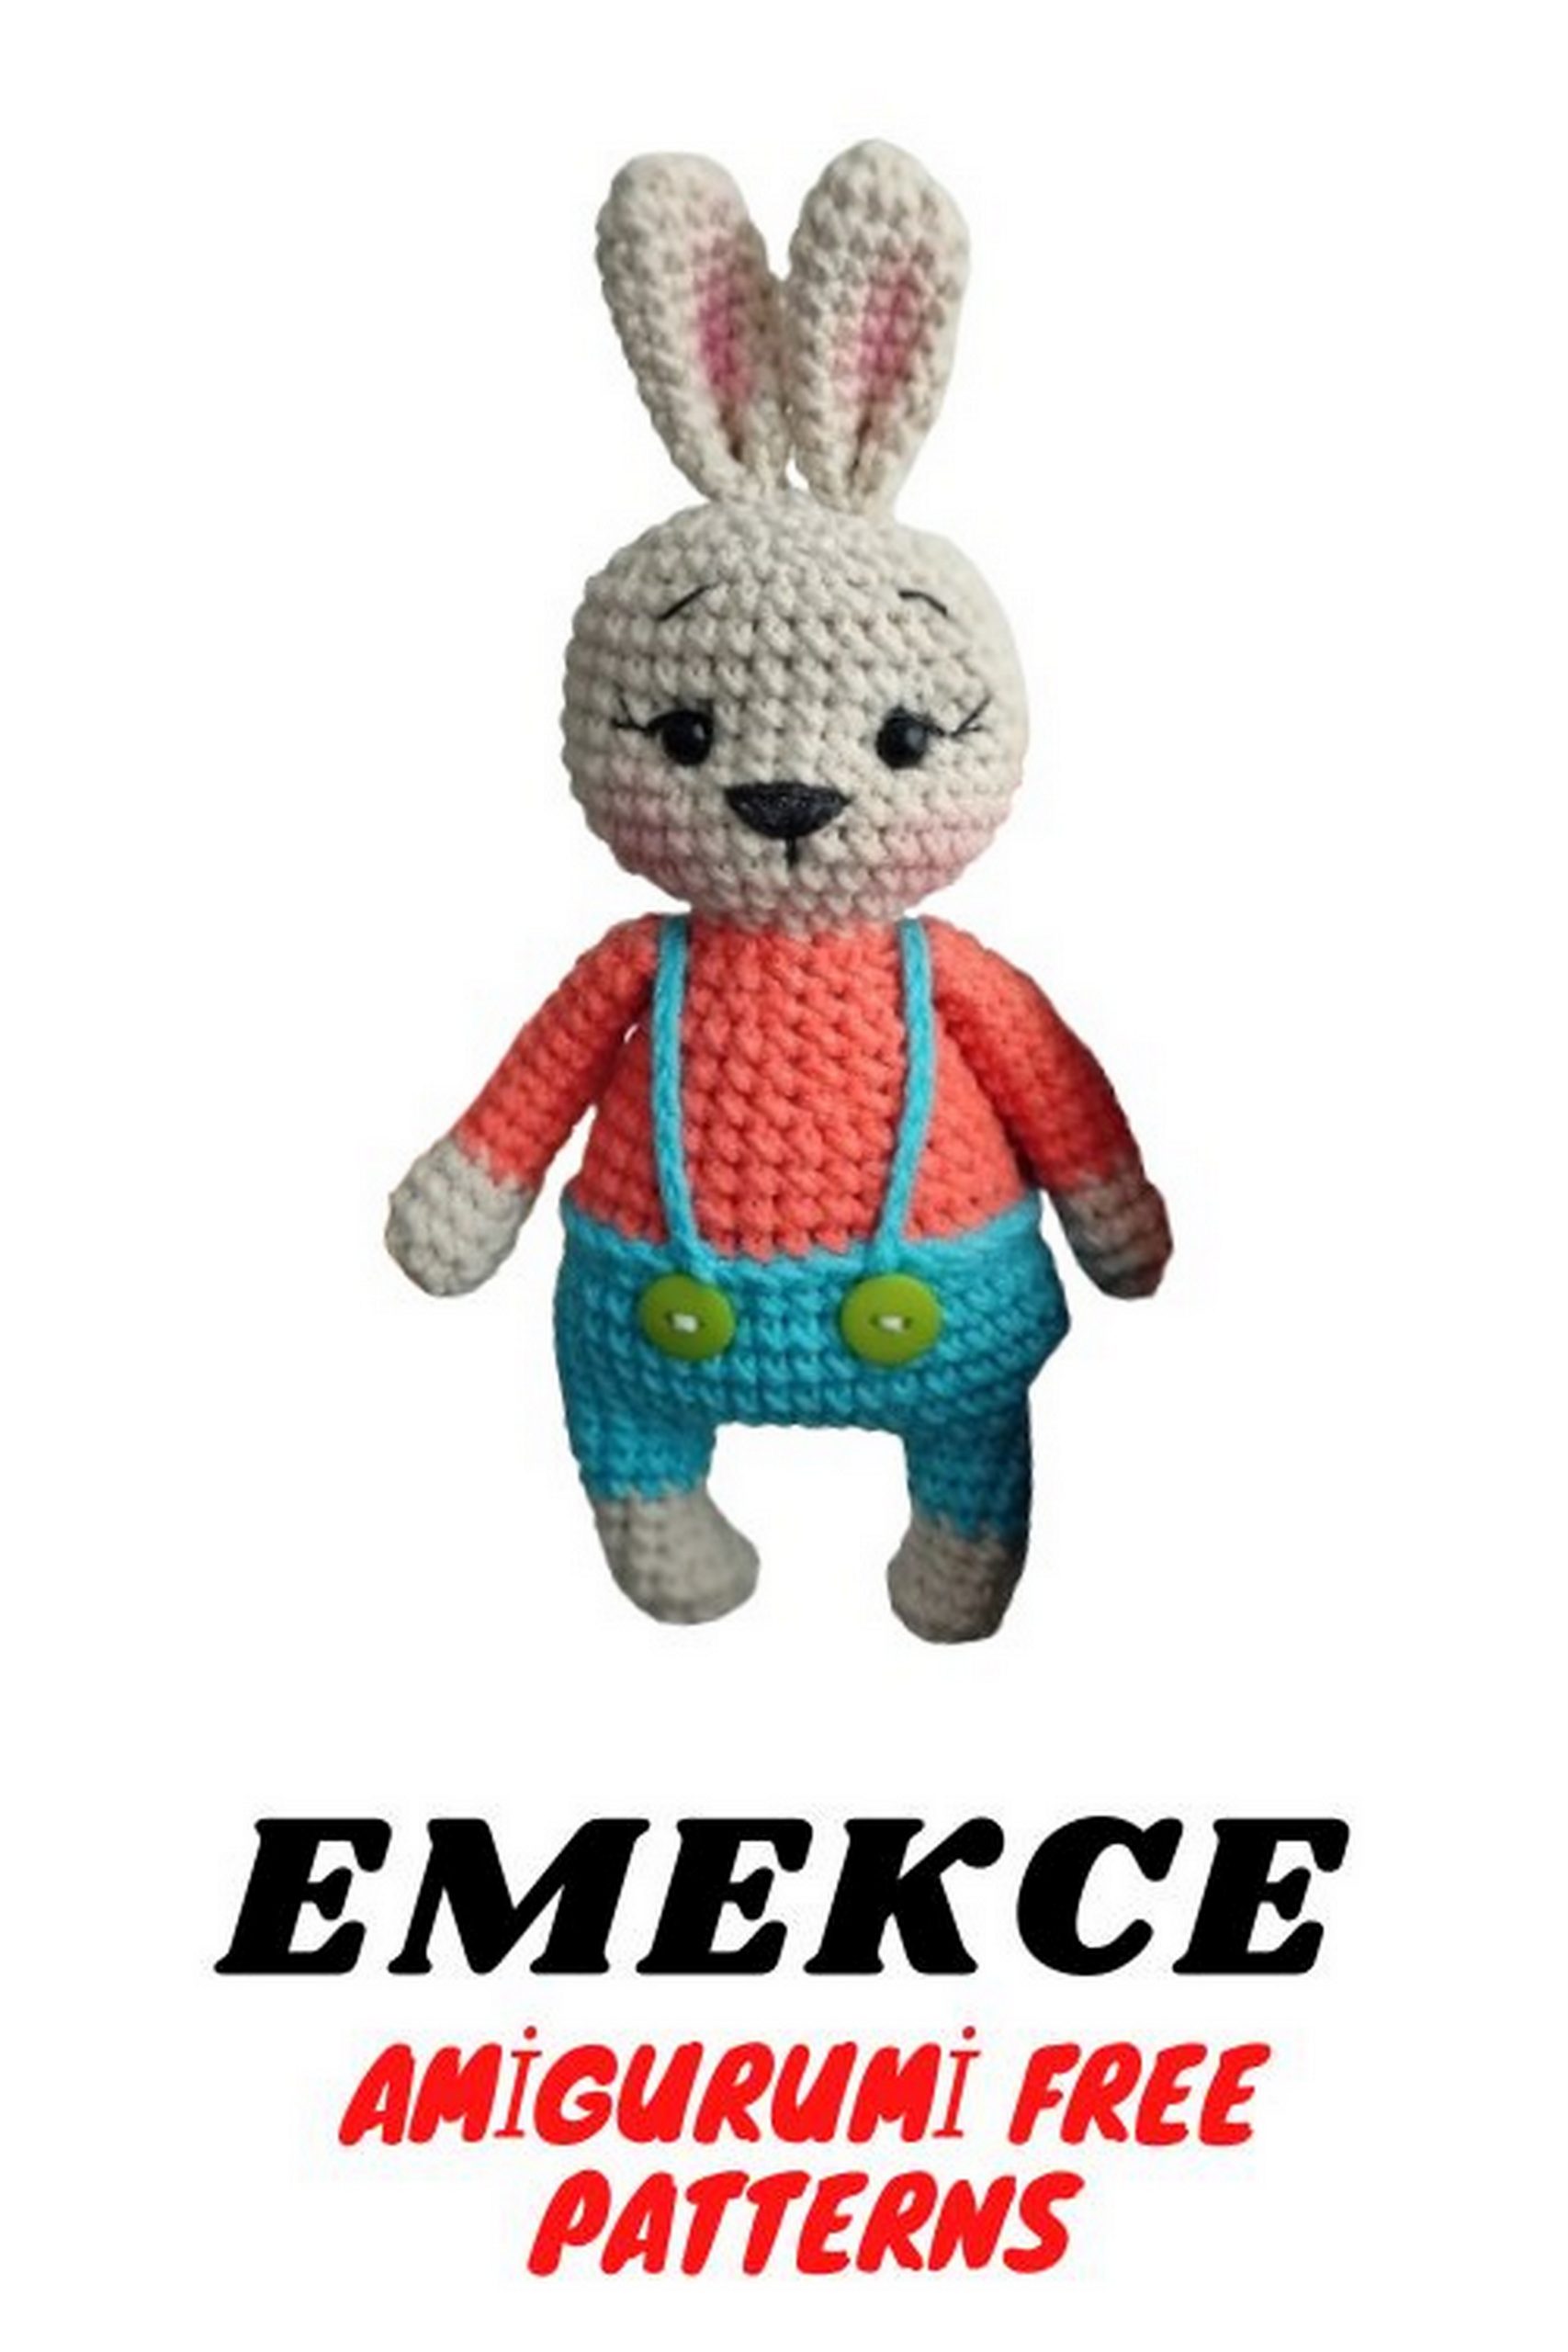
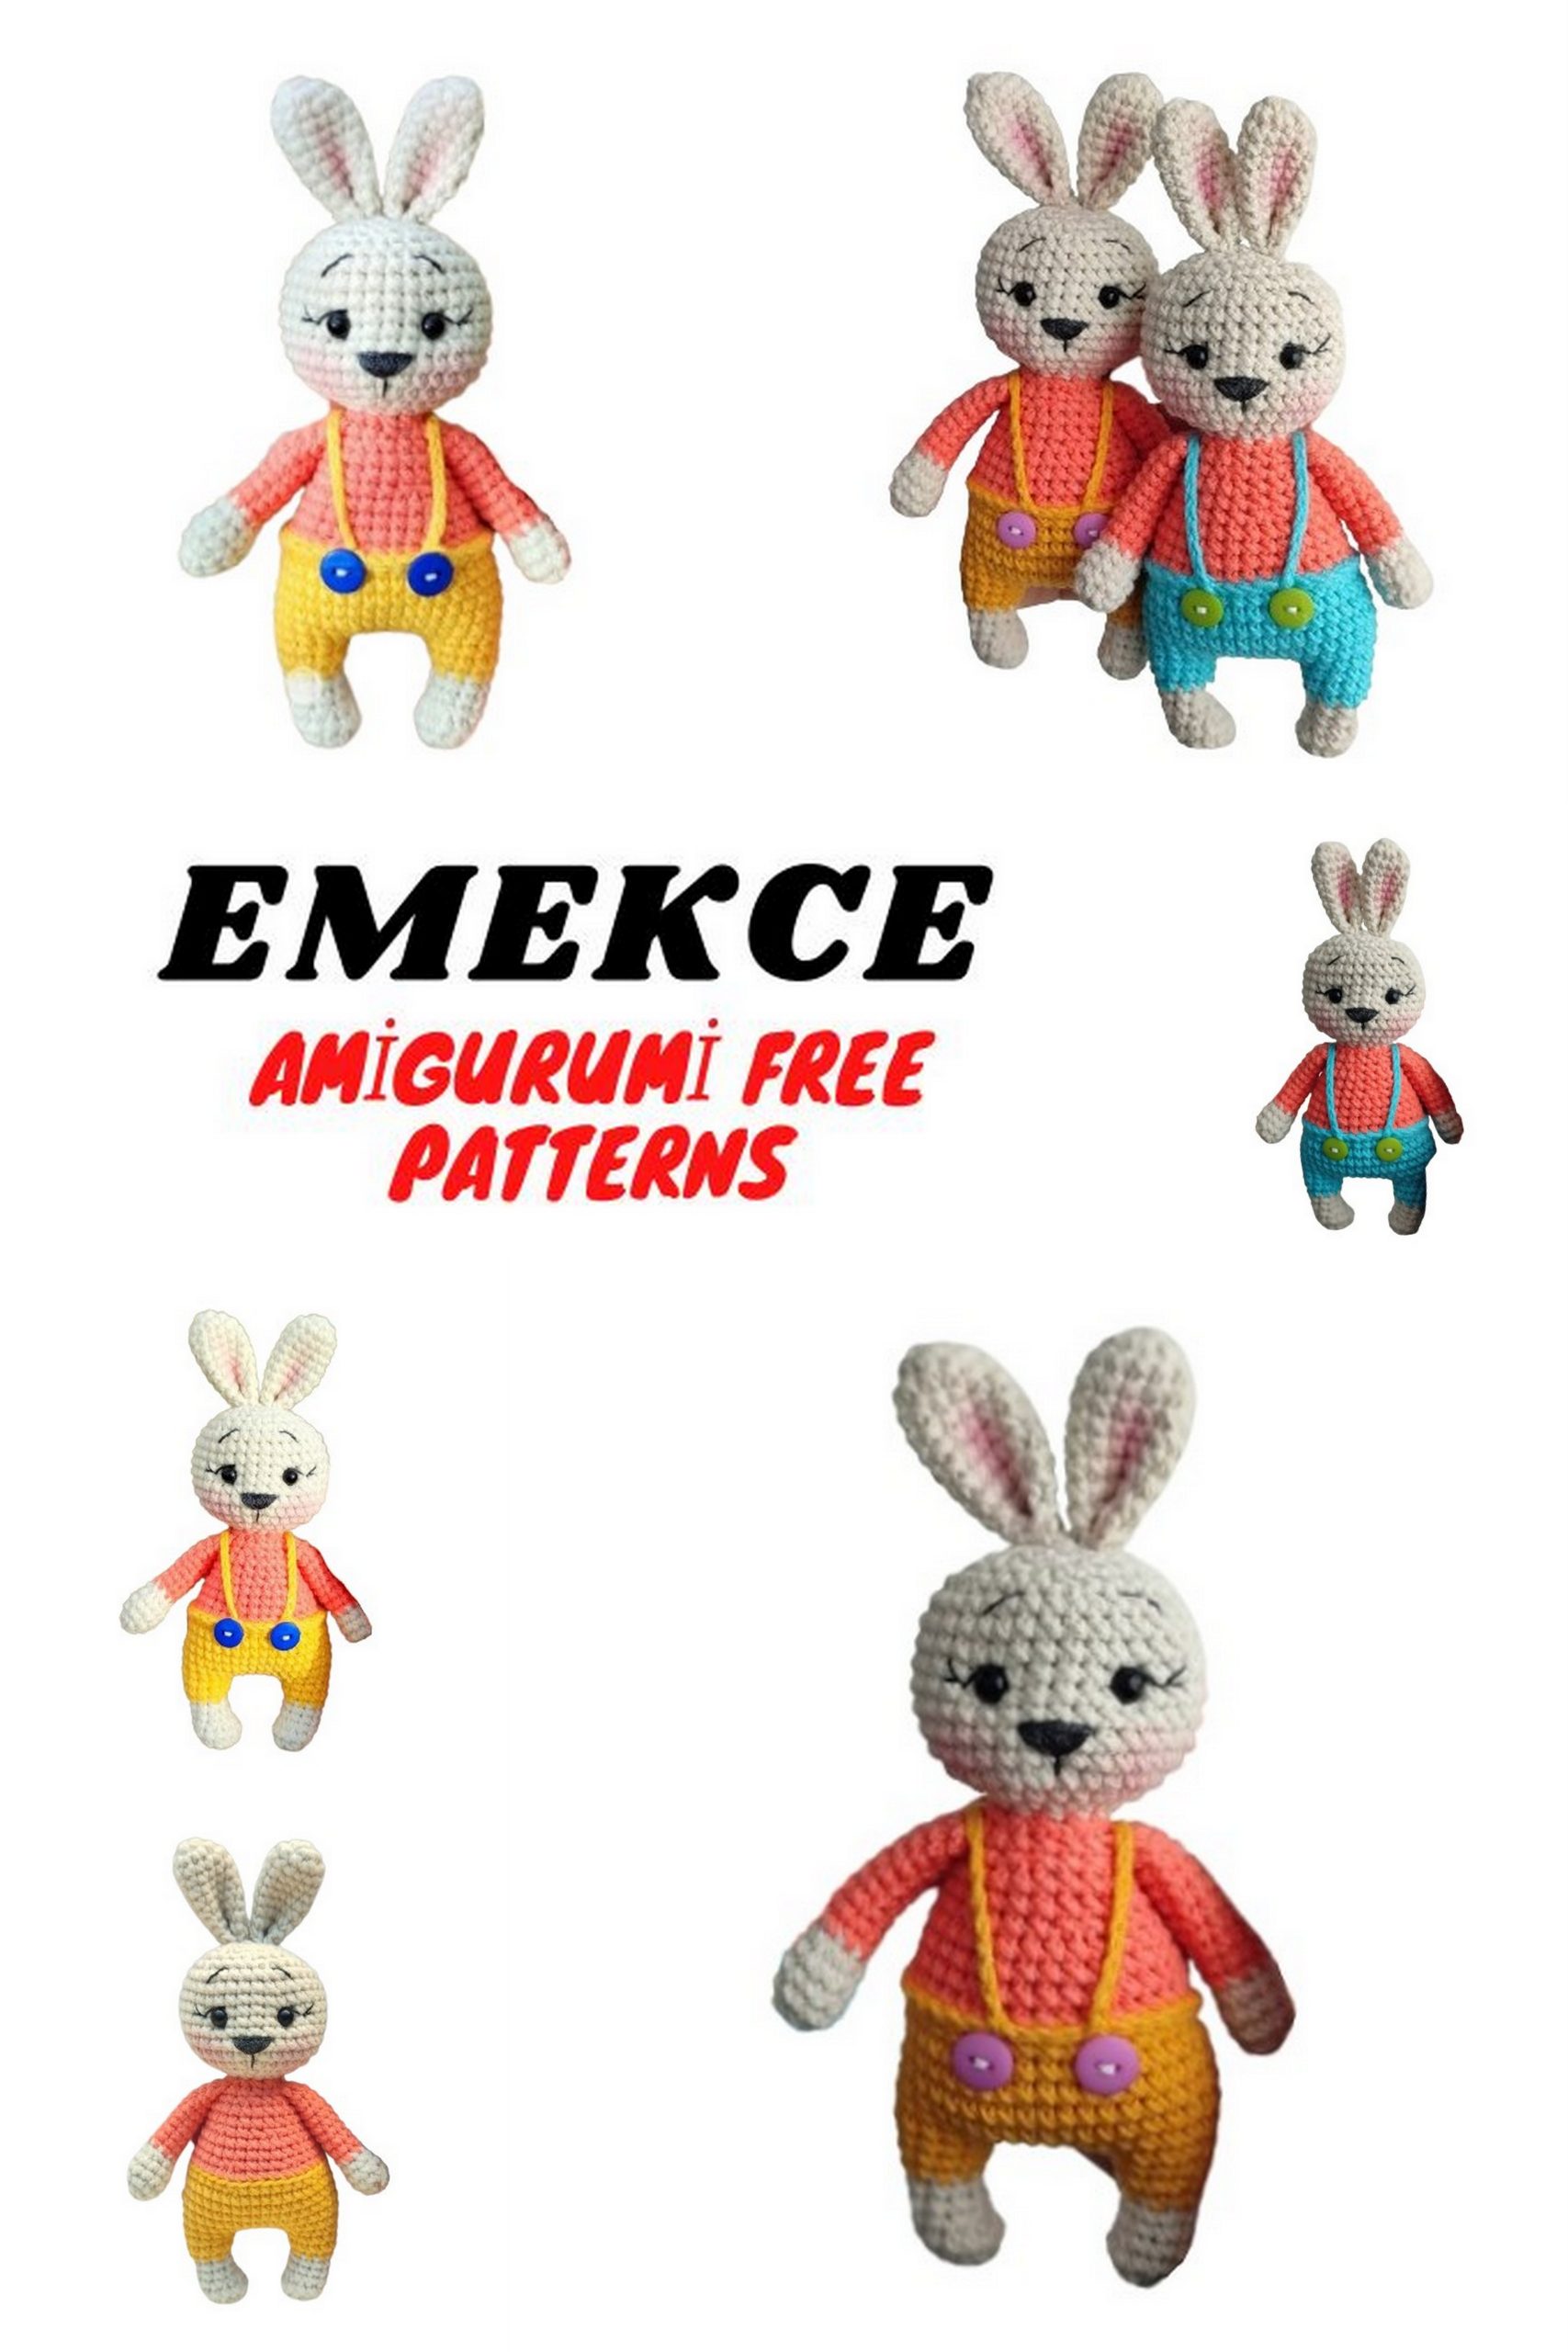
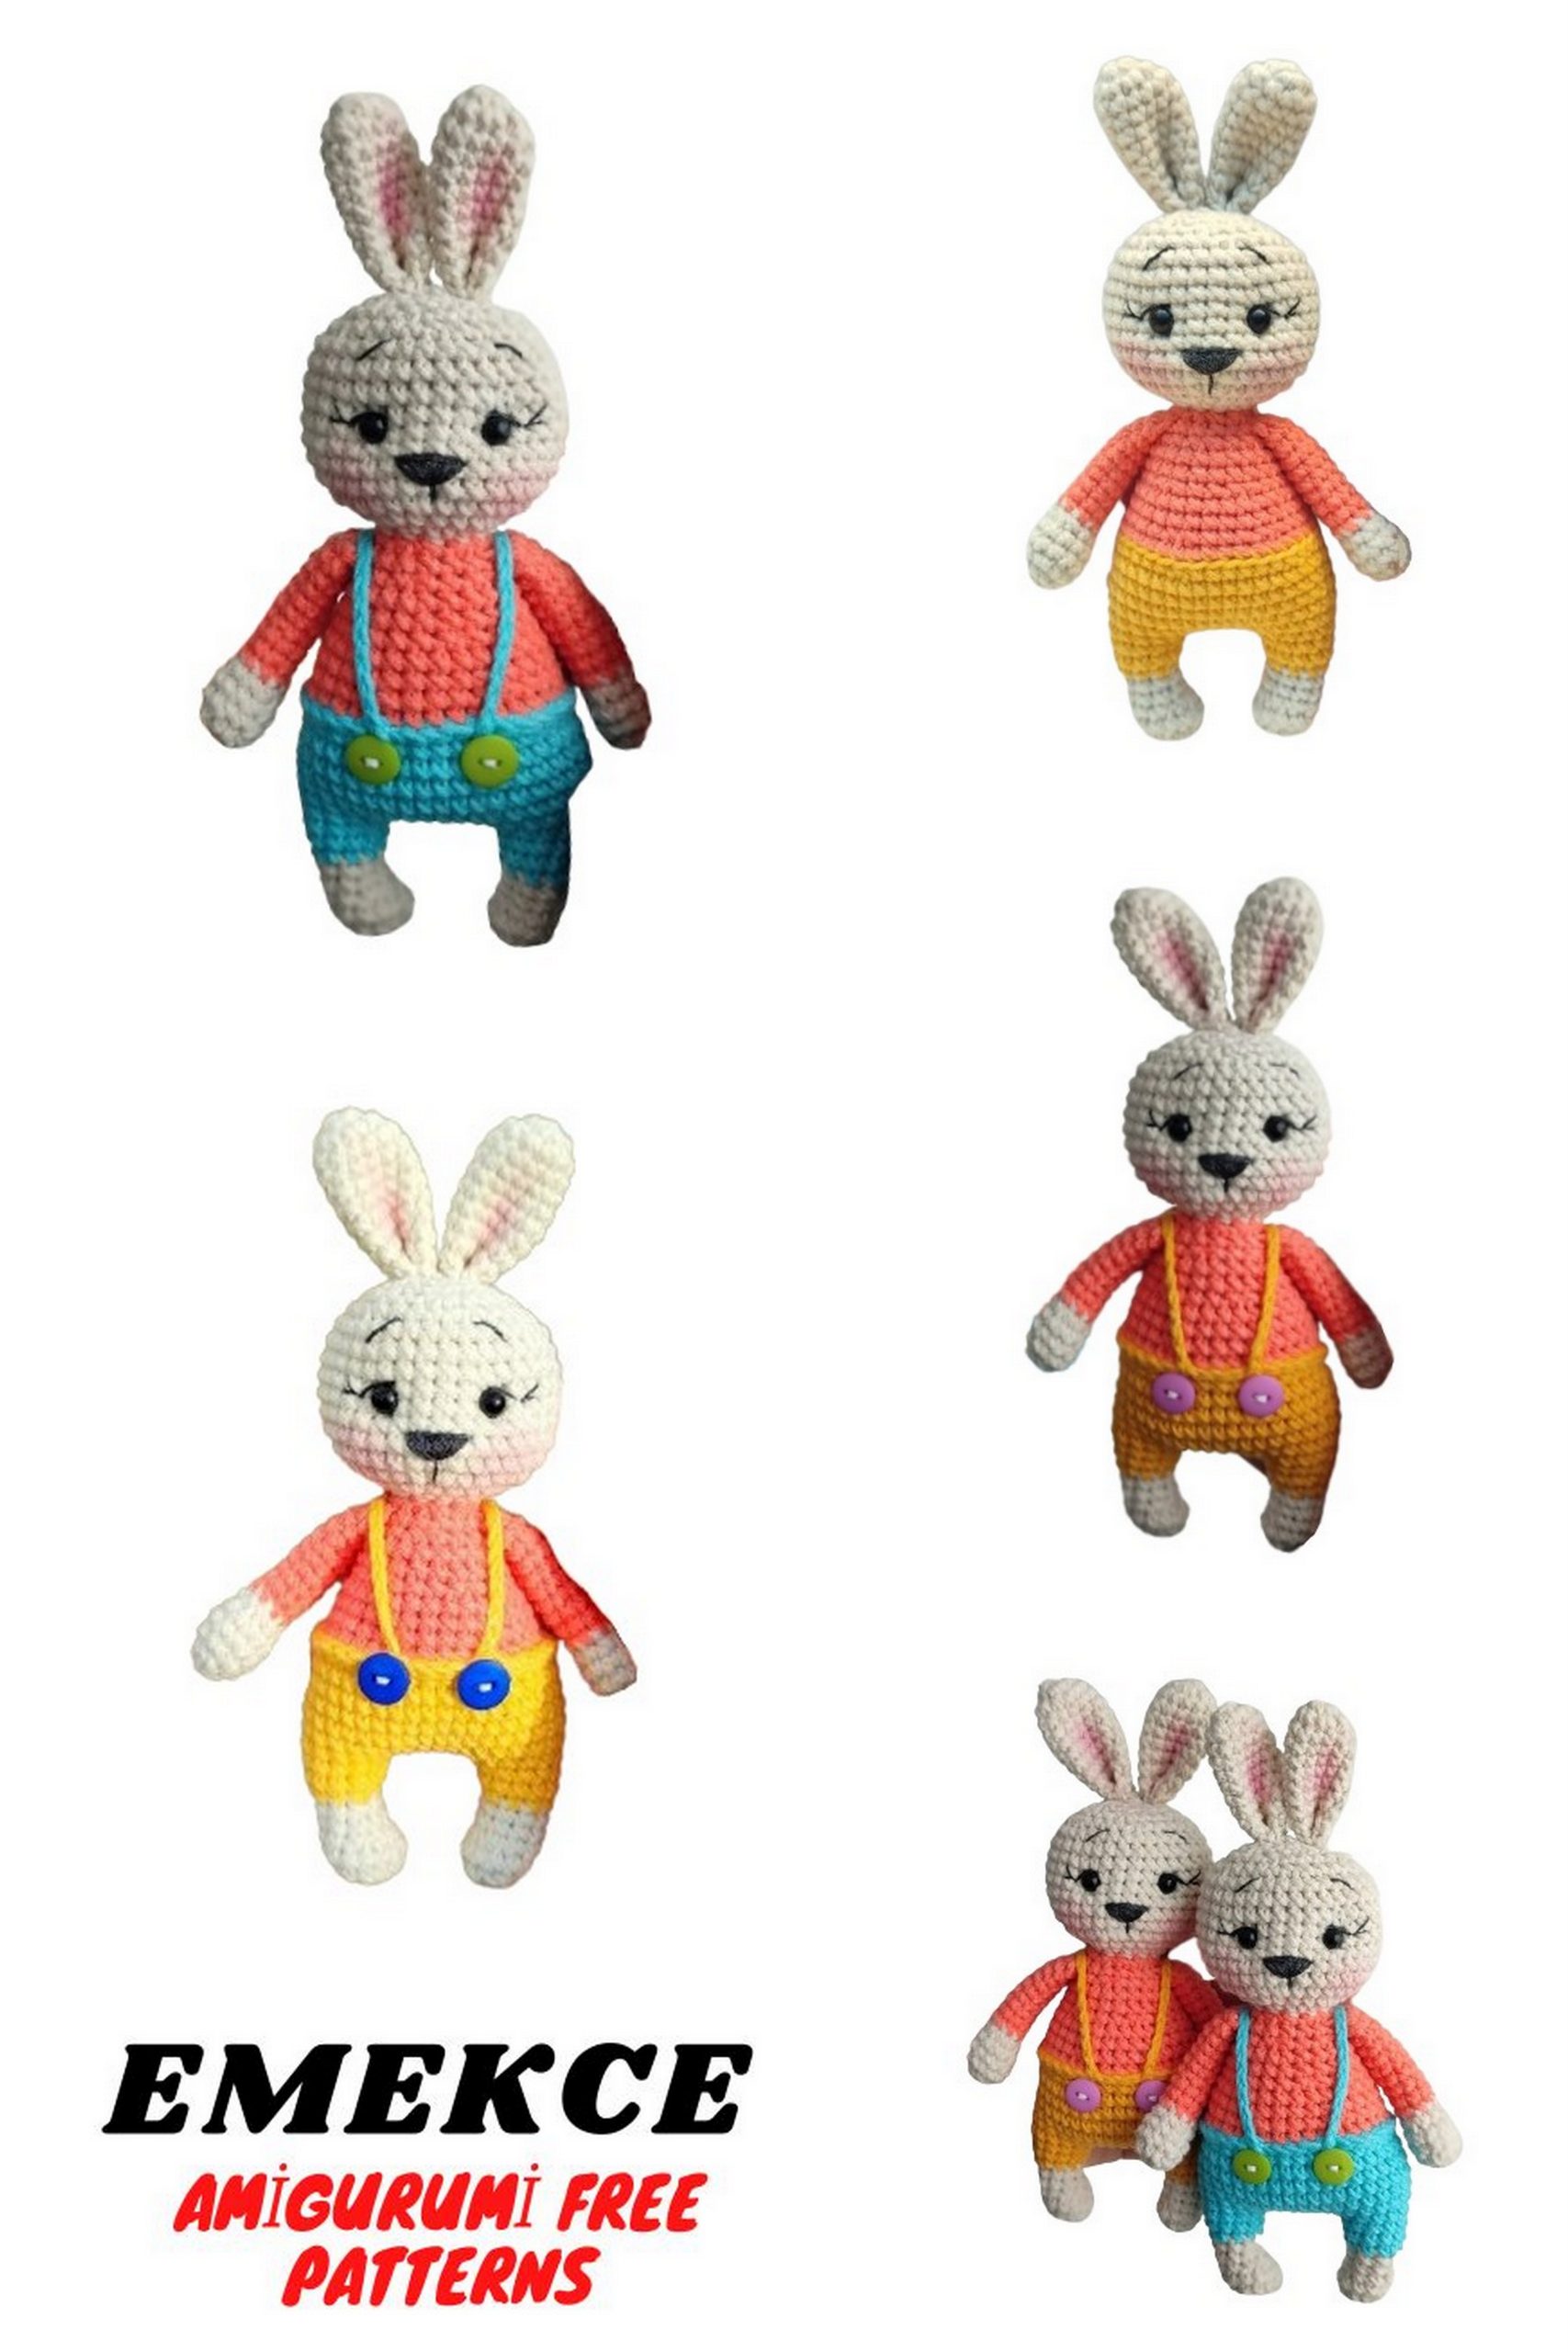
Little Cute Bunny Amigurumi Free Pattern: Craft Your Adorable Easter Companion!
Prepare for Easter with our amigurumi free pattern to create your very own Little Cute Bunny amigurumi! Whether you’re an experienced crocheter or new to the craft, this pattern offers a delightful project to bring a touch of charm to your holiday celebrations. Stitch by stitch, craft your own adorable little bunny companion, perfect for Easter decorations or as a charming gift for loved ones. Join us on this crafting adventure and let’s crochet our way to creating a lovable Easter bunny friend!
Materials:
YarnArt Jeans yarn for the body: No. 05 (beige)
YarnArt Jeans yarn in any colors
Crochet hook No. 2.5
Stuffing
Black half beads 6 mm 2 pcs
Black embroidery thread for the face
Needles, pins, scissors, glue
Any decorations
Abbreviations:
MR – Magic Ring
SC – Single Crochet
CH – Chain
INC – Increase
DEC – Decrease
SS – Slip Stitch
BLO – Back Loop Only
FLO – Front Loop Only
(…) * n – Repeat (…) n times
It is very important to gradually and tightly stuff the toy during crocheting. The size of the toy when using these materials is 14-15 cm.
PATTERN:
Arms:
Crochet in beige color.
Row 1: 6 SC in MR
Row 2: INC in each stitch (12 SC)
Rows 3-4: Work 2 rows without changes (12 SC)
Row 5: 1 SC, DEC, (2 SC, DEC) * 2, 1 SC (9 SC)
Switch to coral color.
Rows 6-14: Work 9 rows without changes (9 SC)
To make the arms bendable, you can use wire. If you prefer not to, lightly stuff the arm with stuffing halfway. Then fold in half and crochet 4 SC. Secure the yarn and cut it off.
Ears:
Crochet in beige color.
Row 1: 6 SC in MR
Row 2: INC in each stitch (12 SC)
Rows 3-10: Work 8 rows without changes (12 SC)
Fold in half and crochet 6 SC. Secure the yarn and cut it off.
Legs:
Start with beige color.
Row 1: 6 SC in MR
Row 2: INC in each stitch (12 SC)
Row 3: Work a row without changes (12 SC)
Row 4: 3 SC, (DEC) * 3, 3 SC (9 SC)
Rows 5-6: Work 2 rows without changes (9 SC)
Switch to yellow color.
Row 7: 1 SC, INC, (2 SC, INC) * 2, 1 SC (12 SC)
Row 8: Work a row without changes (12 SC) + additionally work several SC to even out with the place where decreases were made (4th row of leg crocheting). For me, it’s 6-7 SC.
Secure the yarn, cut it off. Crochet the second leg in the same way. Do not cut the yarn, continue crocheting the body.
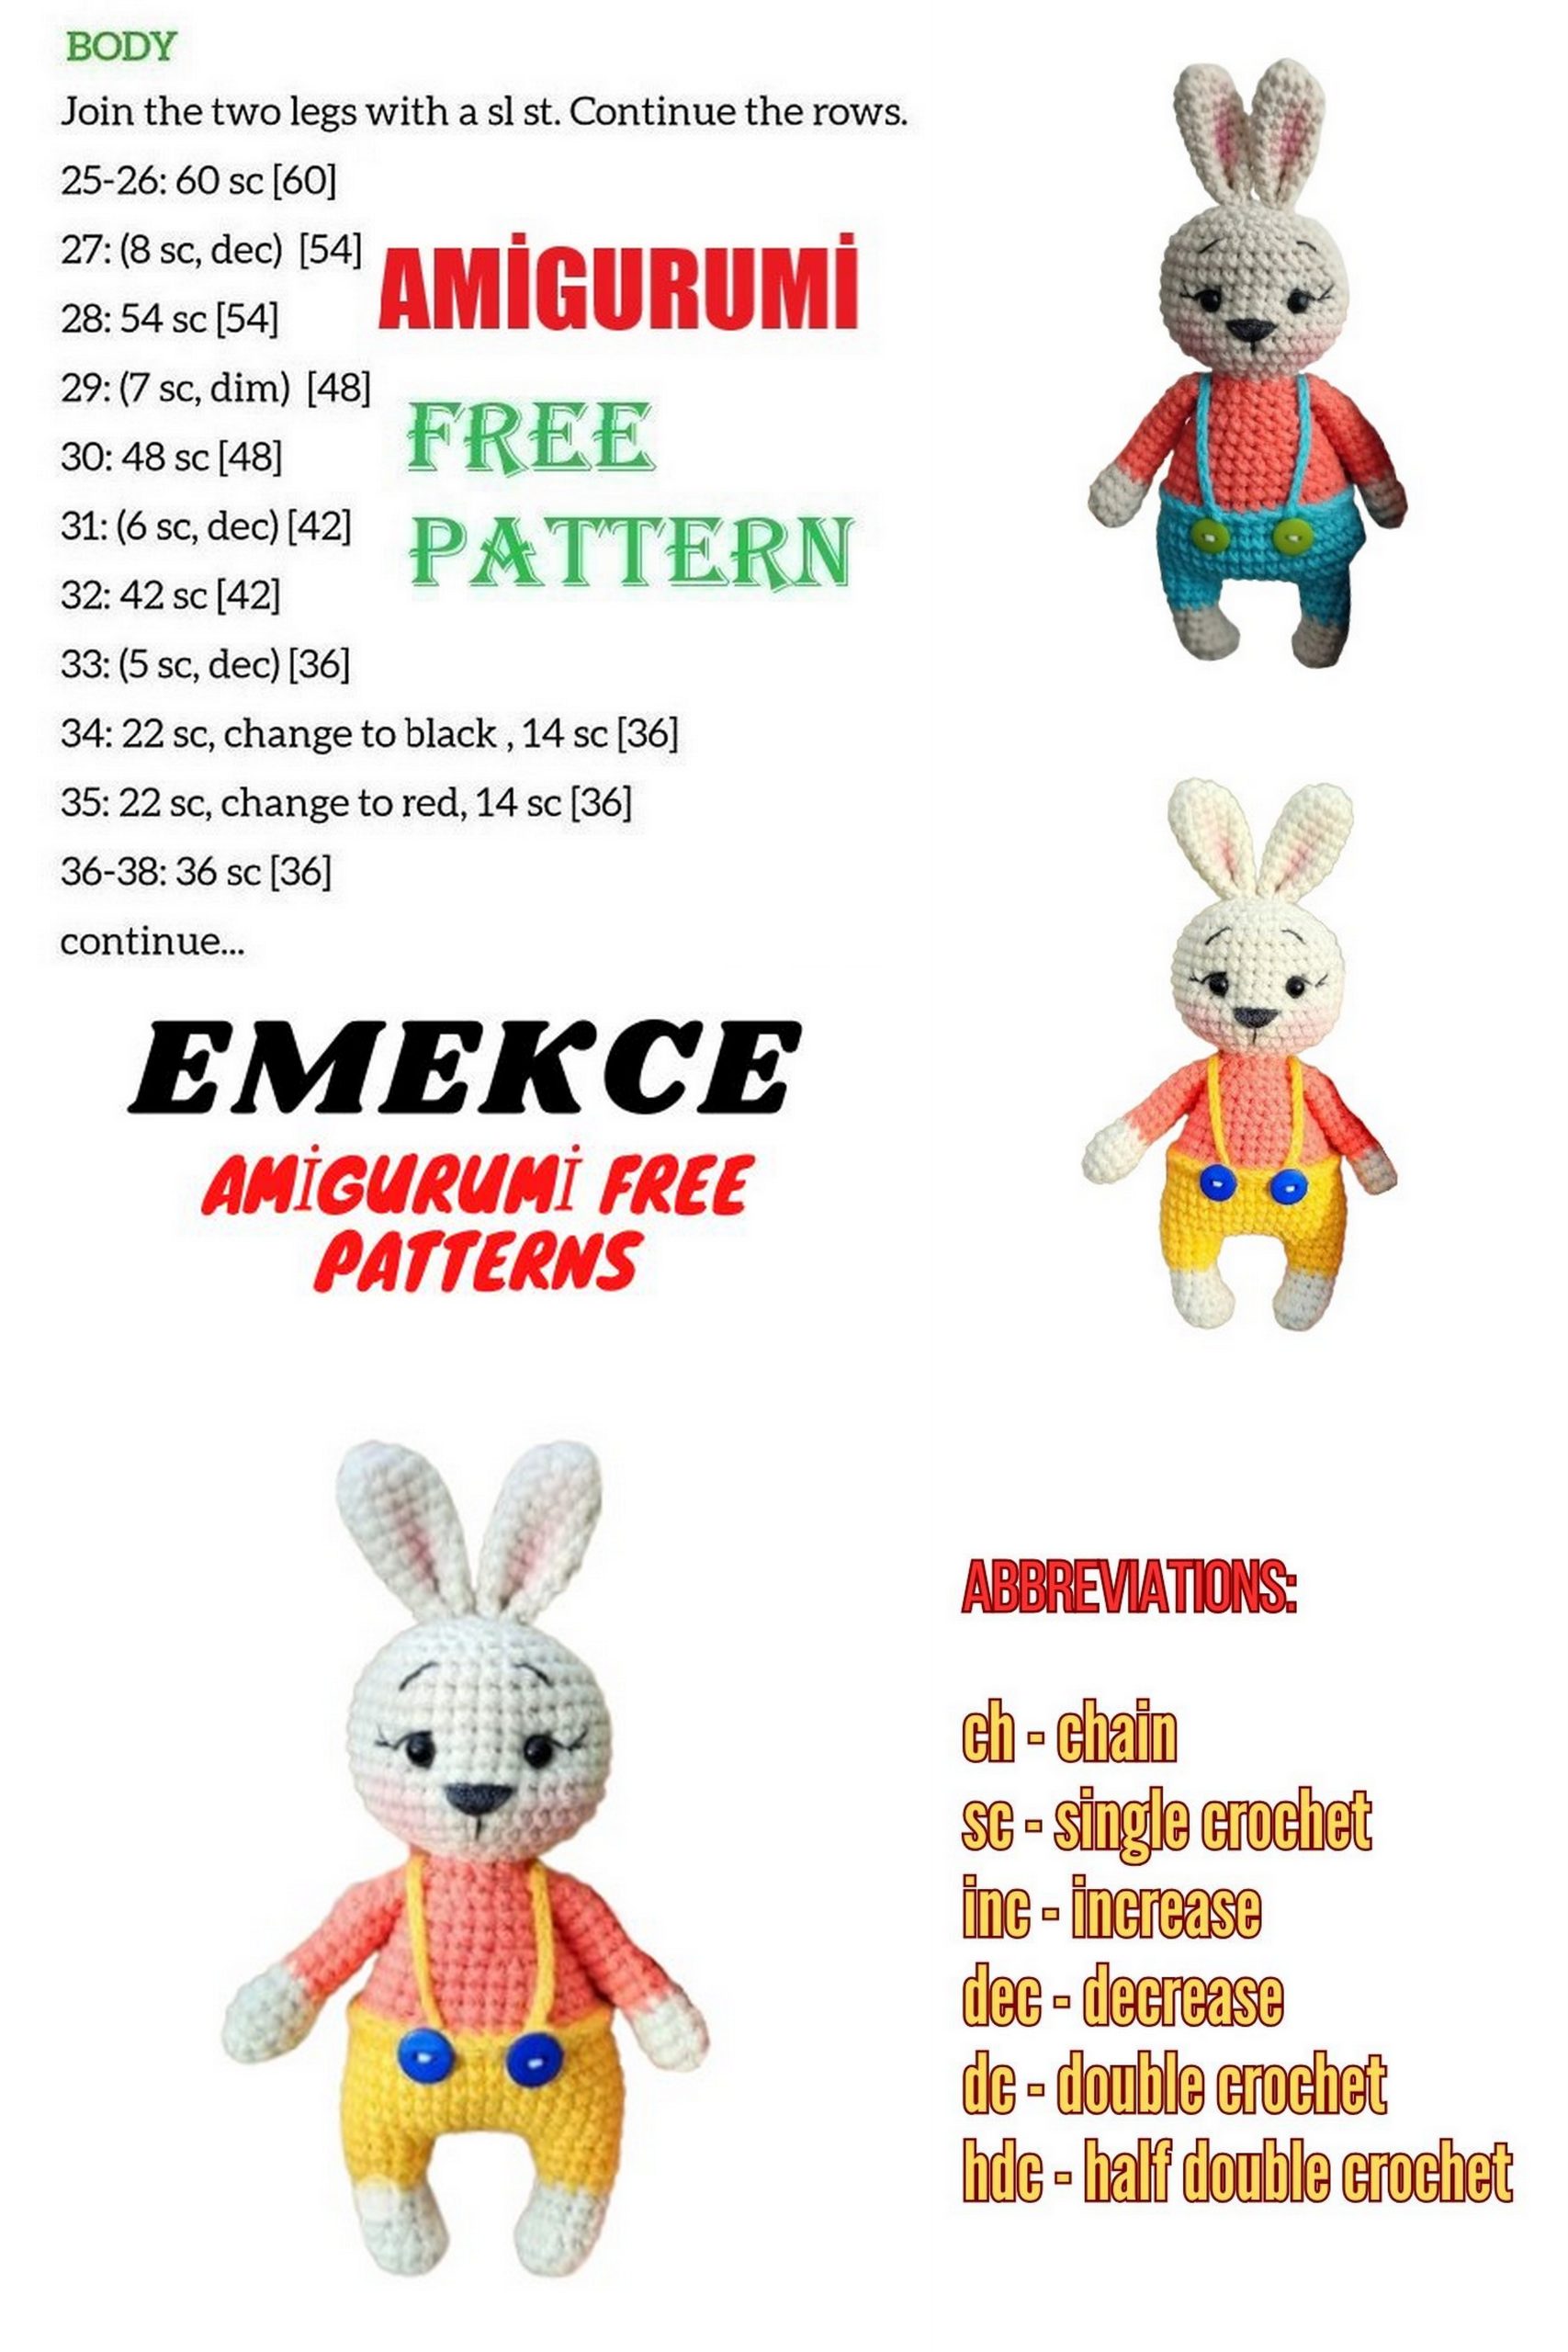
Body:
From the second leg, crochet 6 CH and join to the first leg where you finished crocheting (in the next stitch, after the additionally crocheted loops).
Row 9: 12 SC around the first leg, 6 SC over CH, 12 SC around the second leg, 6 SC over CH (36 SC)
Row 10: (11 SC, INC) * 3 (39 SC)
Rows 11-14: Work 4 rows without changes (39 SC)
Row 15: (11 SC, DEC) * 3 (36 SC) + work halfway to the back center of the bunny. I additionally crocheted 15 SC. From here, a new row will begin.
Switch to coral color.
Row 16 behind BLO: Work a row without changes (36 SC)
Row 17: 2 SC, DEC, (4 SC, DEC) * 5, 2 SC (30 SC)
Rows 18-19: Work 2 rows without changes (30 SC)
Row 20: (3 SC, DEC) * 6 (24 SC)
Rows 21-22: Work 2 rows without changes (24 SC)
Row 23: 1 SC, DEC, (2 SC, DEC) * 5, 1 SC (18 SC)
Row 24: Attach arms symmetrically on each side. For me, it’s: 3 SC, 4 SC (with arm), 5 SC, 4 SC (with arm), 2 SC (18 SC)
Row 25: (1 SC, DEC) * 6 (12 SC)
Switch to beige color.
Row 26: Work a row without changes (12 SC)
If desired, insert wire into the neck. I do not use it, I simply tightly stuff it with stuffing.
Head:
Next, crochet the head:
Row 27: INC in each stitch (24 SC)
Row 28: (3 SC, INC) * 6 (30 SC)
Row 29: 2 SC, INC, (4 SC, INC) * 5, 2 SC (36 SC)
Rows 30-37: Work 8 rows without changes (36 SC)
Row 38: 2 SC, DEC, (4 SC, DEC) * 5, 2 SC (30 SC)
Row 39: (3 SC, DEC) * 6 (24 SC)
Row 40: 1 SC, DEC, (2 SC, DEC) * 5, 1 SC (18 SC)
Row 41: (1 SC, DEC) * 6 (12 SC)
Row 42: (DEC) * 6 (6 SC)
Pull the yarn tight, secure it, cut it off.

Face Decoration:
Between rows 33 and 34 of the bunny’s head, at a distance of 5 SC, mark 2 points with pins (p1 and p3). From these points, mark 2 more points on each side, to the left and right respectively, at a distance of 1 SC (p2 and p4).
Insert a needle with thread from behind into the back of the head, pull it out at p1, insert it into p2, pulling the thread out at the back of the head. Tighten (a dimple is formed). You can repeat the action once more. Do the same on the other side: pull the thread out at p3 and insert it into p4.
Glue the eyes. Embroider eyelashes, eyebrows, nose, and a downward stroke with black thread.
Sew on the ears in a preferred position.
Crochet the edges of the pants. Join yellow yarn to FLO and work a SC in each FLO. Secure the yarn, cut it off. For the straps, crochet a chain of 19-20 CH and sew it to the pants. Decorate as desired.