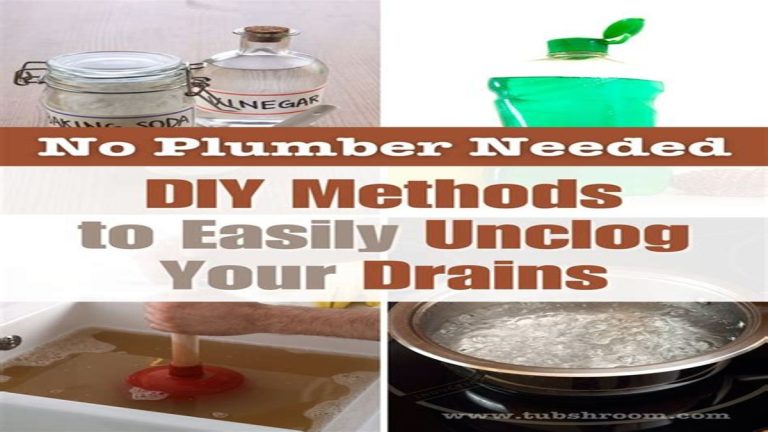
Simple Steps to Fix a Leaky Faucet and Save Water at Home
Simple Steps to Fix a Leaky Faucet and Save Water at Home
A leaky faucet is more than just an annoying drip; it’s a source of wasted water and increased utility bills. Even small drips can add up, wasting gallons of water every day. Fixing a leaky faucet is a straightforward task that homeowners can often accomplish without professional help. Not only does repairing leaks save water, but it also helps protect the environment and reduces unnecessary expenses. In this guide, we will walk you through simple steps to repair a common leaky faucet and give tips to improve your home’s water efficiency.
Why Fixing a Leaky Faucet Matters
Before diving into the repair process, it’s important to understand why fixing leaks should be a priority in every home. According to the Environmental Protection Agency (EPA), household leaks can waste nearly 10,000 gallons of water annually. Faucets that drip just one drop per second waste more than 3,000 gallons per year. Besides wasting water, leaking faucets can increase your water bill significantly over time and lead to potential water damage if left unchecked.
Besides the financial and environmental reasons, fixing leaks also prevents further wear and tear on your plumbing system, which can save you money in more extensive repairs down the line.
Common Causes of Faucet Leaks
Understanding the common reasons behind faucet leaks can help you troubleshoot and fix the problem effectively. Here are some typical causes:
- Worn-out washers: The rubber washers inside faucets tend to wear out due to friction, causing leaks.
- Damaged O-rings: O-rings create a seal within the faucet; when damaged or loose, leaks may occur.
- Corroded valve seats: The valve seat connects the faucet to the spout. Corrosion can cause gaps for water to pass through.
- High water pressure: Excessive pressure can cause dripping or leaks in faucets.
- Loose parts: Over time, faucet components can loosen, leading to leaks.
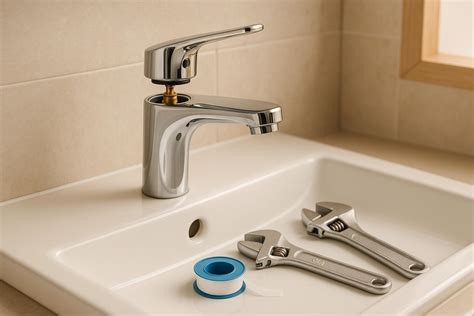
Tools and Materials You’ll Need
Before you begin, gather the following tools and materials to ensure a smooth repair process:
- Adjustable wrench or basin wrench
- Screwdrivers (flathead and Phillips)
- Replacement washers and O-rings (specific to your faucet model)
- Plumber’s grease or silicone grease
- Penetrating oil (optional, for stuck parts)
- Clean cloth or rag
- Bucket or small container to catch water
Step-by-Step Guide to Fix a Leaky Faucet
Step 1: Turn Off the Water Supply
To prevent flooding or additional leaks, the first and most important step is to shut off the water supply. Usually, there are shutoff valves located under the sink. Turn both the hot and cold water valves clockwise until fully closed. If you cannot locate these valves, turn off the main water supply for your home.
After turning off the water, open the faucet to release any remaining water in the pipes and reduce pressure.
Step 2: Plug the Drain
To avoid losing small parts down the drain during the repair, place a sink plug or a rag in the drain opening. This simple precaution can save you time searching for lost screws or washers.
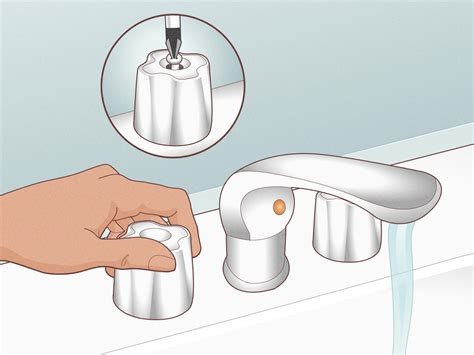
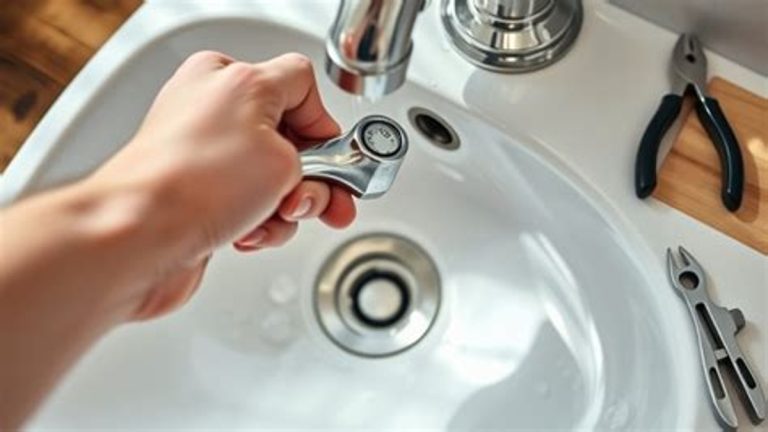
Step 3: Remove the Faucet Handle
Most faucet handles are held on by screws located under decorative caps or directly visible. Use a flathead screwdriver to gently pry off any caps to expose the screws, then use the appropriate screwdriver to remove them. Carefully lift the handle off, exposing the inner parts of the faucet.
Step 4: Inspect the Faucet Components
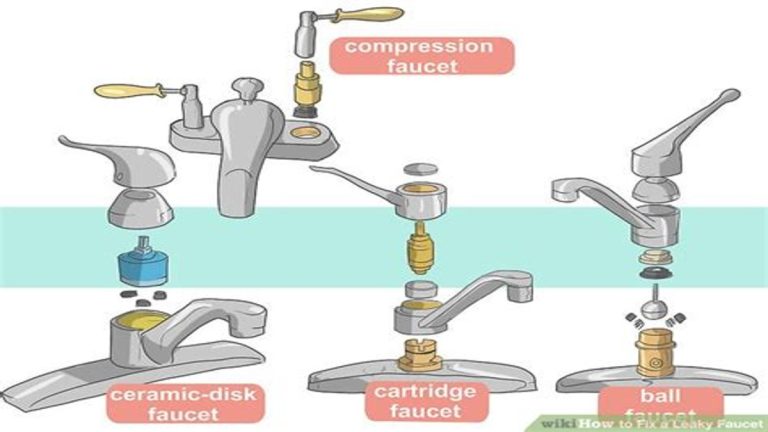
Depending on the faucet type (compression, cartridge, ball, or ceramic disk), you’ll encounter different parts that might need replacement. The most common leaks occur due to worn-out washers or O-rings in compression faucets.
Remove the packing nut using an adjustable wrench and pull out the stem carefully. Check the washer at the bottom of the stem for signs of wear, cracks, or damage. Similarly, examine the O-ring for any signs of deterioration.
Step 5: Replace Worn or Damaged Parts
Replace any worn washers or O-rings with new ones of the same size. Applying plumber’s grease to the new washers and O-rings can extend their lifespan and ensure a proper seal.
If the valve seat shows signs of corrosion, consider cleaning it with a seat grinder or replacing it entirely for a better seal.
Step 6: Reassemble the Faucet
After replacing the necessary parts, reinsert the stem and tighten the packing nut. Put the faucet handle back in place and secure it with the screw. Replace any decorative caps that were removed.
Step 7: Turn Water Supply Back On and Test
Slowly turn the water supply valves back on while observing the faucet. Open the faucet fully to flush out any debris and check for leaks. If the faucet no longer drips, you have successfully completed the repair.
Additional Tips to Save Water at Home
Fixing leaky faucets is an excellent start, but you can take several extra measures to enhance water conservation in your home:
- Install aerators: Faucet aerators mix air with water, reducing flow without sacrificing water pressure.
- Use water-efficient fixtures: Consider upgrading to low-flow faucets and showerheads to reduce water consumption.
- Be mindful of water usage: Turn off the faucet while brushing your teeth or washing dishes.
- Inspect plumbing regularly: Routine checks can catch leaks early and minimize waste.
- Fix running toilets: Toilets are often significant sources of water waste.
When to Call a Professional
Most faucet leaks are easy to fix with the right tools and a bit of patience. However, if you’ve tried the steps above and the leak persists, or if the leak is coming from parts of the plumbing you cannot access, it may be time to call a professional plumber. Complex issues such as damaged pipes or valves require expert attention to avoid further damage.
Conclusion
Fixing a leaky faucet is a manageable task that not only saves water and money but also helps maintain your home’s plumbing system. By following the simple steps outlined above, you can tackle most common faucet leaks with confidence. Remember, prompt attention to leaks contributes to a more sustainable household and a healthier planet. When in doubt, don’t hesitate to seek professional help to ensure your plumbing stays in great shape.