Understanding the Basics of Fixing a Leaky Faucet to Save Water and Money
Understanding the Basics of Fixing a Leaky Faucet to Save Water and Money
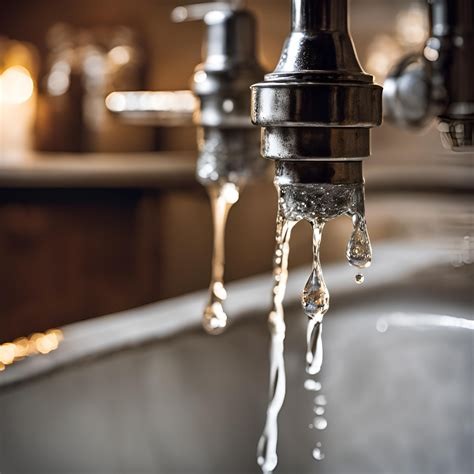
A leaky faucet might seem like a minor annoyance, but it can have a surprisingly significant impact on both your water bill and the environment. Dripping faucets waste gallons of water daily, leading to higher utility costs and unnecessary water consumption. Fortunately, fixing a leaky faucet is often a straightforward task that you can handle yourself with basic tools and knowledge.
In this article, we’ll walk you through the fundamentals of identifying and repairing a leaky faucet. Whether you’re dealing with a kitchen sink, bathroom basin, or outdoor faucet, understanding the basics will empower you to save water and reduce expenses while maintaining your home’s plumbing system.
Why Fixing a Leaky Faucet Matters
Before diving into the repair process, it’s important to understand the implications of a leaky faucet:
- Water Waste: A single dripping faucet can waste more than 3,000 gallons of water per year. This puts unnecessary pressure on water resources, especially in drought-prone areas.
- Increased Utility Bills: Excess water usage translates to higher monthly water bills. Small drips add up to significant costs over time.
- Potential for Damage: Persistent leaks can lead to water stains, mold growth, and damage to cabinetry and countertops.
- Environmental Impact: Conserving water reduces energy consumption from water treatment and pumping, helping decrease your household’s carbon footprint.
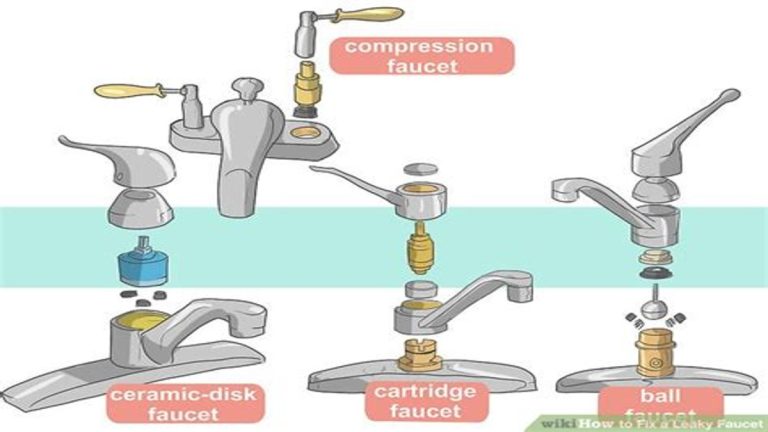
Types of Faucets and Common Causes of Leaks
Understanding the type of faucet you have helps in diagnosing the problem and selecting the appropriate fix.
- Compression Faucets: These faucets have separate handles for hot and cold water. Leaks usually occur due to worn out rubber washers or seals inside the valve seat.
- Ball Faucets: Generally found in kitchens, these use a single handle and contain a ball bearing that controls the flow and temperature. Worn out O-rings or seals are frequent culprits for leaks here.
- Cartridge Faucets: These use a movable cartridge to control water flow. Leaks often stem from worn or damaged cartridges or O-rings.
- Disc Faucets: Modern and durable, these faucets have rotating ceramic discs for water control. Leaks tend to occur if the seals around the discs become damaged or dirty.
Tools and Materials You’ll Need
Before starting the repair, gather these common tools and materials to streamline the process:
- Adjustable wrench or basin wrench
- Screwdrivers (flathead and Phillips)
- Replacement washers, O-rings, or cartridges (specific to your faucet type)
- Plumber’s grease
- Allen wrench (for some modern faucets)
- Teflon tape (plumber’s tape)
- Clean cloth or rag
- Bucket or container (to catch water)
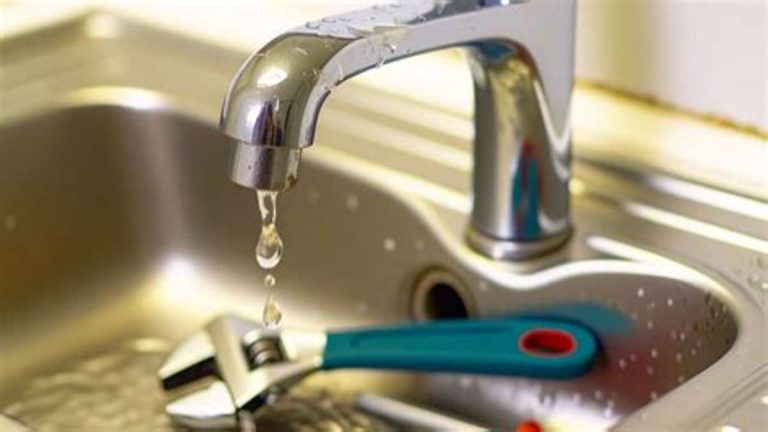
Step-by-Step Guide to Fixing a Leaky Faucet
Follow these clear steps to tackle the repair on most common faucets:
1. Turn Off the Water Supply
Start by shutting off the water to the faucet. The shutoff valves are typically located under the sink. If you can’t find them, turn off the main water supply to avoid any water damage during the repair.
2. Drain Any Remaining Water
Open the faucet fully to let out any water left in the pipes. Use a bucket or towel to catch drips.
3. Remove the Faucet Handle
Depending on your faucet type, you may need to pry off a decorative cap or use an Allen wrench to loosen a set screw. Remove the handle carefully to access the internal components.
4. Inspect the Internal Parts
Look for worn washers, O-rings, cartridges, or seals. These are common sources of leaks. If you spot corrosion, mineral buildup, or damaged parts, note what needs replacement.
5. Replace Worn Components
Take the worn parts to a hardware store to ensure you get the correct replacements. For washers and O-rings, make sure the size matches perfectly. For cartridges or other complex components, purchase a model specifically designed for your faucet brand.
6. Clean and Lubricate
Before reassembling, clean all components with a cloth. Remove any mineral deposits or debris. Apply plumber’s grease to the new washers or O-rings to help seats seal properly and reduce friction.
7. Reassemble the Faucet
Carefully put the faucet back together in reverse order of disassembly. Avoid overtightening screws or nuts, which could damage parts.
8. Turn the Water Back On and Test
Slowly open the shutoff valves and check for leaks by running the faucet. If drips persist, double-check that parts are seated correctly and tightened properly.
Tips to Prevent Future Leaks
- Regular Maintenance: Periodically clean aerators and faucet parts to prevent buildup that can cause leaks.
- Use Quality Parts: Always choose high-quality replacement parts that match your faucet type precisely.
- Avoid Excessive Force: When turning off faucets or tightening parts, avoid applying too much force to prevent damage.
- Inspect Valves Annually: Check your faucet’s valves and hoses for wear and corrosion every year.
Conclusion
Fixing a leaky faucet is a practical and rewarding way to save water, reduce your bills, and prevent potential damage in your home. By understanding the type of faucet you have and following the simple repair steps, you can address most leaks without calling a professional. Regular maintenance and prompt attention to drips will ensure your plumbing system stays efficient and reliable. Don’t let a small drip cost you big — take action today and enjoy the benefits of a leak-free faucet.