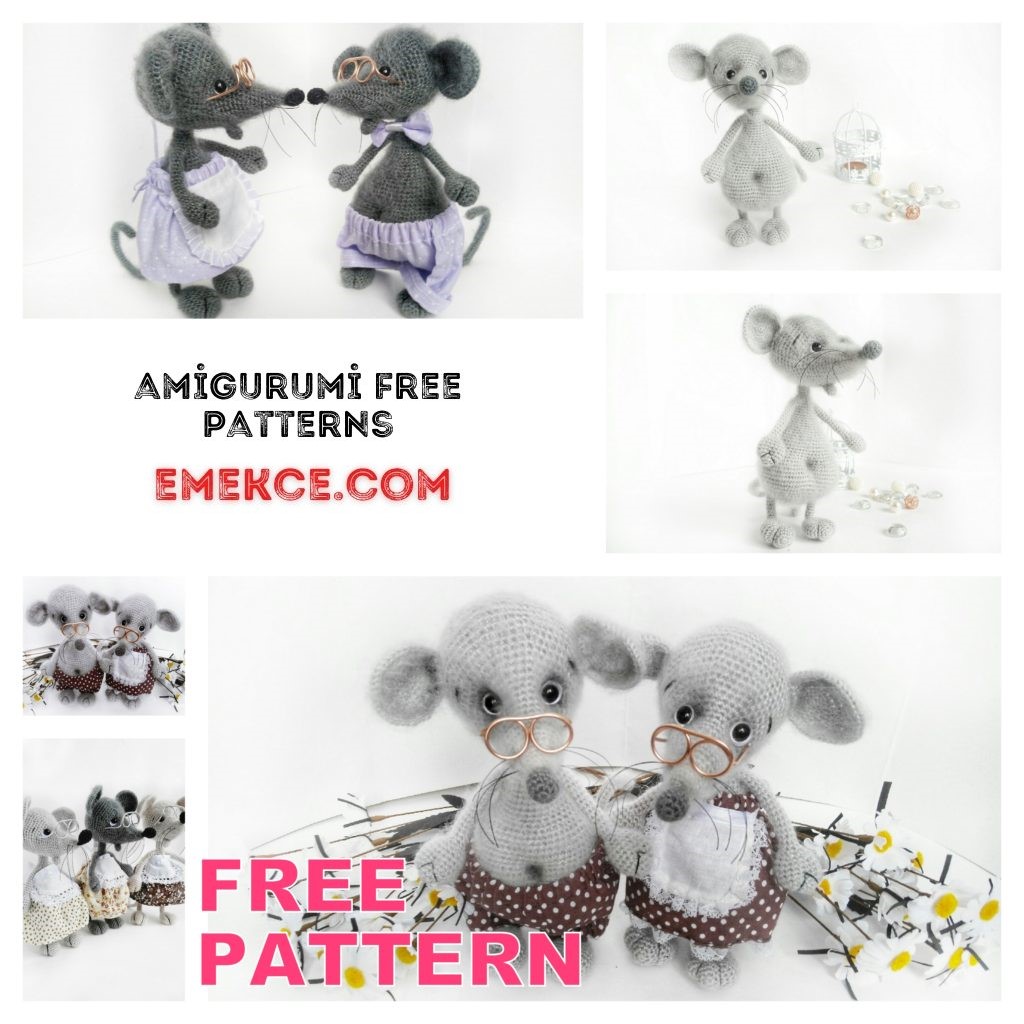
Amigurumi Cute Mouse Free Crochet Pattern
When submitting your work, please indicate the author
Descriptions of this toy – Anastasia Mostacheva.
I will be pleased and I can find your work.
Thank you for attention!
Let’s start knitting ☺
List
materials
1. Nako Mohair Delicate Yarn
100gr / 500m took about a third
hank; just a few meters
a different color for the nose (I have
dark grey);
2. Hook: No. 2;
3. Filler: holofiber;
4. Wire and band-aid for
frame;
5. Eyes on the leg and felt for
lining;
6. Black thread and needle for decoration
paws and muzzles;
7. Fishing line for mustache;
8. Pastel for tinting;
9. Velcro for fleece.
Conditional
Abbreviations
ch – chain
sc – single crochet;
inc – increase (two single crochet from one base loops)
dec – decrease
together (so that decavings are less noticeable, grab the front half loops);
sl-st – slip stitch
Knitting occurs in a spiral.
The beginning row marker is not aligned!
Toy details get involved!
Only ears, a nose and itself are sewn
head to torso.
Front legs (2 pcs.)
1: 6 sc into magic ring
2: 6 inc (12)
3: (1 sc, inc) * 6 (18)
4-8: 18 sc / 5 rows
9: (1 sc, dec) * 6 (12)
10: (1 sc, dec) * 4 (8)
Fill is not tight, then
don’t stuff
11-25: 8 sc / 15 rows
Fasten the thread.
Hind legs
(2 pcs.)
1: 6 sc into magic ring
2: 6 inc (12)
3: (1 sc, inc) * 6 (18)
4: (2 sc, inc) * 6 (24)
5-9: 24 sc / 5 rows
10: (2 sc, dec) * 6 (18)
11-12: 18 sc / 2 rows
13: (1 sc, dec) * 6 (12)
14: (1 sc, dec) *4 (8)
Fill is not tight, then
don’t stuff
15-24: 8 sc / 10 rows
Fasten the thread.
Tail
1: 6 sc into magic ring
2-41: 6 sc / 40 rows
42: (1 sc, inc) *3 (9)
43 – 52: 9 sc / 10 rows
53: (2 sc, inc) * 3 (12)
54 – 63: 12 sc / 10 rows
Fasten the thread.
Ears (2 pcs.)
1: 6 sc into magic ring
2: 6 inc (12)
3: (1 sc, inc) * 6 (18)
4: 1 sc, inc, (2 sc, inc) *
5, 1 sc (24)
5: (3 sc, inc) * 6 (30)
6: 2 sc, inc, (4 sc, inc) *
5, 2 sc (36)
7: (5 sc, inc) * 6 (42)
8: 42 sl-st
Fasten the thread.
Leave the thread for sewing.
Nose
A thread of a different color
1: 6 sc into magic ring
2: 6 inc (12)
3 – 5: 12 sc / 3 rows
6: 6 dec (6)
Fill and close a bit
hole. Leave a thread for
sewing on.
Where
1: 6 sc into magic ring
2: (1 sc, inc) *
3 (9)
3-5: 9 sc / 3 rows
Fasten the thread.
Head
A marker runs along the side of the head,
knitting in a spiral, displacement loops do not knit
1: 6 sc into magic ring
2: (1 sc, inc) *3 (9)
3: 9 sc
4: 1 sc, inc, (2 sc, inc) *2, 1 sc (12)
5: 12 sc
6: (3 sc, inc) *3 (15)
7:15 sc
8: 2 sc, inc, (4 sc, inc) *2, 2 sc (18)
9: 18 sc
10: (5 sc, inc) *3 (21)
11: 21 sc
12: 3 sc, inc, (6 sc, inc) *2, 3 sc (24)
13.24 sc
14: (7 sc, inc) *3 (27)
15: 27 sc
16: 4 sc, inc, (8 sc, inc) *2, 4 sc (30)
17: 20 sc, 5 sc with gdecoy, 5 sc (30)
18: 2 sc, inc, (4 sc, inc) *2, 7 sc, 4 sc together with where 5 sc (32)
19: (5 sc, inc) *3, 13 sc, inc (36)
20: 3 sc, inc, (6 sc, inc) *2, 18 sc (39)
21: (inc, 7sc) *3, 15 sc (42)
22: 4 sc, inc, (8 sc, inc) *2, 19 sc (45)
23: (inc, 9 sc) *3, 15 sc (48)
24: 5 sc, inc, (10 sc, inc) *2, 20 sc (51)
25: (inc, 11 sc) *3, 15 sc (54)
26: 6 sc, inc, (12 sc, inc) *2, 21 sc (57)
27: (inc, 13 sc) *3, 15 sc (60)
Hole formed in 28-29 rows
should be under where
28: 52 sc, 3 ch 3 sc skip, 5 sc (60)
29: 52 sc, 3 sc by ch, 5 sc (60)
30-32: 60 sc / 3 rows
Roughly between 19 and 20 next insert the eyes.
The distance between them is approximately 7-8 sc.
We stuff as we knit.
33: 4 sc, dec, (8 sc, dec) *5, 4 sc (54)
34: (7 sc, dec) * 6 (48)
35: 3 sc, dec, (6 sc, dec) *5, 3 sc (42)
36: (5 sc, dec) * 6 (36)
37: 2 sc, dec, (4 sc, dec) *5, 2sc (30)
38: (3 sc, dec) * 6 (24)
39: 1 sc, dec, (2 sc, dec) *5, 1 sc (18)
40: (1 sc, dec) * 6 (12)
41: 6 dec
Fasten the thread, close the hole.
Before installing the peephole, I slightly tint the area around the eyes
and under the eyes and tip of the nose.
Body
Knitting in a spiral, displacement loops only at the moment
knitting of the upper legs (if necessary)
1: 6 sc into magic ring
2: 6 inc (12)
3: (1 sc, inc) * 6 (18)
4: 1 sc, inc, (2 sc, inc) *5, 1 sc (24)
5: (3 sc, inc) * 6 (30)
6: 2 sc, inc, (4 sc, inc) *5, 2 sc (36)
In the next two rows we knit the lower legs
7: 4 sc with half of the 1st foot, 1 sc, inc, (5 sc,inc) *2, 1 sc, 4 sc together with half of the 2nd foot, inc,
(5sc, inc) *2 (42)
8: along the remaining part of the 1st foot {3 sc, inc}, (6 sc,inc) *2, 4 sc, along the rest of the 2nd foot {2sc, inc,
1sc}, 5 sc, inc, 6 sc, inc, 3 sc (48)
9: (7sc, inc) * 6 (54)
10: 4 sc, inc, (8 sc, inc) *5, 4 sc (60)
11: 2 sc, inc, (4 sc, inc) *5, 32 sc (66)
12: (5 sc, inc) * 6, 30 sc (72)
13: 3 sc, inc, (6 sc, inc) *5, 33 sc (78)
In the next two rows we knit the tail
We make sure that the tail is located in the middle relatively
lower paws.
14: 63 sc, 6 sc along with the 1st half of the tail, 9 sc (78)
15: 63 sc, 6 sc along with the 2nd half of the tail, 9 sc (78)
16-18: 78 sc / 3 rows
19: 3 sc, dec, (6 sc, dec) *5, 33 sc (72)
20: (5 sc, dec) * 6, 30 sc (66)
21: 2sc, dec, (4 sc, dec) *5, 32 sc (60)
22: 4 sc, dec, (8 sc, dec) *5, 4 sc (54)
23-24: 54 sc / 2 rows
25: (7 sc, dec) * 6 (48)
26: 48 sc
27: 3 sc, dec, (6 sc, dec) *5, 3 sc (42)
28: (5 sc, dec) * 6 (36)
29: 2 sc, dec, (4 sc, dec) *5, 2 sc (30)
As you knit, we stuff the body
We begin to form the frame of our toy.
To do this, cut 3 pieces of wire approximately
30 cm and two pieces of 20 cm, bend the edges and
wrap with adhesive tape.
We take two large pieces of wire (30 cm each) and
insert into each of the legs, then twist the segments
between themselves.
Insert the third long segment into the tail and wrap it around
around the already twisted segments from the legs, we fix
with a band-aid.
We fix the adhesion with a band-aid.
30-33: 30 sc / 4 rows
34: (3 sc, dec) * 6 (24)
35-37: 24 sc / 3 rows
38: 1 sc, dec, (2 sc, dec) * 5, 1 sc (18)
In the next two rows we knit the upper
paws.
If necessary, knit
1-2 offset loops.
39: 1 sc, 4 sc together with the first half of the 1st
paws, 5 sc, 4 sc together with the first half of the 2nd
paws, 4 sc (18)
40: 1 sc, 4 sc along the second half of the 1st foot, 5
sc, 4 sc along the second half of the 2nd foot, 4 sc (18)
We insert a piece of wire of 20 cm into each of the paws,
twist with the previous ones, wrap
with a band-aid. Leave about 4-5 cm
total wire length. We will later insert it into
the head. We cut off the excess.
41: 18 sc
42: (1 sc, dec) * 6 (12)
43-47: 12 sc / 5 rows
Fasten the thread and leave for sewing.
Assembly
Before starting the assembly, you need to comb it all.
Received parts using Velcro.
Then we try on and sew ears to the head and
nose, embroider eyebrows.
Next, take the torso in our hands and make our mouse
navel.
I do the weight from the base of the tail to the navel,
thereby forming a navel and a small cavity in
base of the tail.
The navel and base of the tail can be slightly toned.
Then we make the legs on the legs, as if
forming three fingers.
We only need to insert the wire coming out of
torso into the hole formed at 28, 29
ranks of the head.
Now you can sew on your head and insert a mustache.
Our mouse is ready!
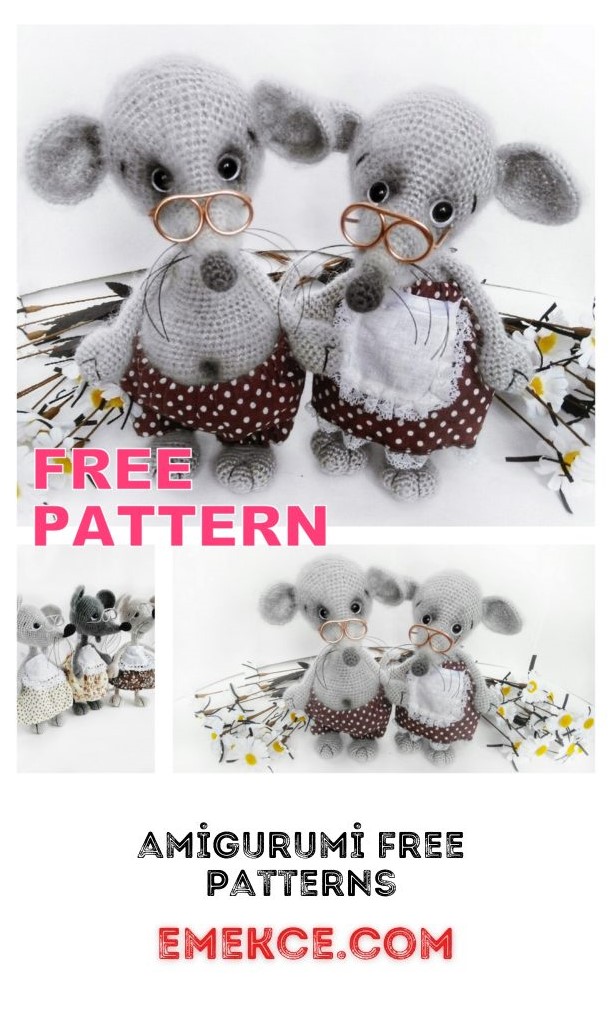
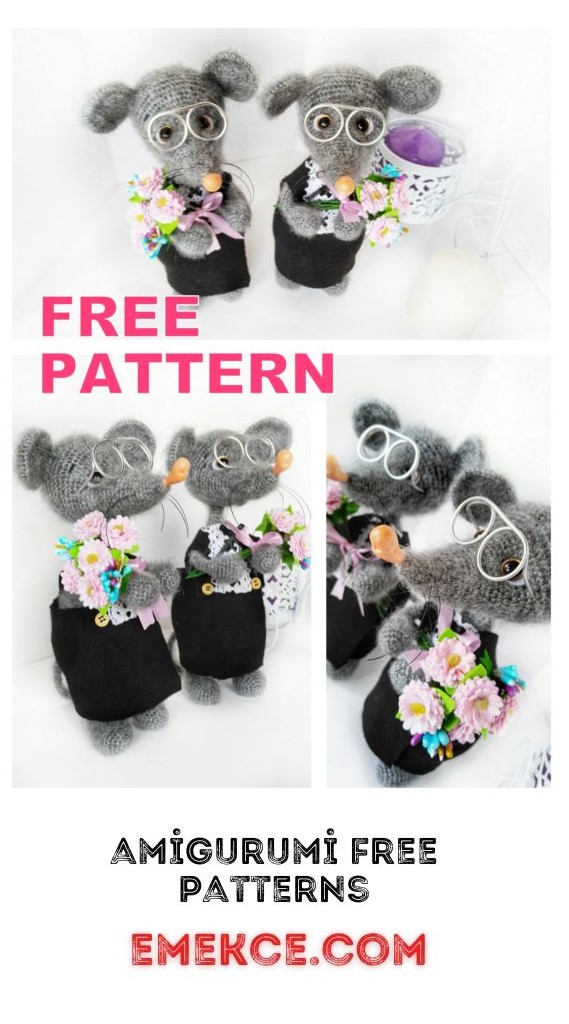
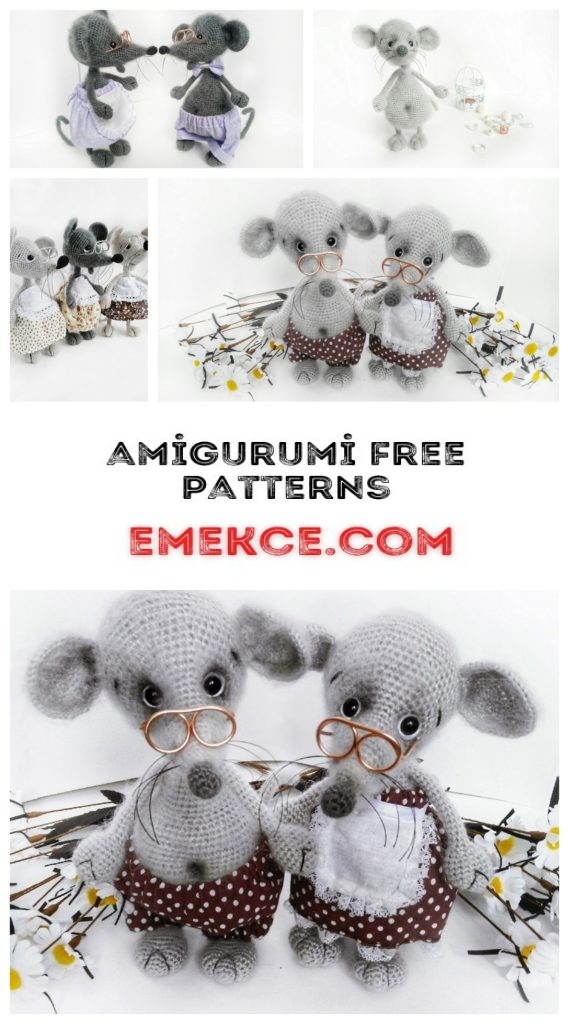
On the next page is my image for inspiration.
Thanks for connecting her with me!
Anastasia Mostacheva
Elm
Mouse ruti