How to Fix Common Plumbing Issues at Home Without Calling a Professional
How to Fix Common Plumbing Issues at Home Without Calling a Professional
Plumbing problems at home can be incredibly frustrating, especially when they seem to happen at the most inconvenient times. While some plumbing issues require professional intervention, many common problems can be tackled by homeowners with a bit of patience and the right guidance. In this article, we’ll walk you through how to fix some typical plumbing issues at home without having to call a plumber, saving you time and money.
1. Fixing a Slow Draining Sink
A sink that drains slowly is usually caused by a clog in the drainpipe. Hair, soap scum, and food particles often build up over time, restricting water flow.
- Step 1: Remove the Stopper – Most sinks have a stopper that can be pulled out or unscrewed. Remove this to access the drain opening.
- Step 2: Use a Plunger – Block the overflow hole with a wet cloth to seal the drain. Place a small plunger over the sink drain and pump vigorously several times. This can often dislodge the clog.
- Step 3: Clear the P-Trap – If plunging doesn’t help, place a bucket under the U-shaped P-trap pipe beneath the sink. Unscrew the connectors and carefully remove it. Clear out any debris inside and rinse it thoroughly before reassembling.
- Step 4: Use a Drain Snake – If the clog is stubborn, use a hand-operated drain snake or auger. Insert it into the drainpipe, twist it to catch the blockage, and pull it out.
If you prefer natural solutions, a mixture of baking soda followed by vinegar, allowed to fizz for 15 minutes, can break down mild clogs before flushing with hot water.
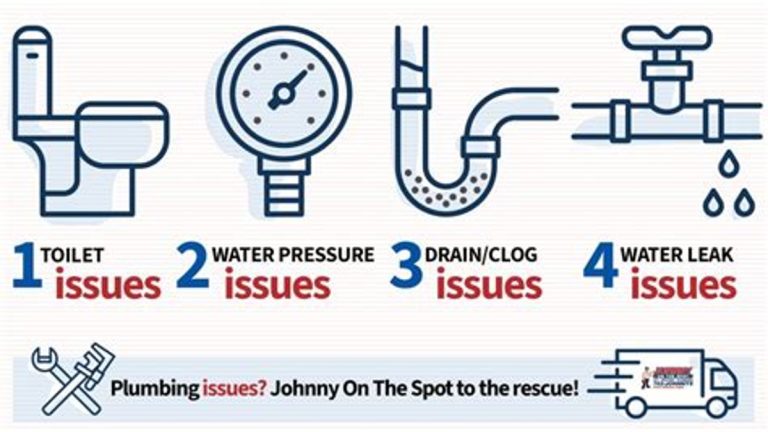
2. Fixing a Running Toilet
A toilet that keeps running can waste a significant amount of water. Most often, the issue is related to the flapper valve or the fill valve.
- Step 1: Remove the Tank Lid – Carefully lift the lid off the toilet tank to inspect the components inside.
- Step 2: Check the Flapper – The flapper is the rubber valve at the bottom of the tank. If it is warped, cracked, or not sealing properly, water will constantly leak into the bowl.
- Step 3: Replace or Adjust the Flapper – Flappers are inexpensive and easy to replace. Alternatively, reposition the flapper to ensure it seals correctly.
- Step 4: Inspect the Fill Valve – If the fill valve continues to run after the tank fills, it may be faulty or the float might be set too high. Adjust the float arm so the valve shuts off when the tank is about halfway full. Replace the fill valve if necessary.
After these adjustments, flush the toilet a few times to ensure it no longer runs continuously.
3. Unclogging a Shower Drain
Shower drains often clog due to hair and soap buildup, leading to water pooling or slow drainage.
- Step 1: Remove the Drain Cover – Use a screwdriver if necessary, to remove the drain grate.
- Step 2: Manually Remove Visible Debris – Use needle-nose pliers or a wire hanger straightened out with a small hook at the end to pull out trapped hair.
- Step 3: Use a Plunger or Drain Snake – If the clog is deeper, use a small plunger or a drain snake to dislodge and remove the blockage.
- Step 4: Flush with Hot Water – Pour boiling water slowly down the drain to help dissolve soap scum and remaining debris.
For routine maintenance, consider installing a hair catcher to prevent large clogs from forming.
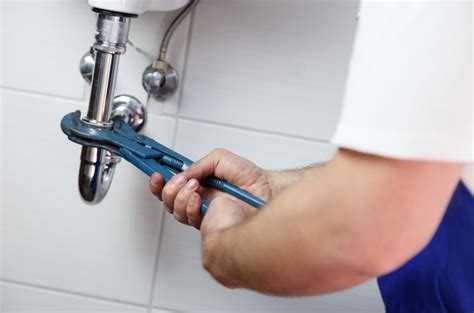
4. Fixing a Leaky Faucet
Leaky faucets are annoying and can increase your water bill if left unattended. Leaks are often caused by worn-out washers, O-rings, or seals.
- Step 1: Turn Off the Water Supply – Locate the valves under the sink and shut off the water supply.
- Step 2: Remove Faucet Handle – Use a screwdriver or Allen wrench to carefully remove the handle and expose the internal components.
- Step 3: Inspect and Replace Worn Parts – Take out the washer, O-ring, or cartridge, and inspect for signs of damage or wear. Bring these parts to a hardware store to find exact replacements.
- Step 4: Reassemble the Faucet – After replacing worn components, reattach the handle and turn the water back on. Check if the leak is fixed.
If you are unsure about the parts, take a photo before disassembly for reference.
5. Dealing with Low Water Pressure
Low water pressure can be caused by blocked aerators, leaks, or problems with the main supply line.
- Step 1: Check the Faucet Aerator – Unscrew the aerator from the faucet spout. If it’s clogged with mineral deposits, soak it in white vinegar for an hour, then scrub with a small brush.
- Step 2: Inspect for Leaks – Look for any visible leaks or drips along pipes. Even small leaks can lower pressure.
- Step 3: Adjust Water Pressure Regulator – Some homes have pressure regulators that can be adjusted. Consult your home’s manual or a guide to tweak this.
- Step 4: Flush the Water Heater – Sediment buildup in the water heater can reduce pressure. Flushing your water heater once a year can help maintain pressure.
Regularly cleaning aerators and showerheads prevents buildup that causes pressure problems.
6. Stopping a Running Garbage Disposal
Garbage disposals can get jammed and stop working, sometimes humming continuously without grinding.
- Step 1: Turn Off Power – Always disconnect the power before troubleshooting to avoid injury.
- Step 2: Use the Hex Wrench – Most disposals come with a small hex wrench. Insert it into the socket at the bottom of the unit and turn it back and forth to free stuck blades.
- Step 3: Remove Blockages – Use tongs or pliers to carefully remove any visible items lodged in the disposal chamber. Never use your hands.
- Step 4: Reset the Disposal – Press the reset button, usually located at the bottom of the unit.
Regularly grinding small amounts of ice and citrus peels can help keep your disposal clean and smelling fresh.
Conclusion
Understanding these common plumbing issues and how to fix them can empower you to maintain your home’s plumbing system with confidence. While some problems may still require professional help, many minor issues are manageable with basic tools and a bit of know-how. Taking preventative measures and performing routine maintenance can also reduce the frequency of plumbing mishaps, helping you stay ahead of costly repairs.