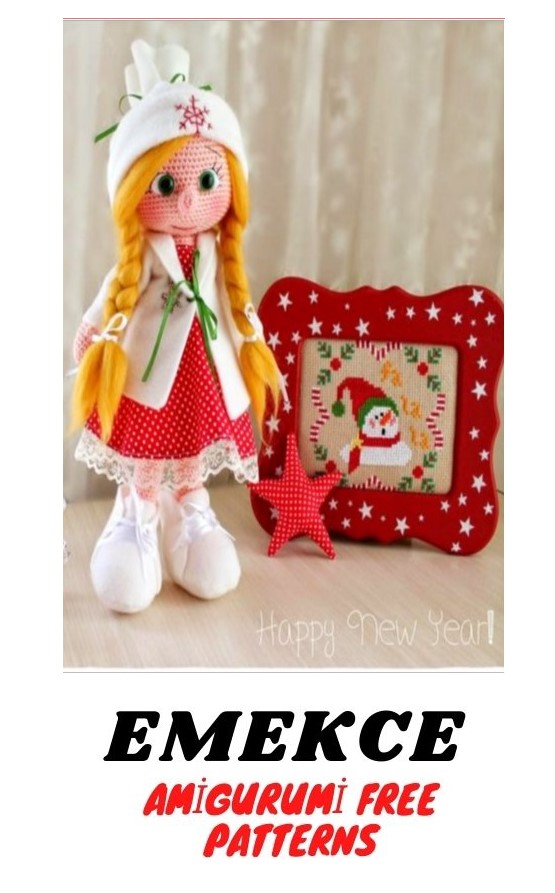
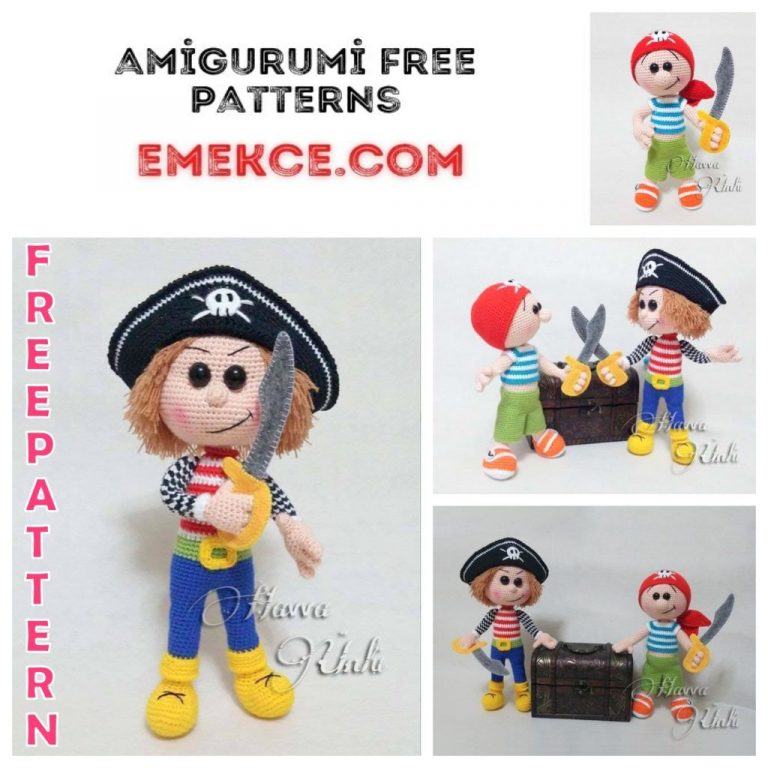
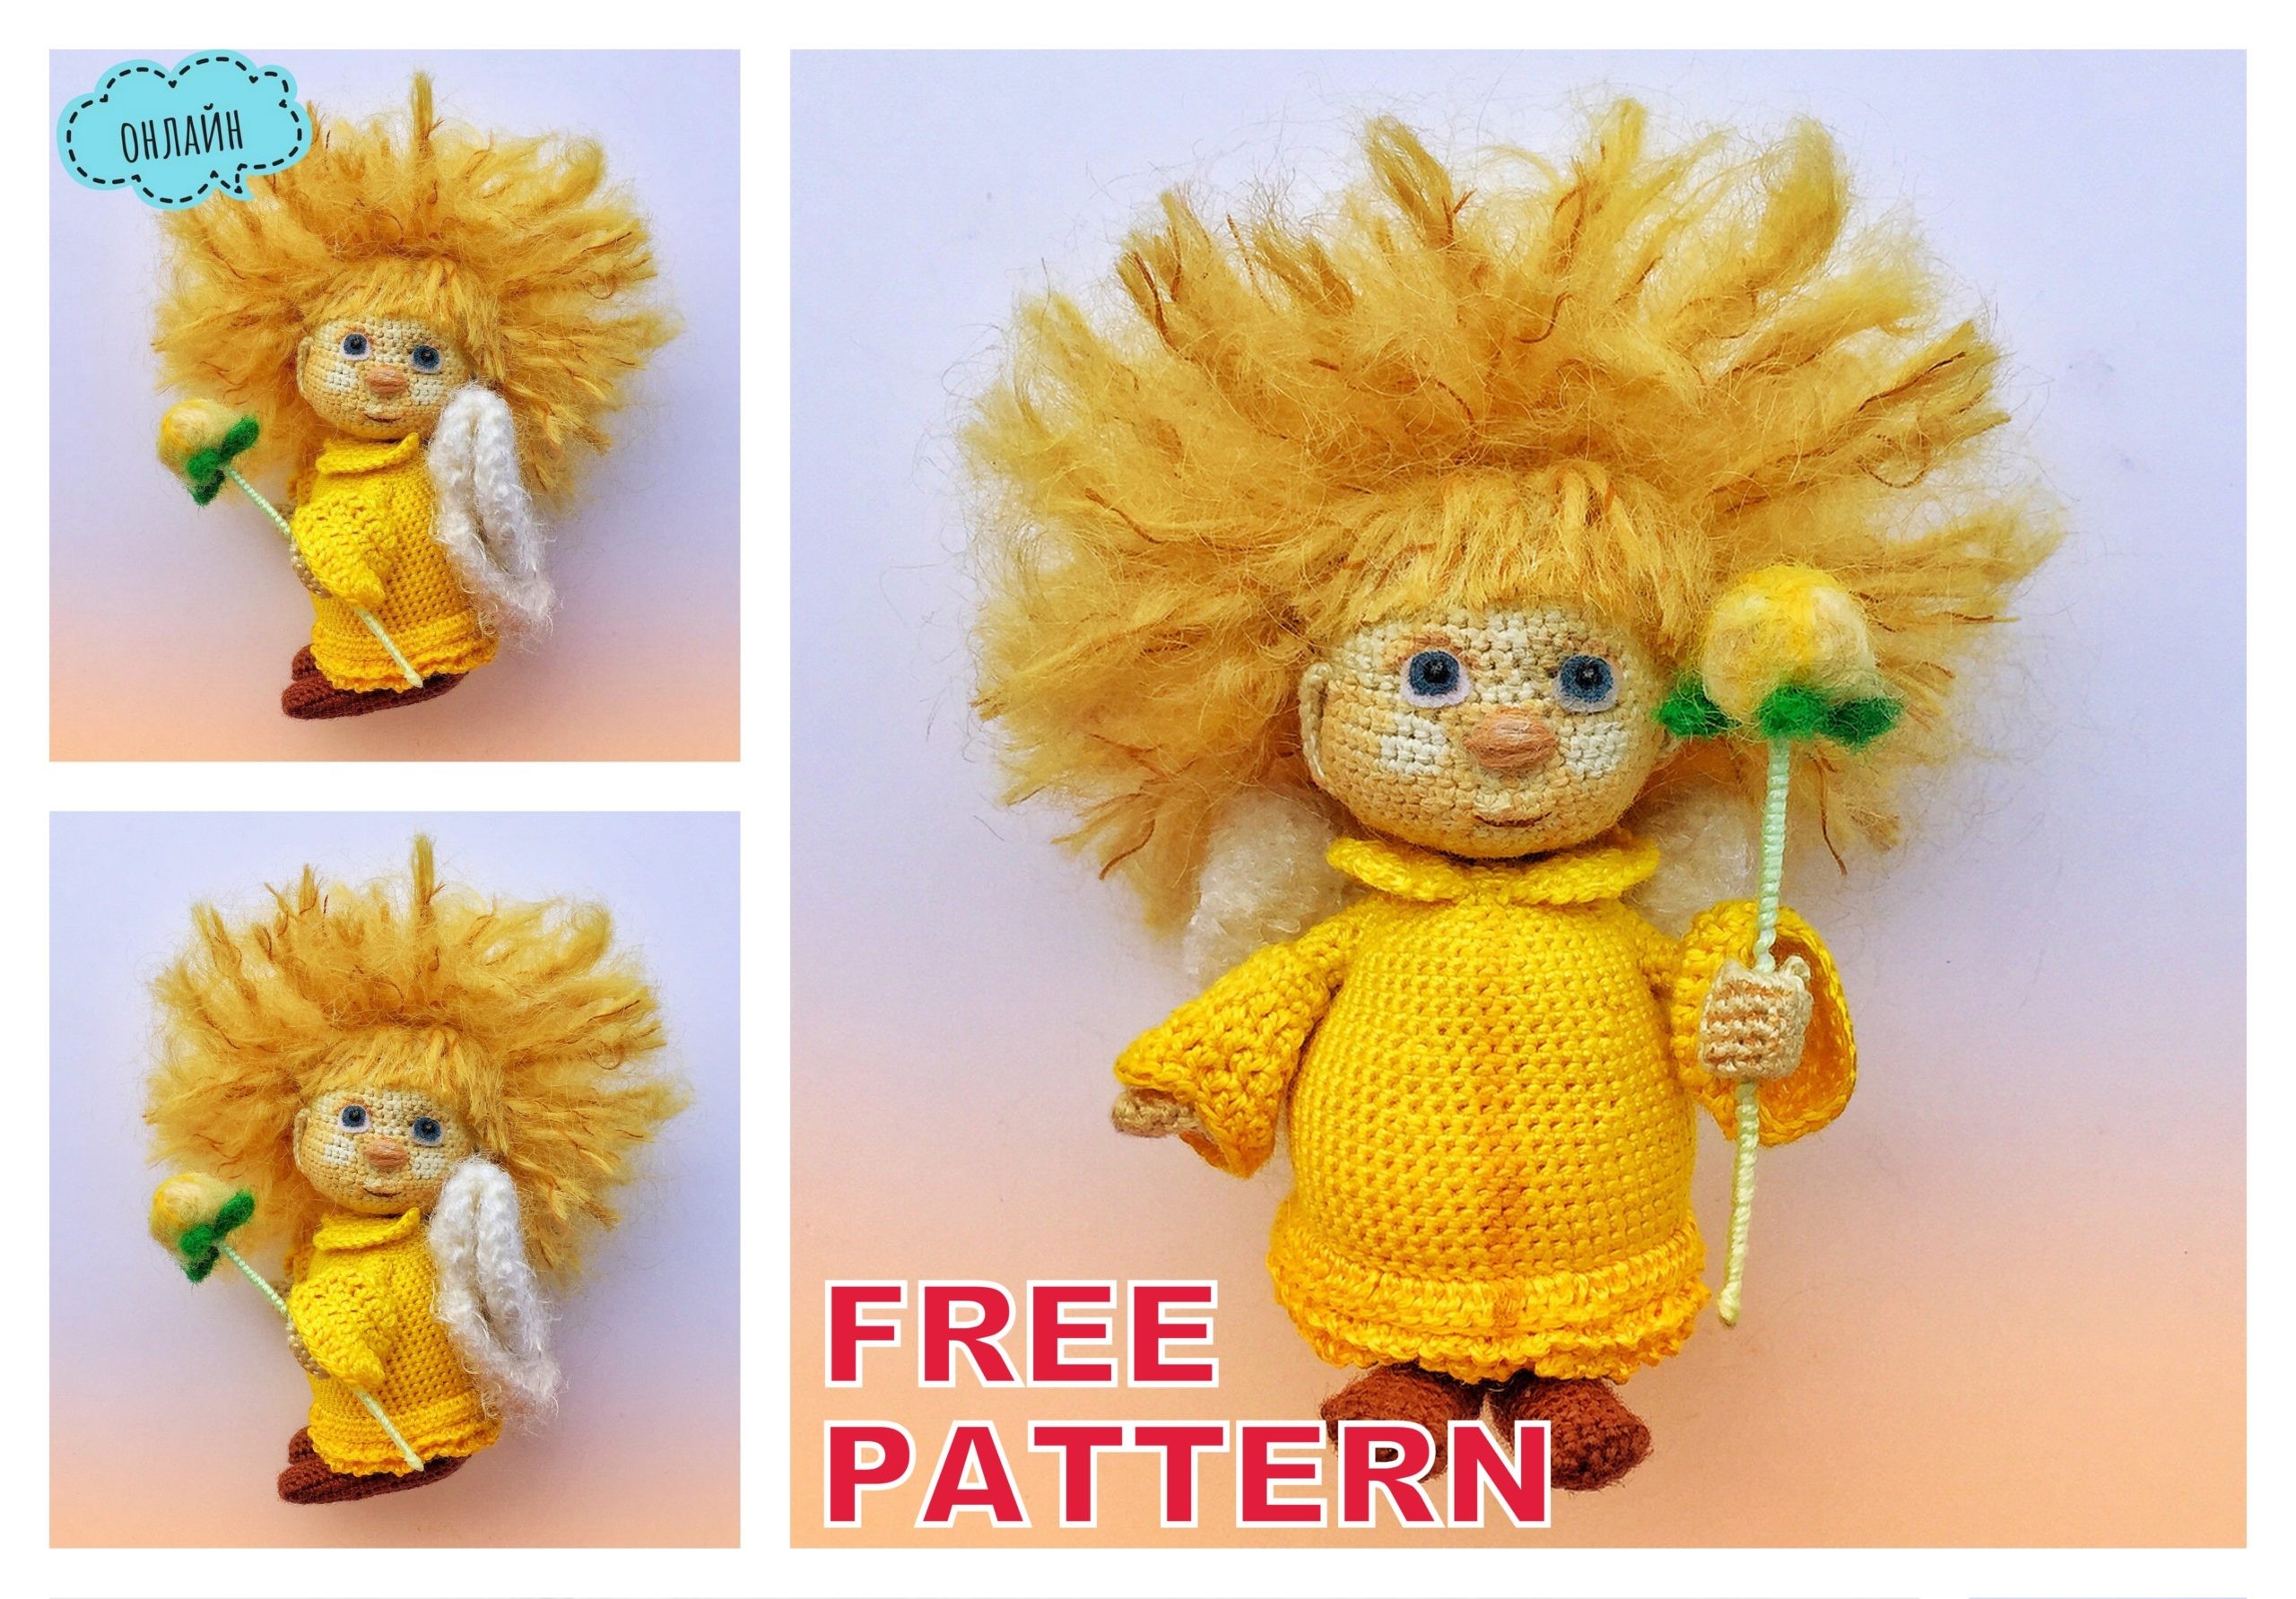
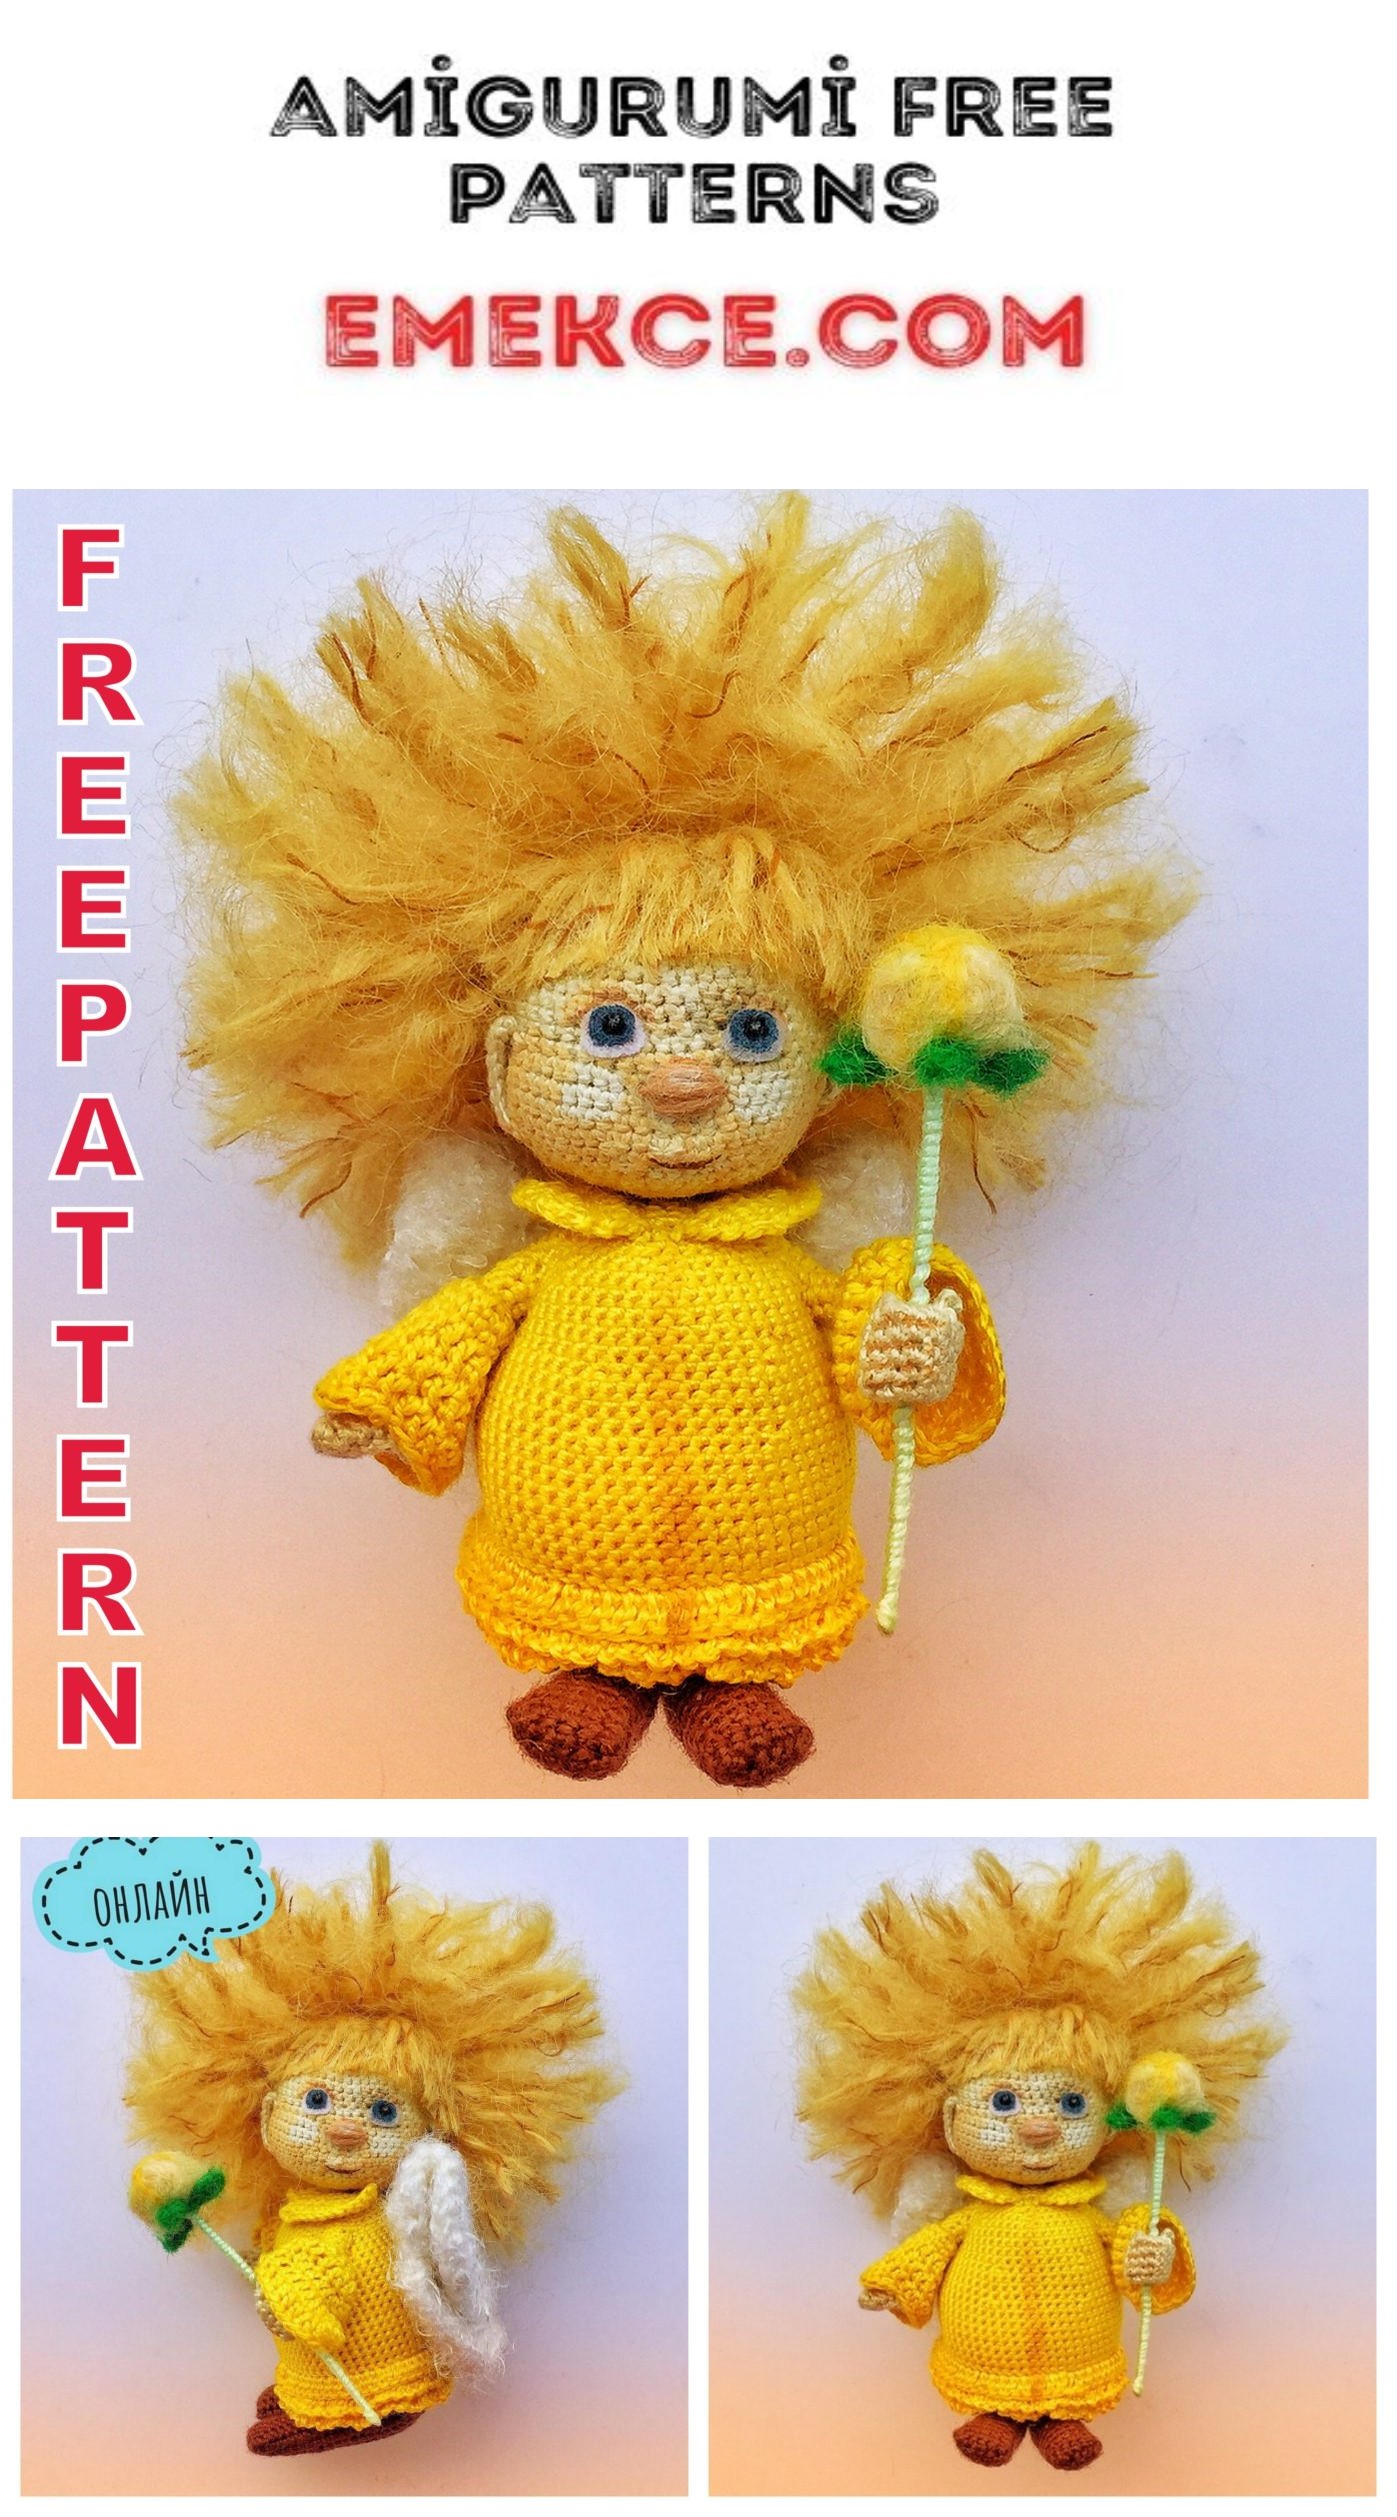
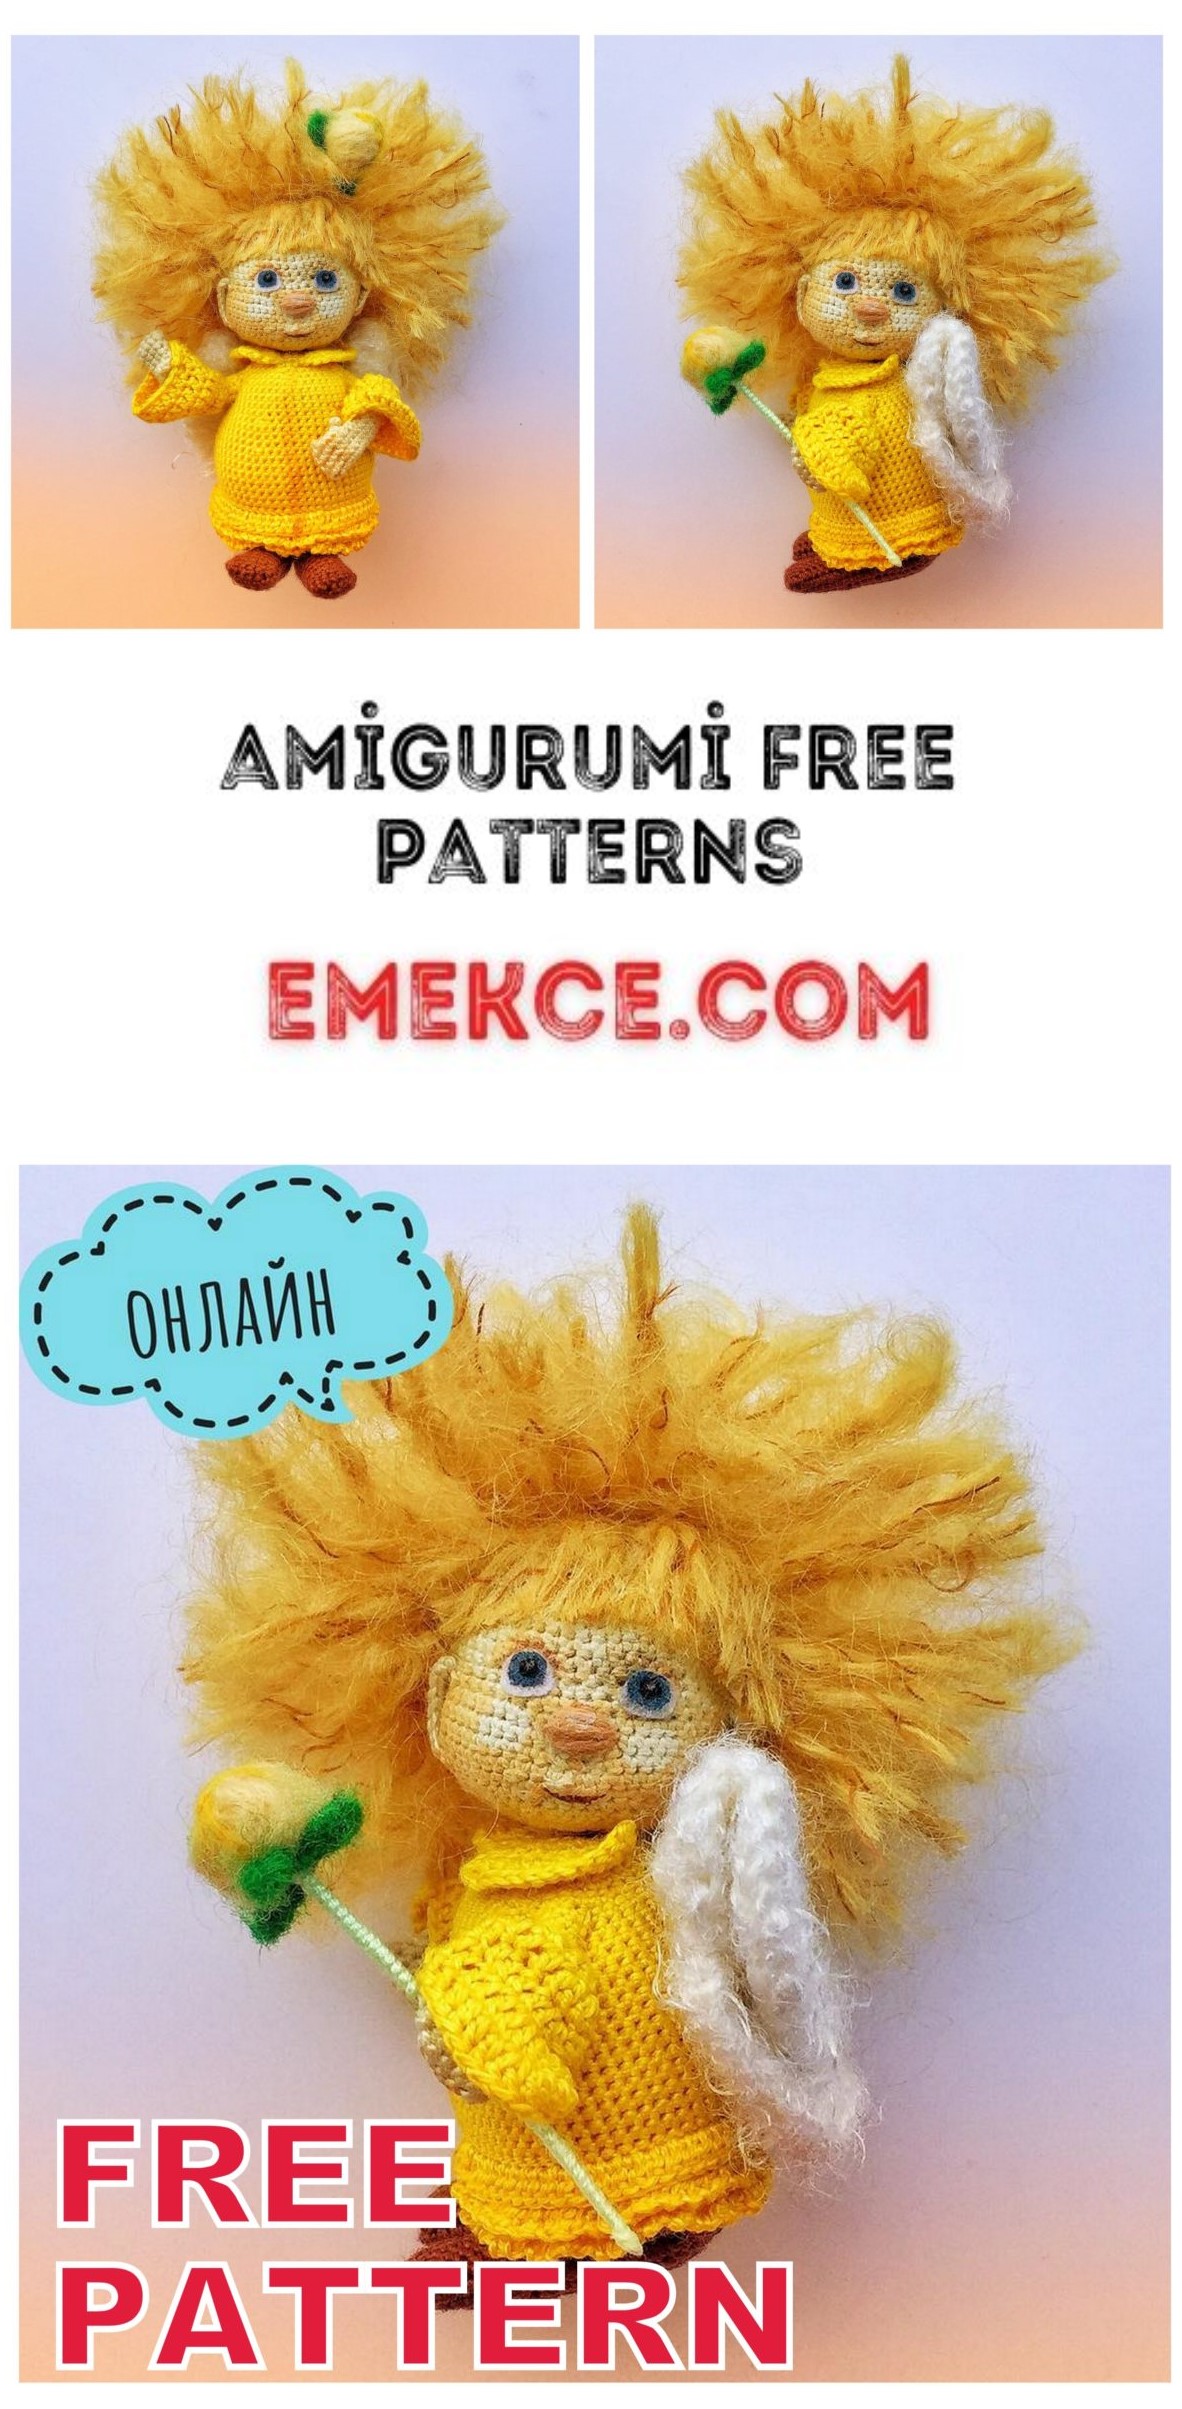
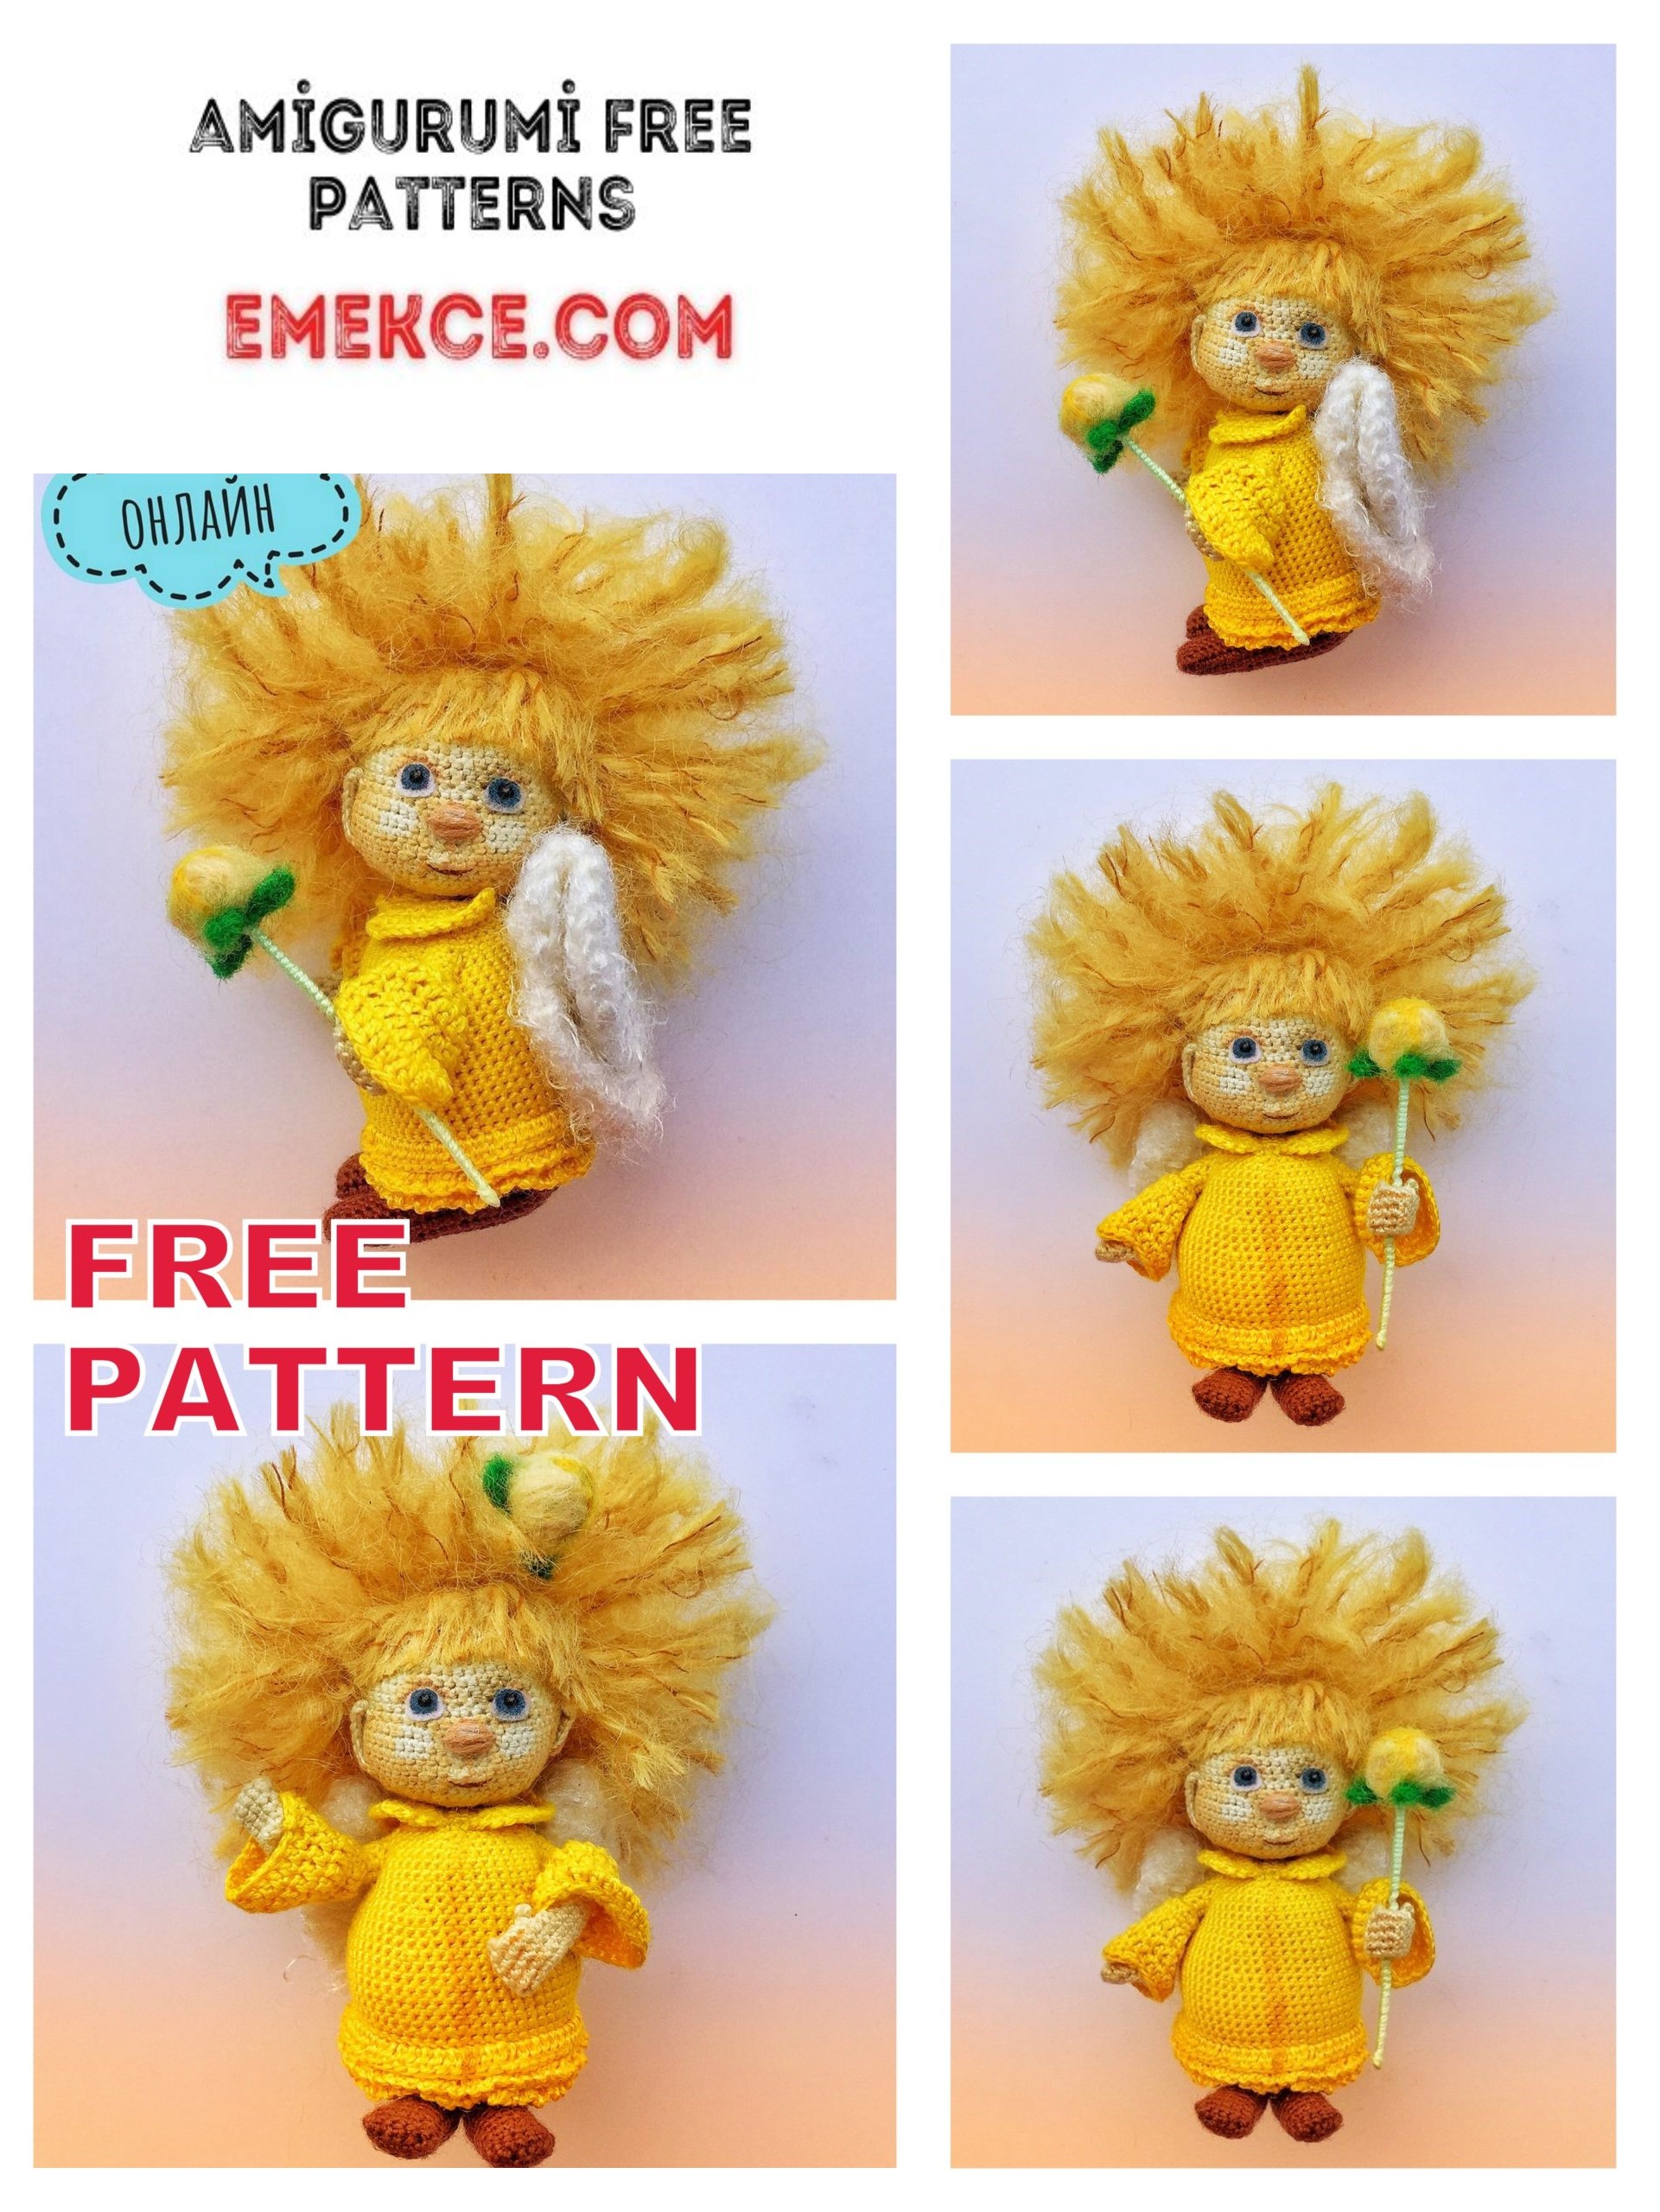
Amigurumi Yellow Angel Free Crochet Pattern
In this article I will share with you amigurumi yellow angel free crochet pattern. We always keep you up-to-date with Amigurumi.
Used materials and tools:
Head, hands, clothes, shoes:
1) For the body, you can use any thread of a suitable flesh color, I used Cotton “Iris”
Gamma 100% mercerized, 10g = 87m. Hook 1.0 mm. The growth of the angel was 10 cm.
2) For clothes and shoes – the same yarn (or similar thickness) as for the body, but in a different color. I
also used Cotton “Iris” Gamma 10g = 87m, yellow and brown colors.
3) Filler; weighting agent – optional (I have a coin).
4) A wire with a cross section of 0.55 mm or any other suitable. 2 segments of 13-15 cm, for the hands.
5) Scissors, pliers.
For face and hair dolls:
1) For painted eyes and face: a small piece of white felt or any delicate white fabric, paint
acrylic, thin brush. Eyes can be embroidered, roll, etc. – optional.
2) Transparent glue (NOT superglue) for gluing the eye. I have a moment-crystal.
3) For hair – any shaggy thread of a suitable color (I have special yarn for doll hair).
For wings:
For the wings, you can use any shaggy white yarn, 2 times thicker than the main yarn (I have
Adelia Valery 001, 50g = 146 m), hook 2.0 mm.
For dandelion: I just dumped a ball of wool for felting, and dumped him with green leaves.
I wrapped the wire with green thread and stuck a dandelion on top. Make a dandelion in your own way
desire. At the end of the workshop, you will find MK on the Foamian dandelion.
Abbreviations:
Ch – chain
Sc – single crochet
Dec – decrease (one column of two loops)
İnc – increase (2 columnsMagic ring into one loop)
Sl-st – slip-stitch
Dc – Double crochet
Hdc – half double crochet
(X, X) – when indicating any abbreviations in brackets – knit in one loop.
I knit the wrong side, but you can also knit the front. Photos are for the wrong side and corresponding notes are made
for knitting facial.
For convenience, when knitting on one wall of loops, I use the terms “external” and “internal” wall.
In order not to specify, the “front” and “back” for knitting the front or the wrong side (they differ).
The “outer” wall is the one that “looks” outward of the product, and the inner, respectively, “looks”
inside.
PATTERN
Head, bodily thread.
It is necessary to use a contrasting thread as the end of the row and make sure that the end of the row is strictly
in a straight line, perpendicular to the knitted rows. In case of displacement of the end of the row – knit additionally
offset loops. Otherwise, the face will be asymmetrical.
1. Magic ring into 6 sc (6)
2. İnc * 6 times (12)
3. (İnc, sc) * 6 times (18)
4. (sc, inc, sc) * 6 times (24)
5. (İnc, 3 sc) * 6 times (30)
6. (2 sc, inc, 2 sc) * 6 times (36)
7. (İnc, 5 sc) * 6 times (42)
8. (3 sc, inc, 3 sc) * 6 times (48)
9-11. 3 rows of 48 sc
12.18 sc, 2 dec, 2 sc, 2 sc, 2 dec, 18 sc (44)
13.21 sc, 2 inc, 21 sc (46)
14. 46 sc
15.15 sc, (inc, sc) * 4 times, (sc, inc) * 4 times, 15 sc (54)
16. 54 sc
17.25 sc, 2 dec, 25 sc (52)
18. 25 sc, for the outer walls of the previous row: (sc, hdc) – in one loop, (hdc, sc) – in one loop (this will be the mouth), for both walls – 25 sc (54)
19. (3 sc, dec, 4 sc) * 2 times, 3 sc, dec, 2 sc (4 stitches of 18 rows do not knit!), For the remaining internal
17th row walls: inc, inc, for both walls – 2 sc, dec, 3 sc, (4 sc, dec, 3 sc) * 2 times (48)
20. (3 sc, dec, 3 sc) * 6 times (42)
21. 42 sc
22. (Dec, 5 sc) * 6 times (36)
23. (2 sc, dec, 2 sc) * 6 times (30)
24. (Dec, 3 sc) * 6 times (24)
25. (Sc, dec, sc) * 6 times (18)
To fill the head tightly, symmetrically with respect to the center, pay special attention to the area of the cheeks.
26. (Dec, sc) * 6 times (12)
27. Dec * 6 times (6)
Add filler, tighten the hole, leave a long tip for the ears and nose (about 80 cm), thread
crop. Count 10 loops to the side from the corner of the mouth and pull the thread there.
Tie the first row of ear sc according to the pattern, rotate the second row: sc into each loop.
Nose: count 3 rows from the mouth up, visually find the hole between the loops located in the center.
Move 2 loops in the direction of the ear, bring the thread to this place. Insert a hook into the same hole and withdraw
2 loops from the center towards the other ear. Total distance is 4 loops. Grab and pull the thread.
Repeat this action several times (I did 14 times). Thus, quite
wide and big nose.
Bring the thread through 10 columns on the other side of the corner of the mouth and tie the ear symmetrically.
Trim, fasten, hide the thread inside the head.
Ear diagram, front and side view:
Hair.
Try yarn on the doll and cut one strand of the desired length.
Cut 50-100 hair. The amount depends on the thickness of the yarn used. If necessary later
chop more.
When using thick yarn, it is possible to fasten through 2, 3 or 4 loops.
Fasten the thread to the head as follows:
1) in the right place we enter the hook and output through the loop.
2) grab the thread in the middle and pull about a centimeter out.
3) Grab both ends of the thread and pull into the loop on the hook.
4) Tighten.
Start fastening the hair from the crown, in the place where the head knitting began.
Attach in a line from ear to ear.
Fill the back of the head.
According to the frequency of attachment, focus on the thickness of the hair – the thicker, the less often it is attached.
After fixing all the hair, I cut my front hair and lowered it to my eyes, giving the appearance of a bangs (slightly
stuck, otherwise puffed).
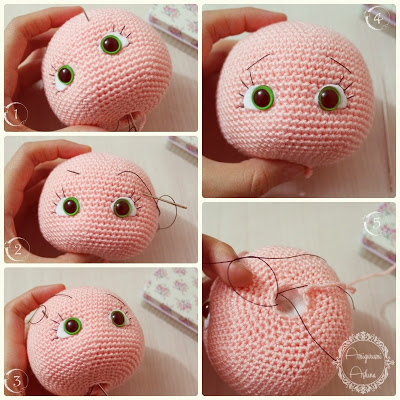
Face design.
Eyes can be made in any way that you like – knit ready-made eyes, blind from plastic,
embroider, knit from wool, knit, etc. I draw eyes, therefore, I will describe this method. I use acrylic
paints.
From thin felt or any white fabric, cut 2 details for future eyes (size depends on size
heads, focus on the photo).
With blue acrylic paint draw an iris, inside a black pupil, put a white highlight. After
glue drying to the head in the eye area (a hint will be places with decreases on the head).
Draw brown stripes along the edge of the loops of the “mouth”.
Then I spread the brown paint with water (so that it was dim) and ran a brush over my nose, slightly
drew eyebrows. The water will then dry, and the paint will remain, and will not be bright.
With the same diluted paint I made tinting in the area of the cheeks and chin.
Then with diluted white paint I made cheeks.
You can tint your face in any usual way – oil pastels, pencils, etc.
Hands, flesh thread (2 pcs.)
When knitting hands, you do not need to do offset loops, you only need to monitor the number of loops in
row (to match the indicated number in parentheses).
First hand (body thread):
1.4 ch + ch lifting, from the 2nd loop from the hook 3 sc, 3 sc in 1 loop, 3 sc (9)
2-4. Knit 3 rows of 9 sc.
5.3 ch, 2 sc by ch, starting from the second loop from the hook (thumb), 9 sc
6. Dec, 7 sc (8)
7-12. Knit 6 rows of 8 sc.
13. Change the thread to the color of the clothes (I have yellow), starting from the next loop, 8 sc.
From a piece of thin wire about 13 cm, make a frame for the hand – bend it in half, forming at the end
eyelet, the size of the palm. Paste inside.
14. 8 sc for the inner walls of the previous row.
15-18. 4 rows of 8 sc, for both loops.
Fasten the thread, cut.
1. Join the yellow thread to the left outer walls (to the loop along the line of the finger), knit (inc, sc) * 4 times (12)
2.3 sc, 2 dc, (dc, dc), (dc, dc), 2 dc, 3 sc (14)
3.3 sc, 3 dc, (dc, dc), (dc, dc), 3 dc, 3 sc (16)
4.7 dc, (dc, dc), (dc, dc), 7 dc (18)
5.8 dc, (dc, dc), (dc, dc), 8 dc (20)
6.9 dc, (dc, dc), (dc, dc), 9 dc (22)
Knit sc, sl-st (to align), cut the thread, draw the tip between the posts and hide inward hands.
Second hand: When knitting the second hand before knitting a finger knit an extra 1 sc to make a finger on another sides and one hand will become left, the other right.
Body, yellow thread.
When knitting the body, additional displacement loops do not need to be done, you need to monitor only the number of loops in a row (matches the indicated quantity in brackets).
1. Magic ring into 6 sc (6)
2. İnc * 6 times (12)
3. (İnc, sc) * 6 times (18)
4. (sc, inc, sc) * 6 times (24)
5. (İnc, 3 sc) * 6 times (30)
6. (2 sc, inc, 2 sc) * 6 times (36)
7. (İnc, 5 sc) * 6 times (42)
8. 42 sc for the front walls of the loops (if you knit the wrong side, for the back walls of the loops, if the front.
the designations will be “internal” or “external” walls of the loops so as not to specify the method of knitting
(front or inside)).
9. (İnc, 6 sc) * 6 times (48)
10.48 sc for the inner walls
11. (İnc, 7 sc) * 6 times (54)
12. 54 sc for the inner walls
13. (İnc, 8 sc) * 6 times (60)
14. 60 sc for the inner walls
loops
15-21. 7 rows of 60 sc
22. (Dec, 8 sc) * 6 times (54)
23-25. 3 rows of 54 sc
26. (Dec, 7 sc) * 6 times (48)
27-28. 2 rows of 48 sc
29. Knit 4 sc, knitting at the same time the loops of the body and the loops of the hand (position the arm correctly,
finger forward), 20 sc, 4 sc, knitting at the same time the loop of the body and the loop of the hand (position the arm
right, finger in the same direction), 20 sc (48)
30.4 sc on the arm, 20 sc, 4 sc on the arm, 20 sc (48)
Twist the wires from each other by hand, and curl the ends to form a ball. Hide inside the body.
Fill the body with filler.
On the “bottom” of the body, I put a coin that was suitable in diameter (for weighting and shaping).
Stuff the body.
31. (3 sc, dec, 3 sc) * 6 times (42)
32. (Dec, 5 sc) * 6 times (36)
33. (2 sc, dec, 2 sc) * 6 times (30)
34. (Dec, 3 sc) * 6 times (24)
35. (Sc, dec, sc) * 6 times (18)
36. (Dec, sc) * 6 times (12)
37. Dec * 6 times (6)
Pull the hole, cut the thread.
Return to the walls left at the beginning of knitting.
Attach the thread to the top (last) row with the left
the walls. Knit dc in a circle, cut the thread, fasten, hide.
Attach the thread to the 2nd row of the left loop walls, knit
(dc, ch) – in a circle, cut the thread, fasten, hide.
Attach the thread to the 3rd row of the left hinge walls (bottom row),
knit (dc, ch) – in a circle, cut the thread, fasten, hide.
Collar: (2 pcs.), Yellow thread.
9ch + 3 ch lift
9 dc, starting at 4 loops from the hook,
rotate + 3 lifting loops
Starting from the first column
previous row 4 dc, (dc, dc),
(dc, dc), 4 dc (12), fasten the thread and
trim leaving long ends
for sewing.
Sew on top of the body, as in the photo.
Shoes (2 pcs.):
6 ch, from the second loop from the hook: 4 sc,
3 sc in 1 loop, 4 sc, sc in 6th loop
chains (12)
19 rows of 12 sc, fill lightly.
Connect the two walls, knitting 5-6
sc (start chain and these bars
should be parallel)
thread cut, fasten, leave
threads for sewing.
Sew on the bottom of the body of an angel.
Wings (white fluffy thread, 2 times thicker, hook 2.0 mm)
8 dc in amigurumi ring
İnc of dc * 8 times (16)
İnc of dc * 16 times (32)
Try it on. If necessary, knit another row or more in the same way. Fasten and cut the thread.
Fold in half, sew on the middle of the back (I sewed with the hook left by the tip from
knitting wings, along the spine).
Sew the head to the body.
Make a dandelion of your choice. Mine is made of wire and felt.
Foamian dandelion master class